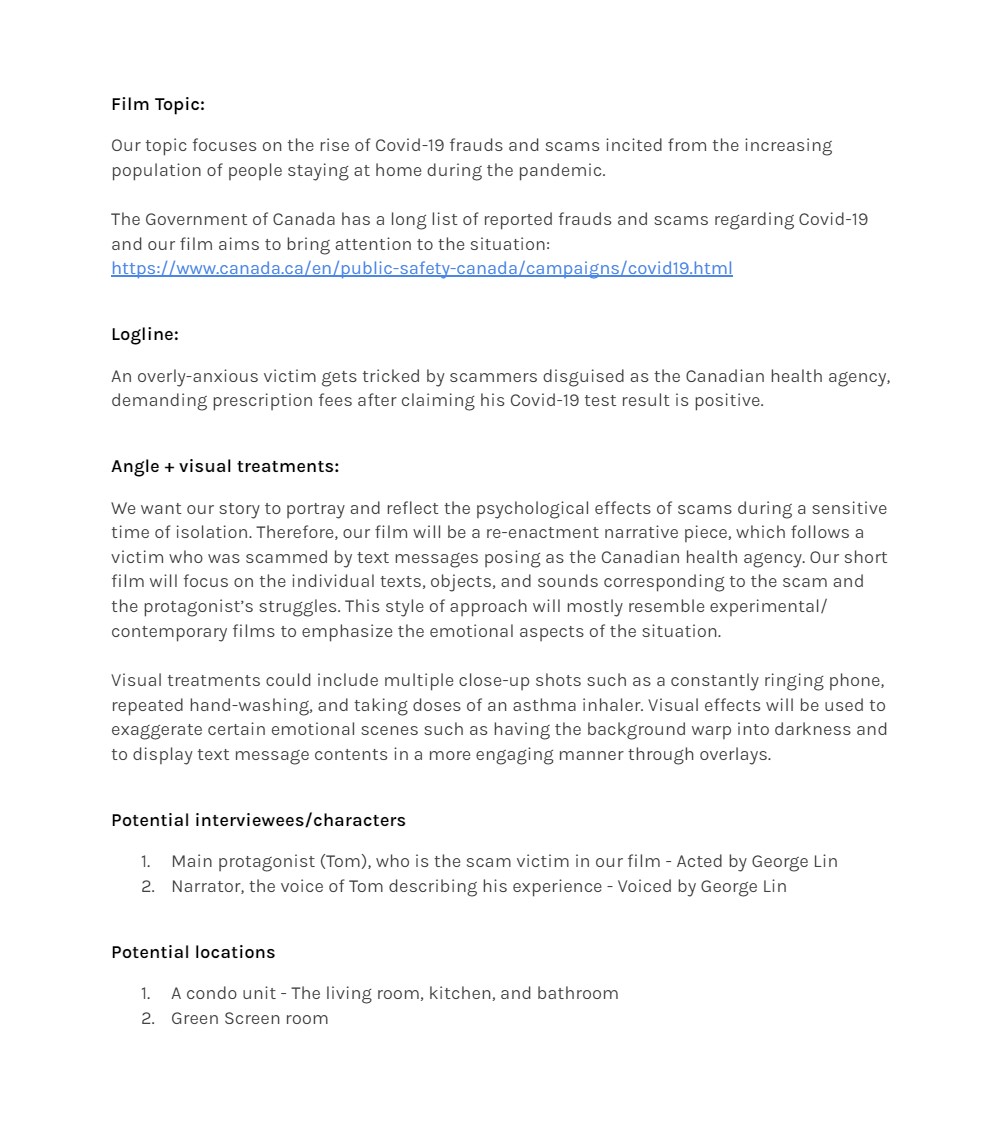
Deceived is about an overly-anxious victim with severe asthma who got tricked by scammers disguised as the BC Centre for Disease Control, who demanded prescription fees after claiming his Covid-19 test result was positive.
Deceived, exhibited by Museum of Vancouver as part of the #IsolatingTogetherMOV exhibition on their Youtube channel. https://www.youtube.com/watch?v=JIWcZIcaQfs
PRE-PRODUCTION
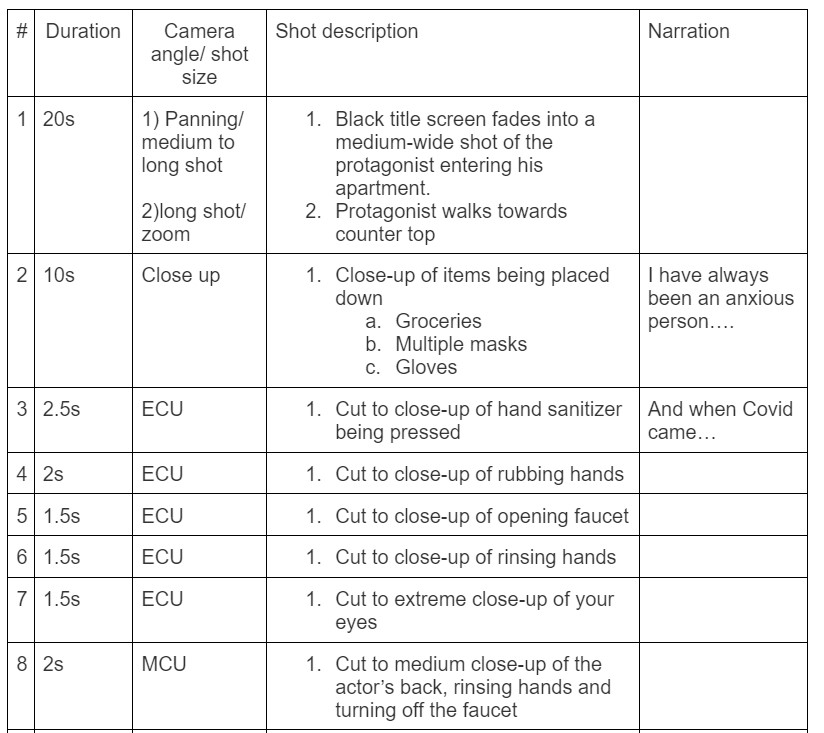
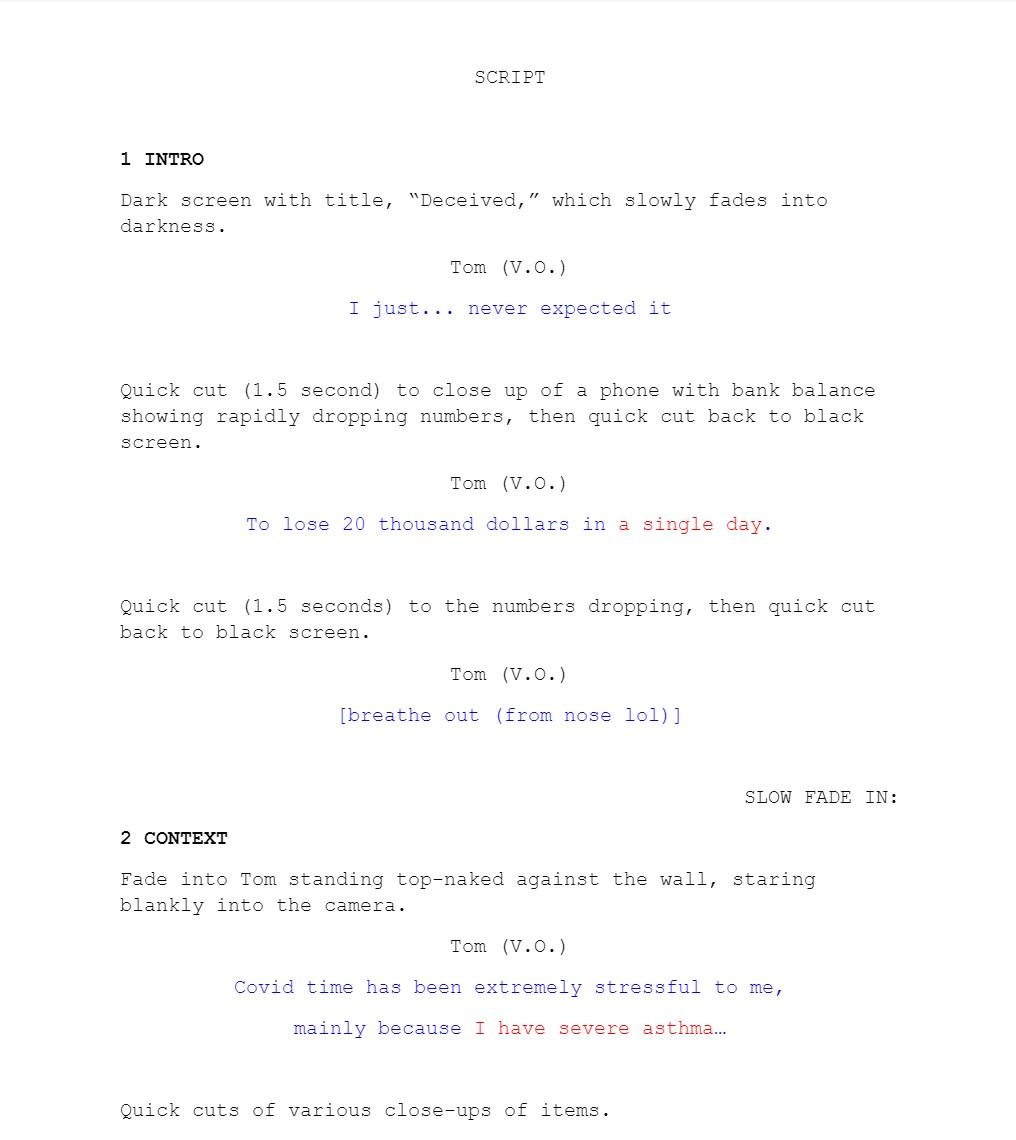
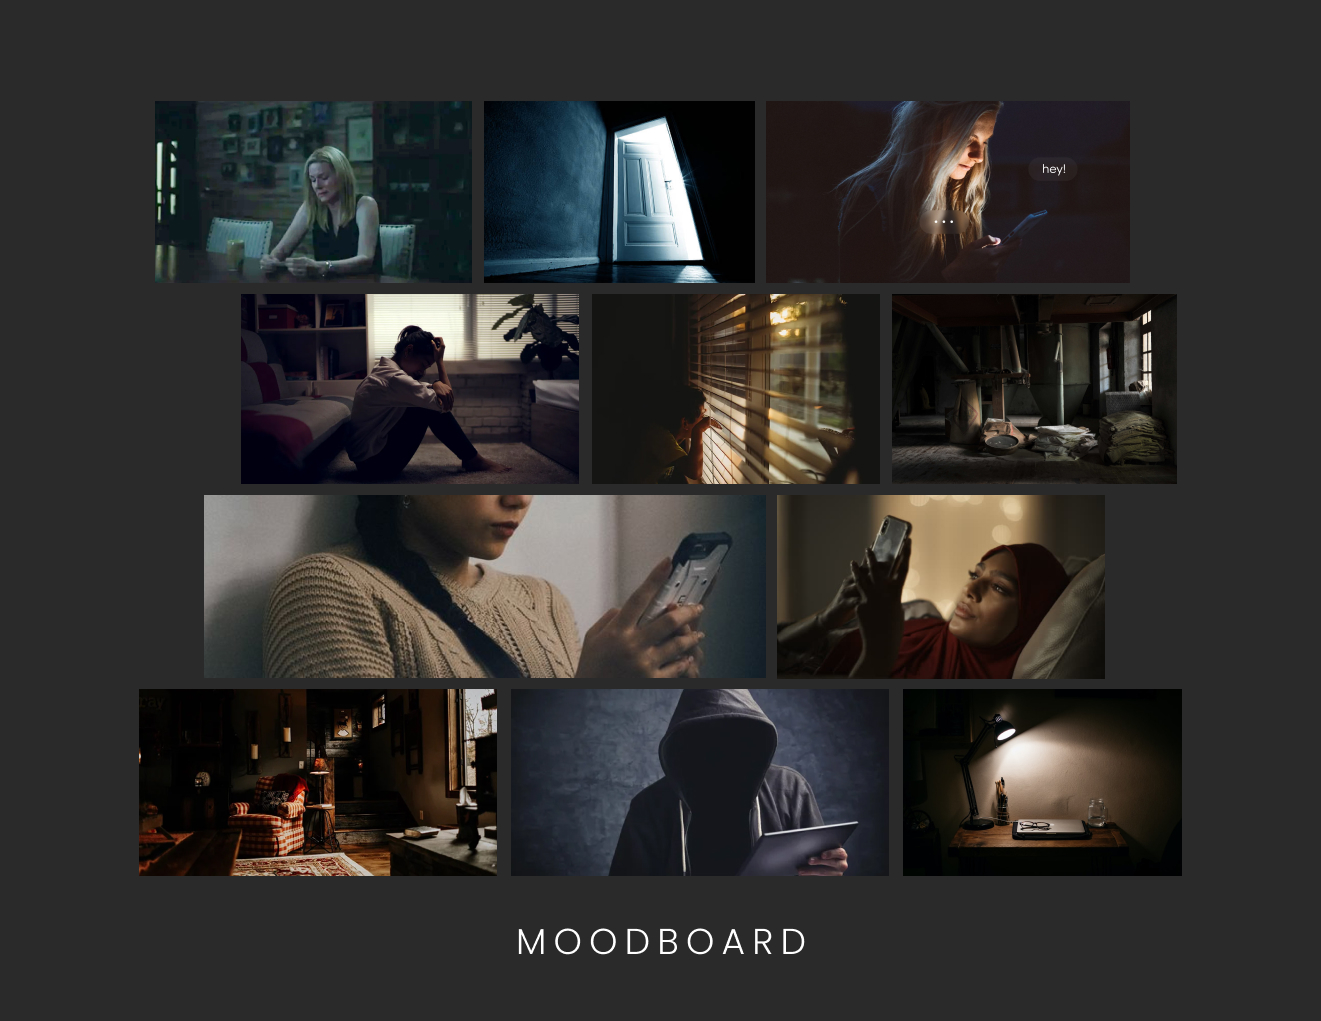
In the early development stage, we started the project with a story treatment that lays out the concept of the film. Then, we planned out our shot list, script, and moodboard together, in which I led how the cinematography should be for each shot. Throughout this time, we received feedback and iterated on them.
Storyboarding
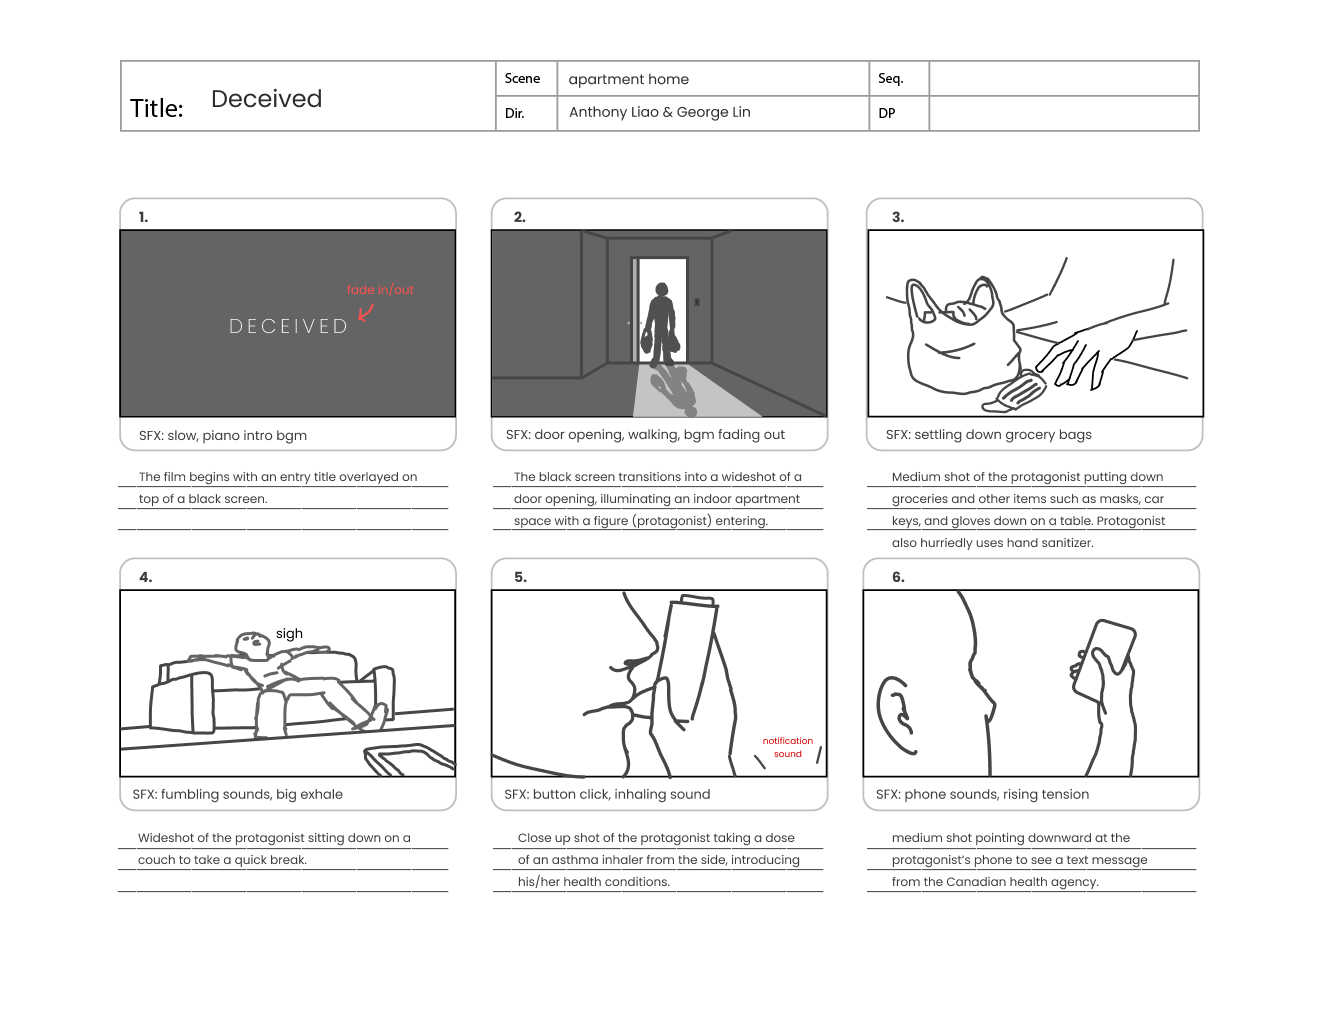
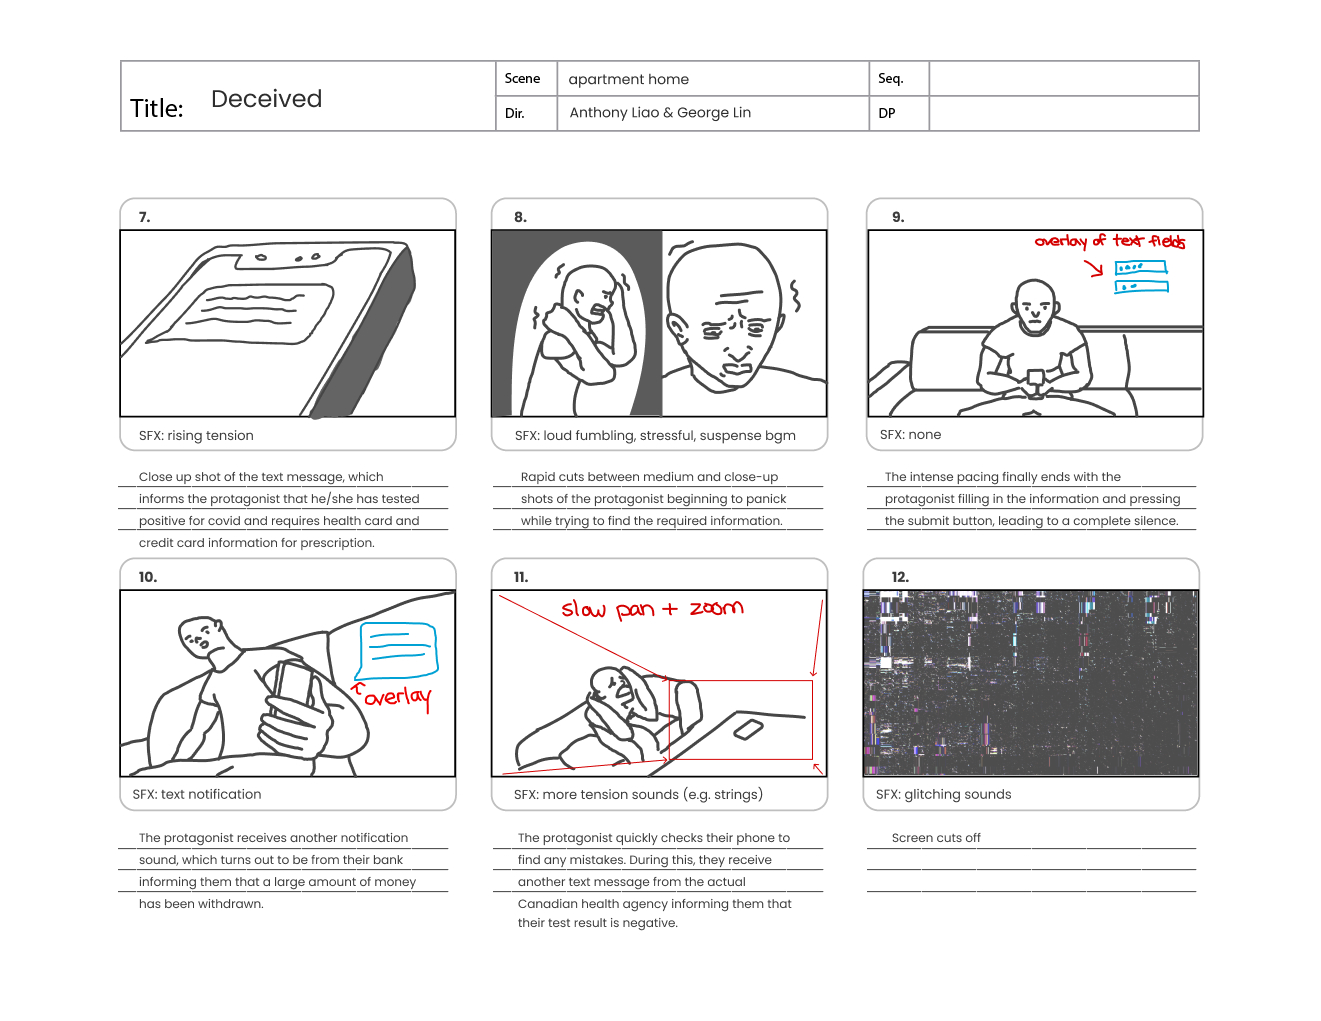
In this step, I sketched out a storyboard using Figma for our film and incorporated my cinematography ideas into it, while my teammate assisted me with it.
Prop Making
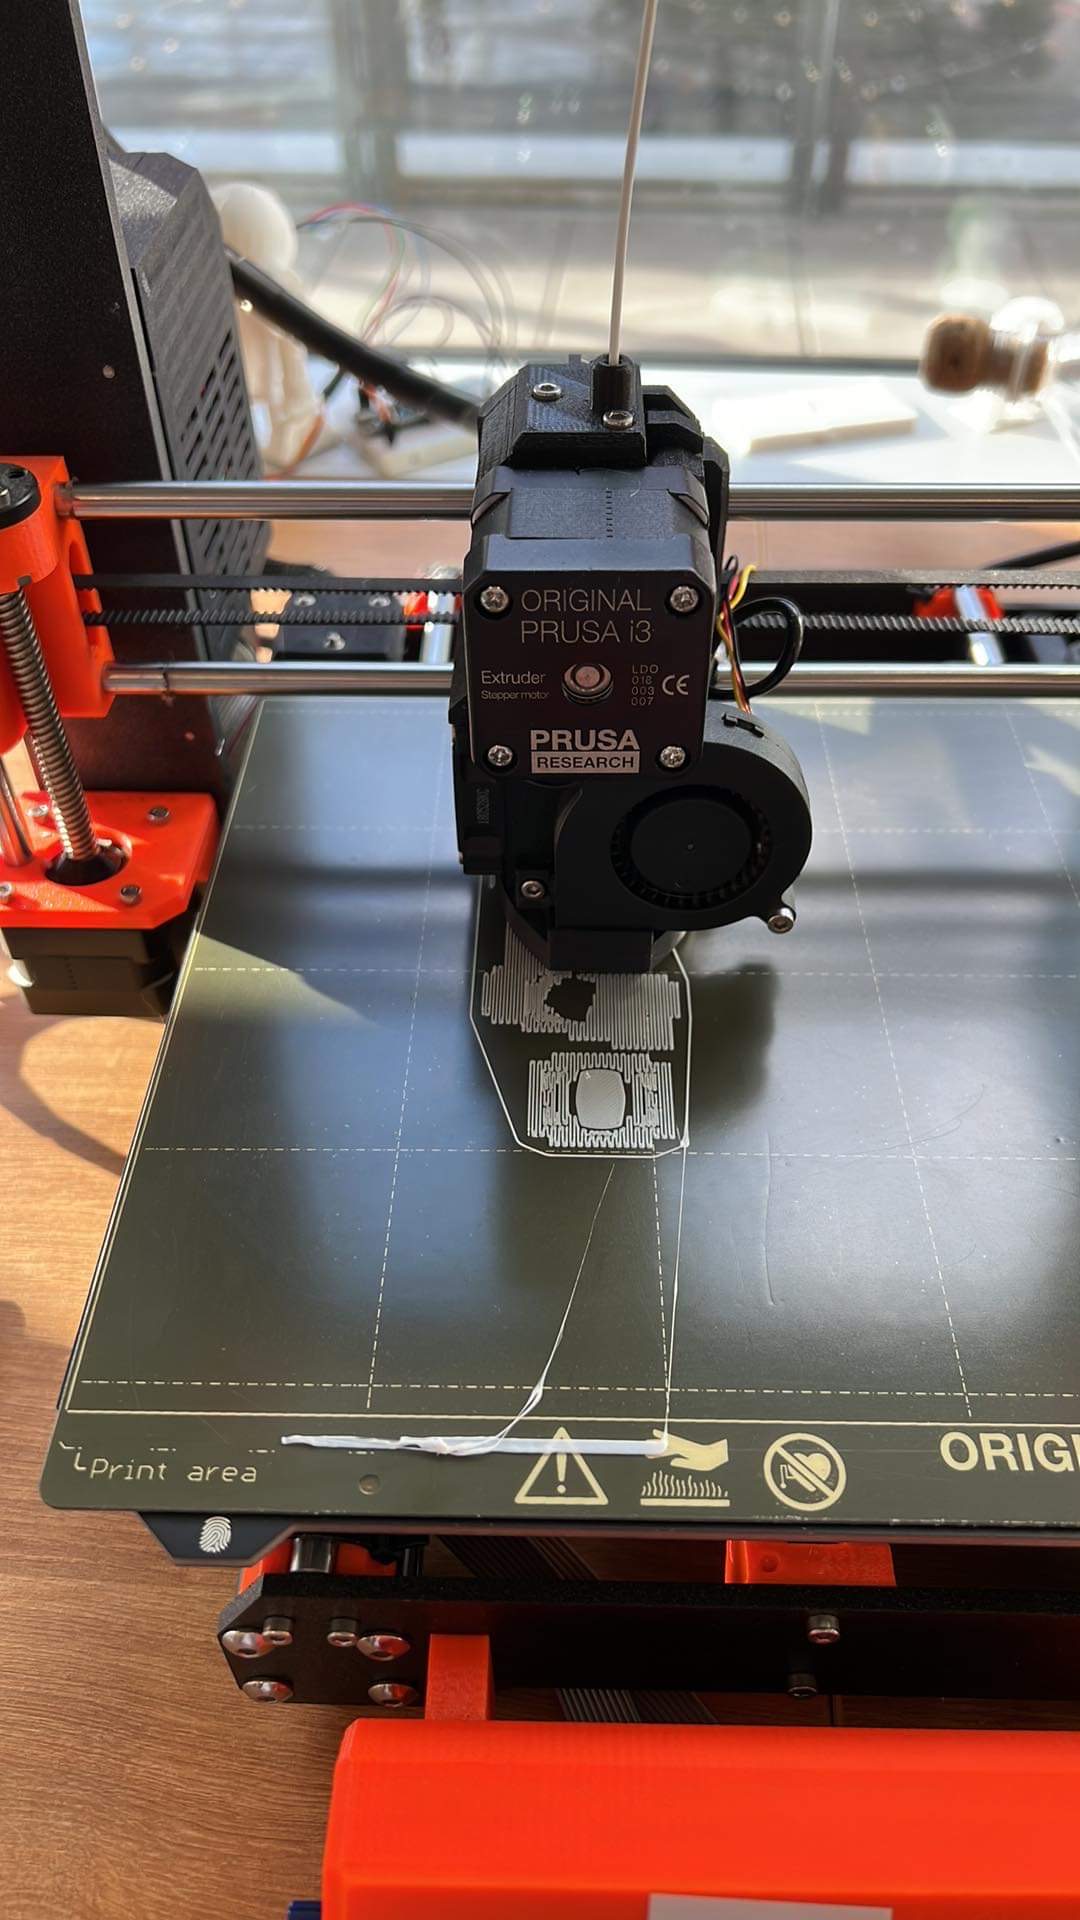
Since we were unable to obtain an asthma inhaler as it was a prescription medication, we then decided to make our own with 3D printing. In this process, I prepared a simple 3D model in the shape of an inhaler in Maya. Then, I asked a friend who owns a 3D printer to help us out.
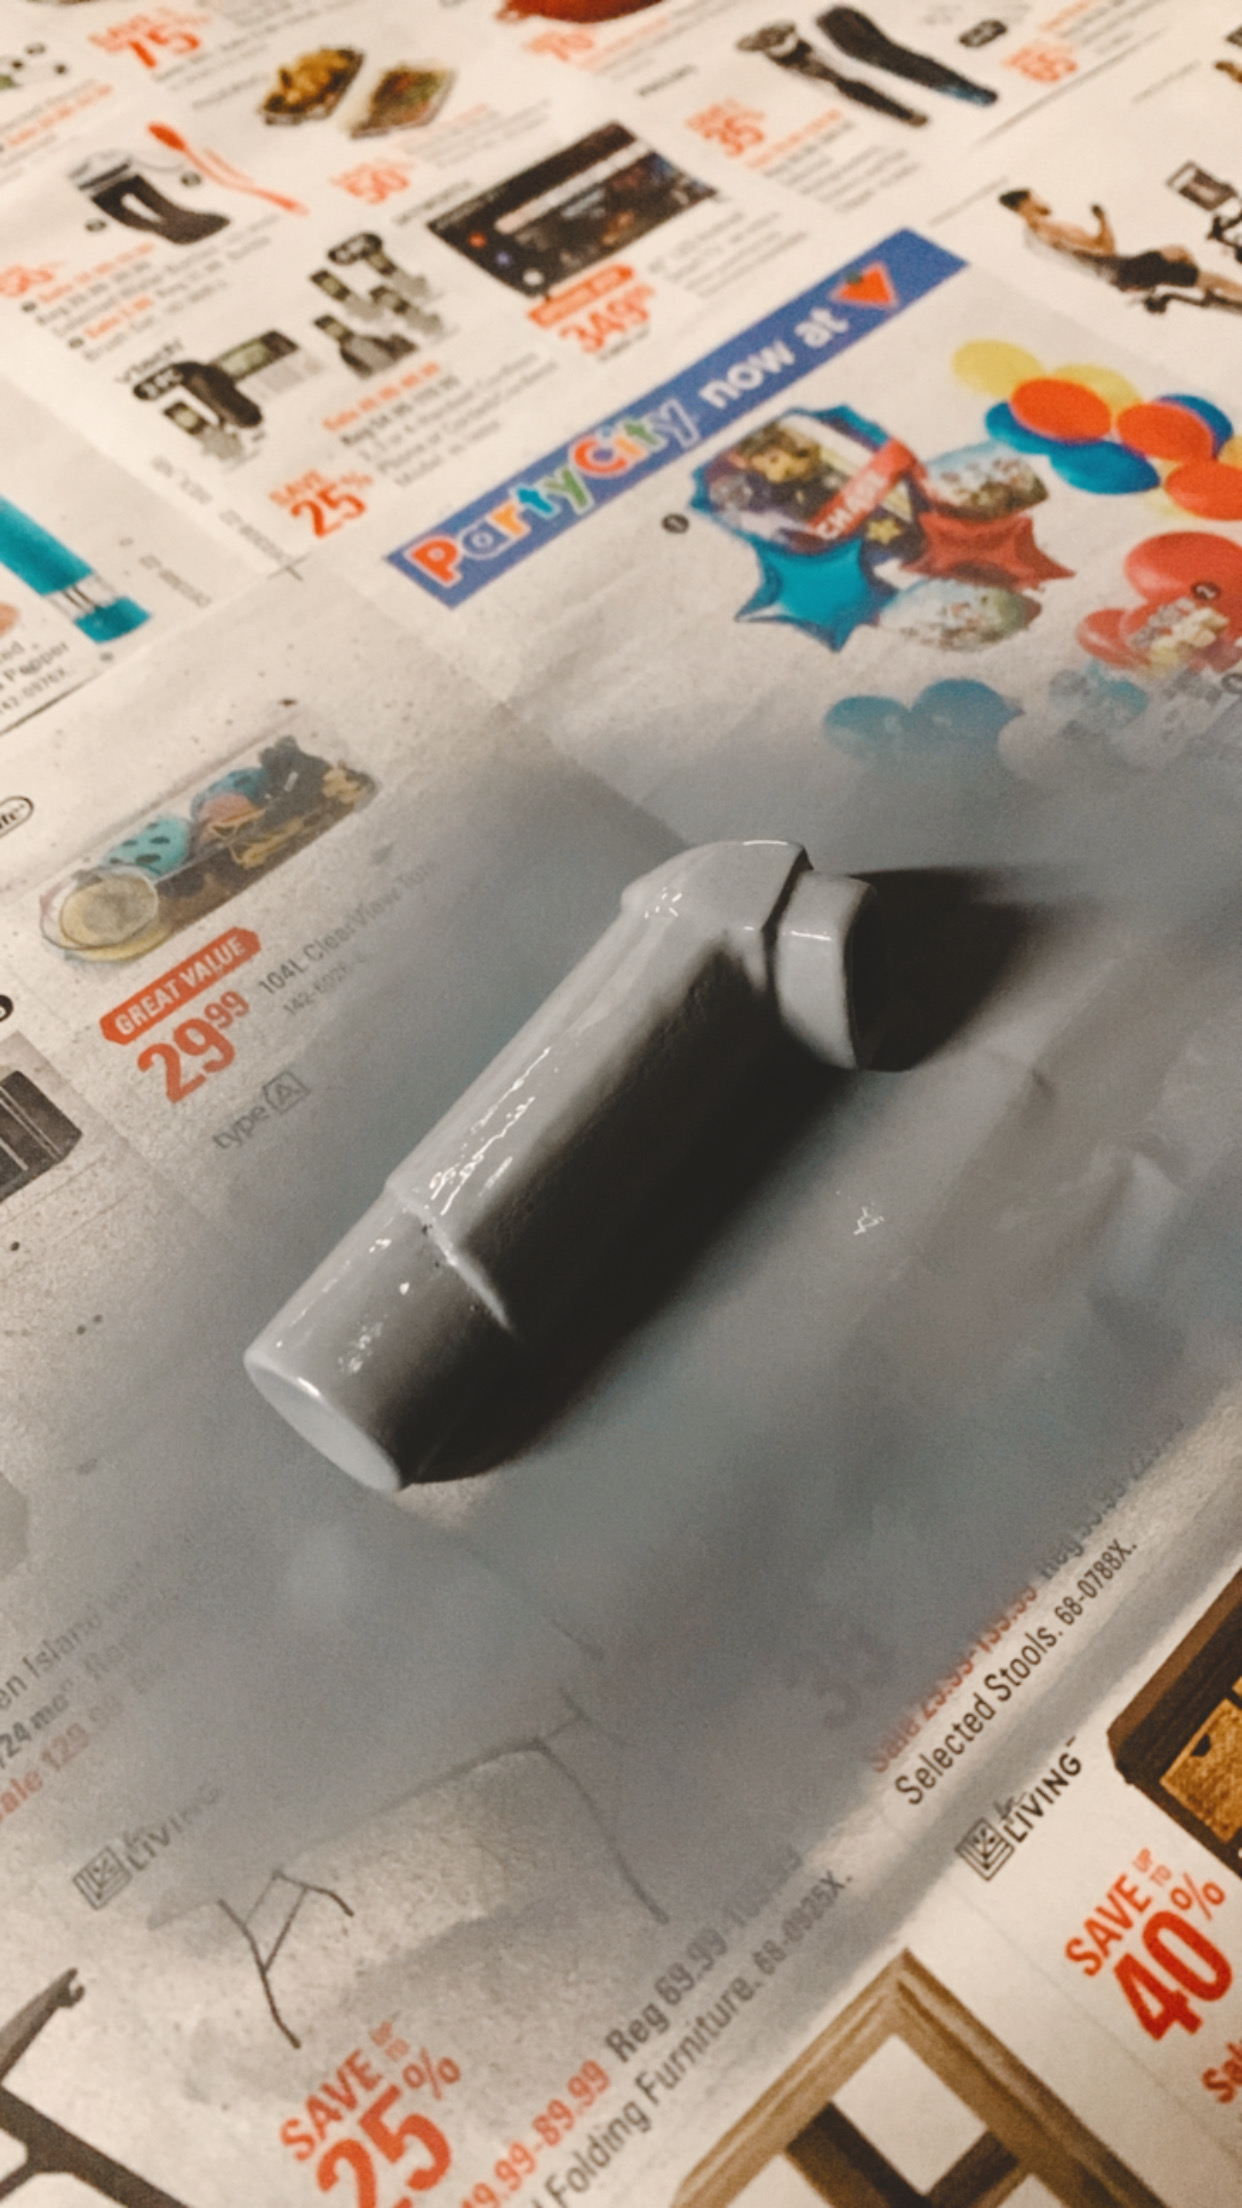
After the model was printed out, I removed the 3D print supports and applied filler onto it to fill up the holes and gaps around it. Once the filler dried up, I sanded the model to smooth out the surface and painted it with spray paint.
To mimic the real medication, I’ve also printed a replicated prescription drug label and glued it onto the model.
PRODUCTION
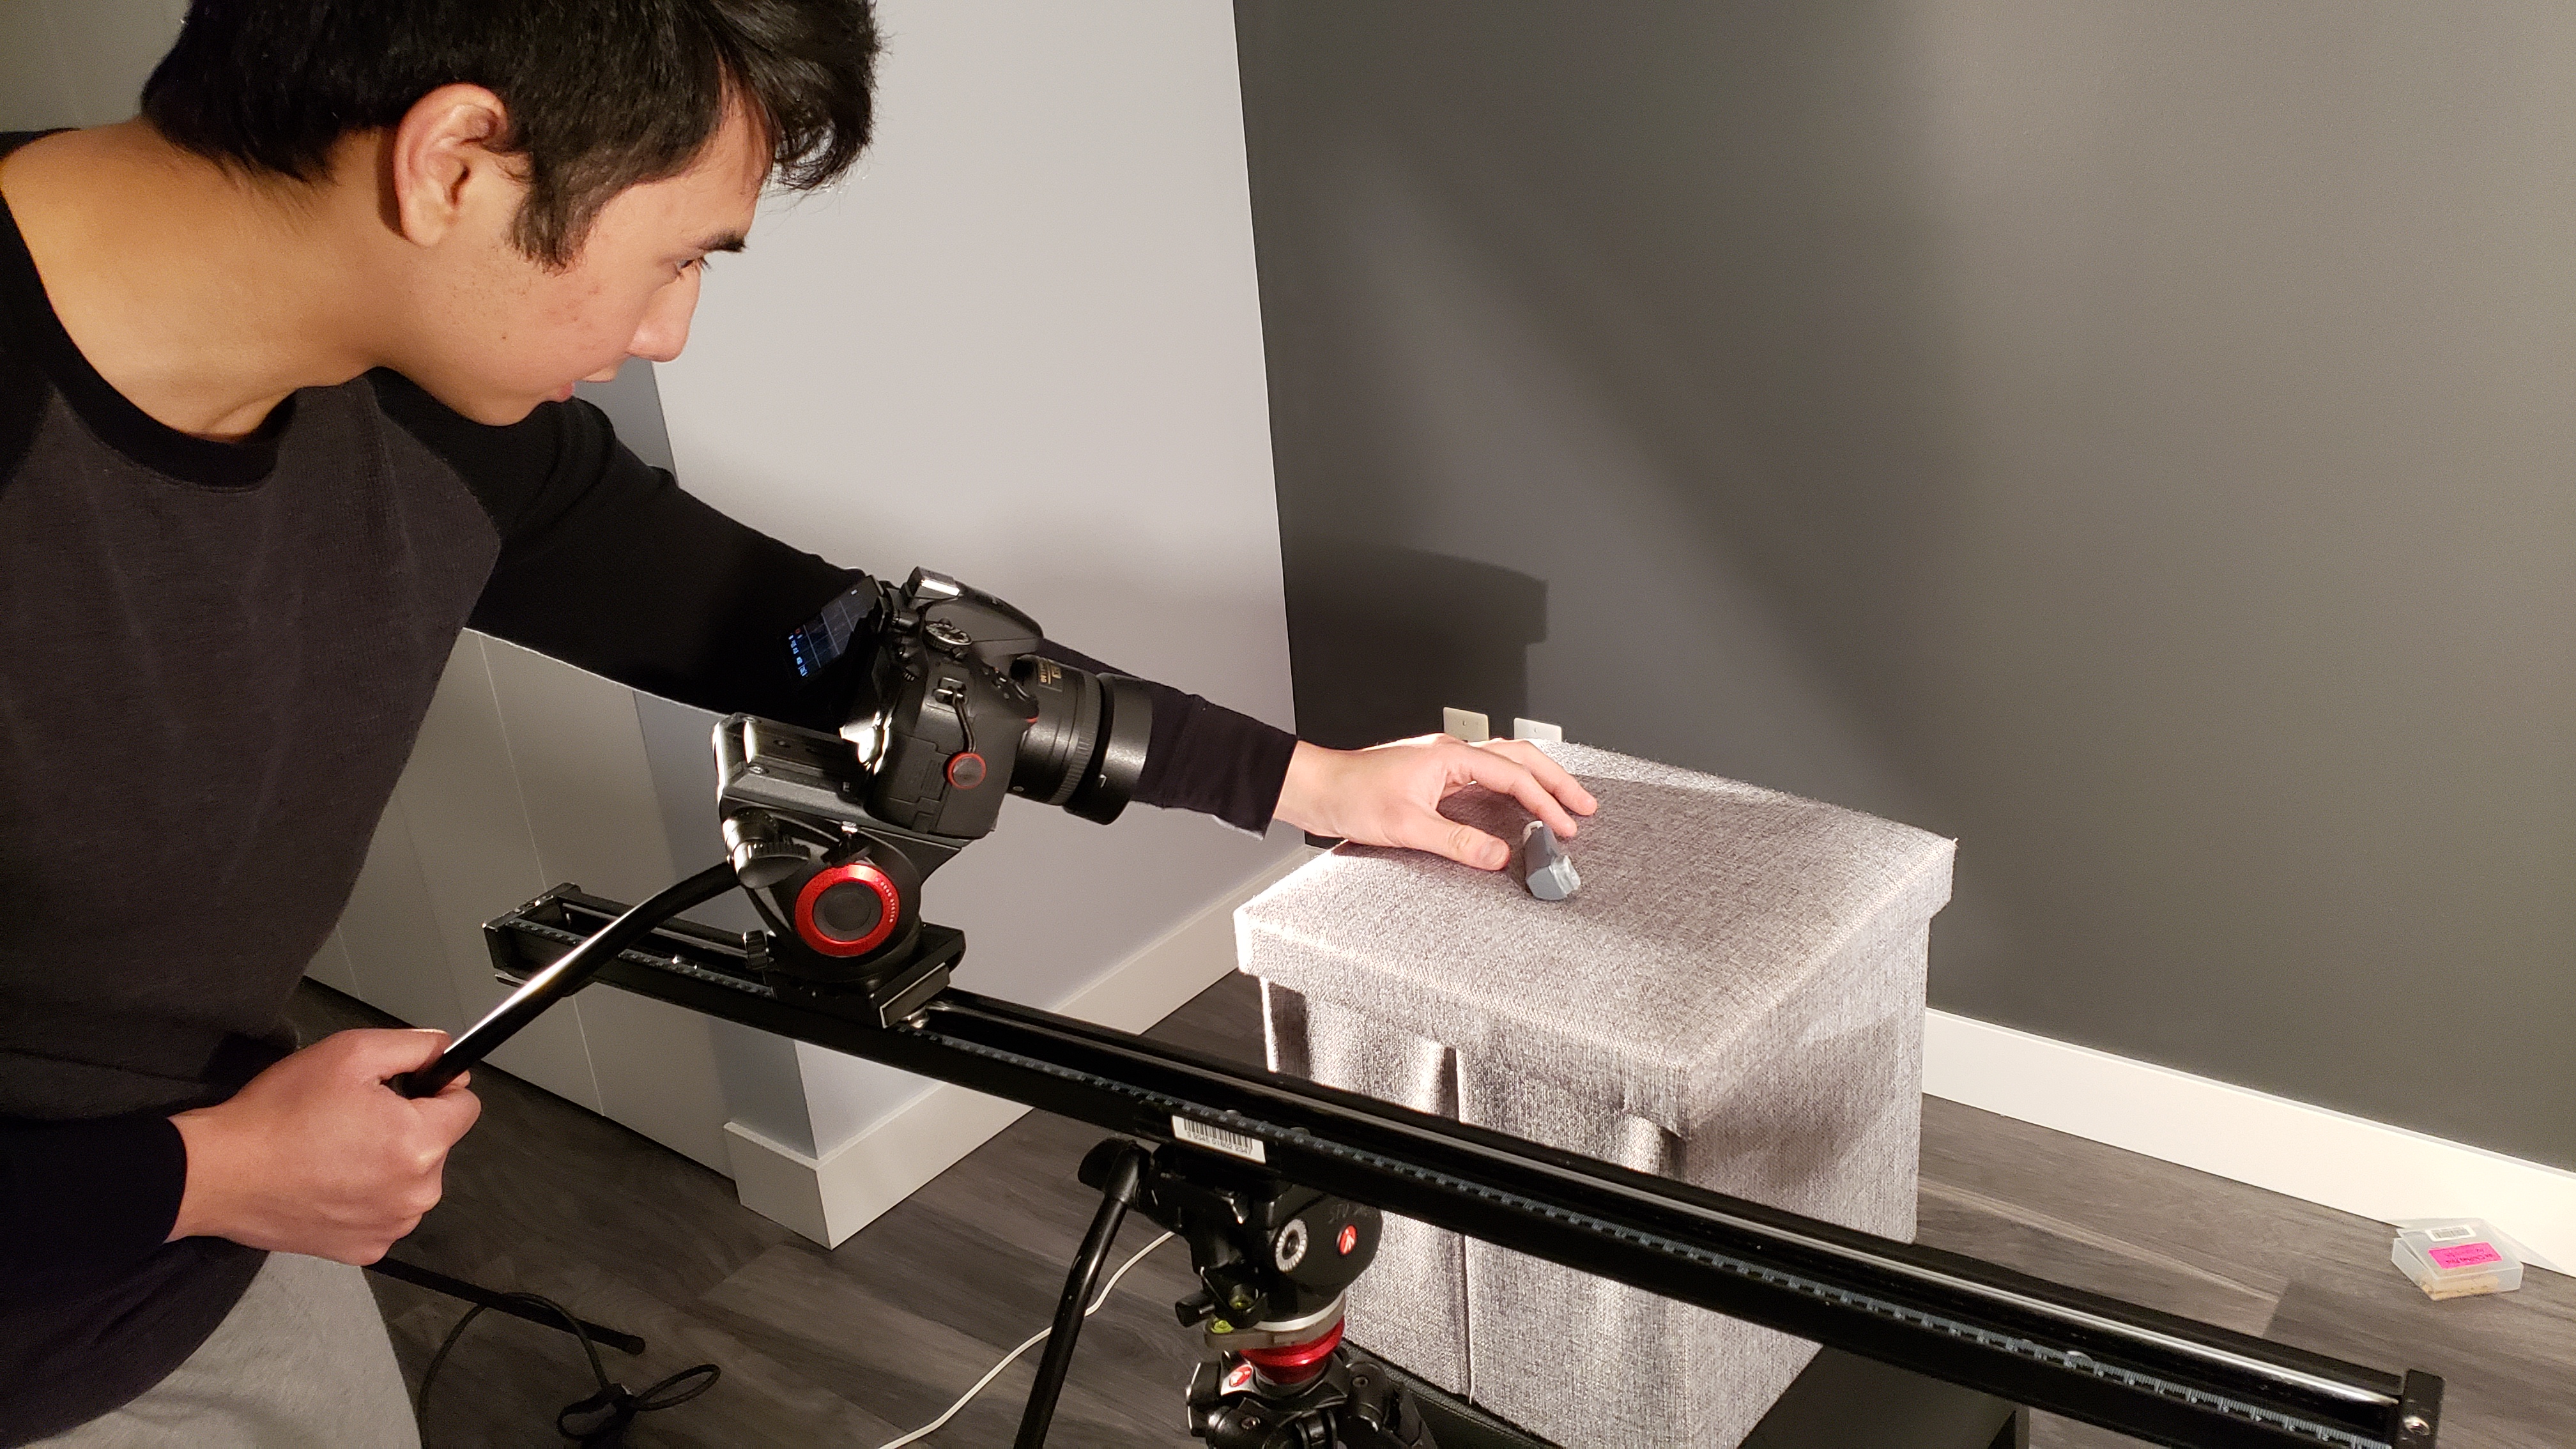
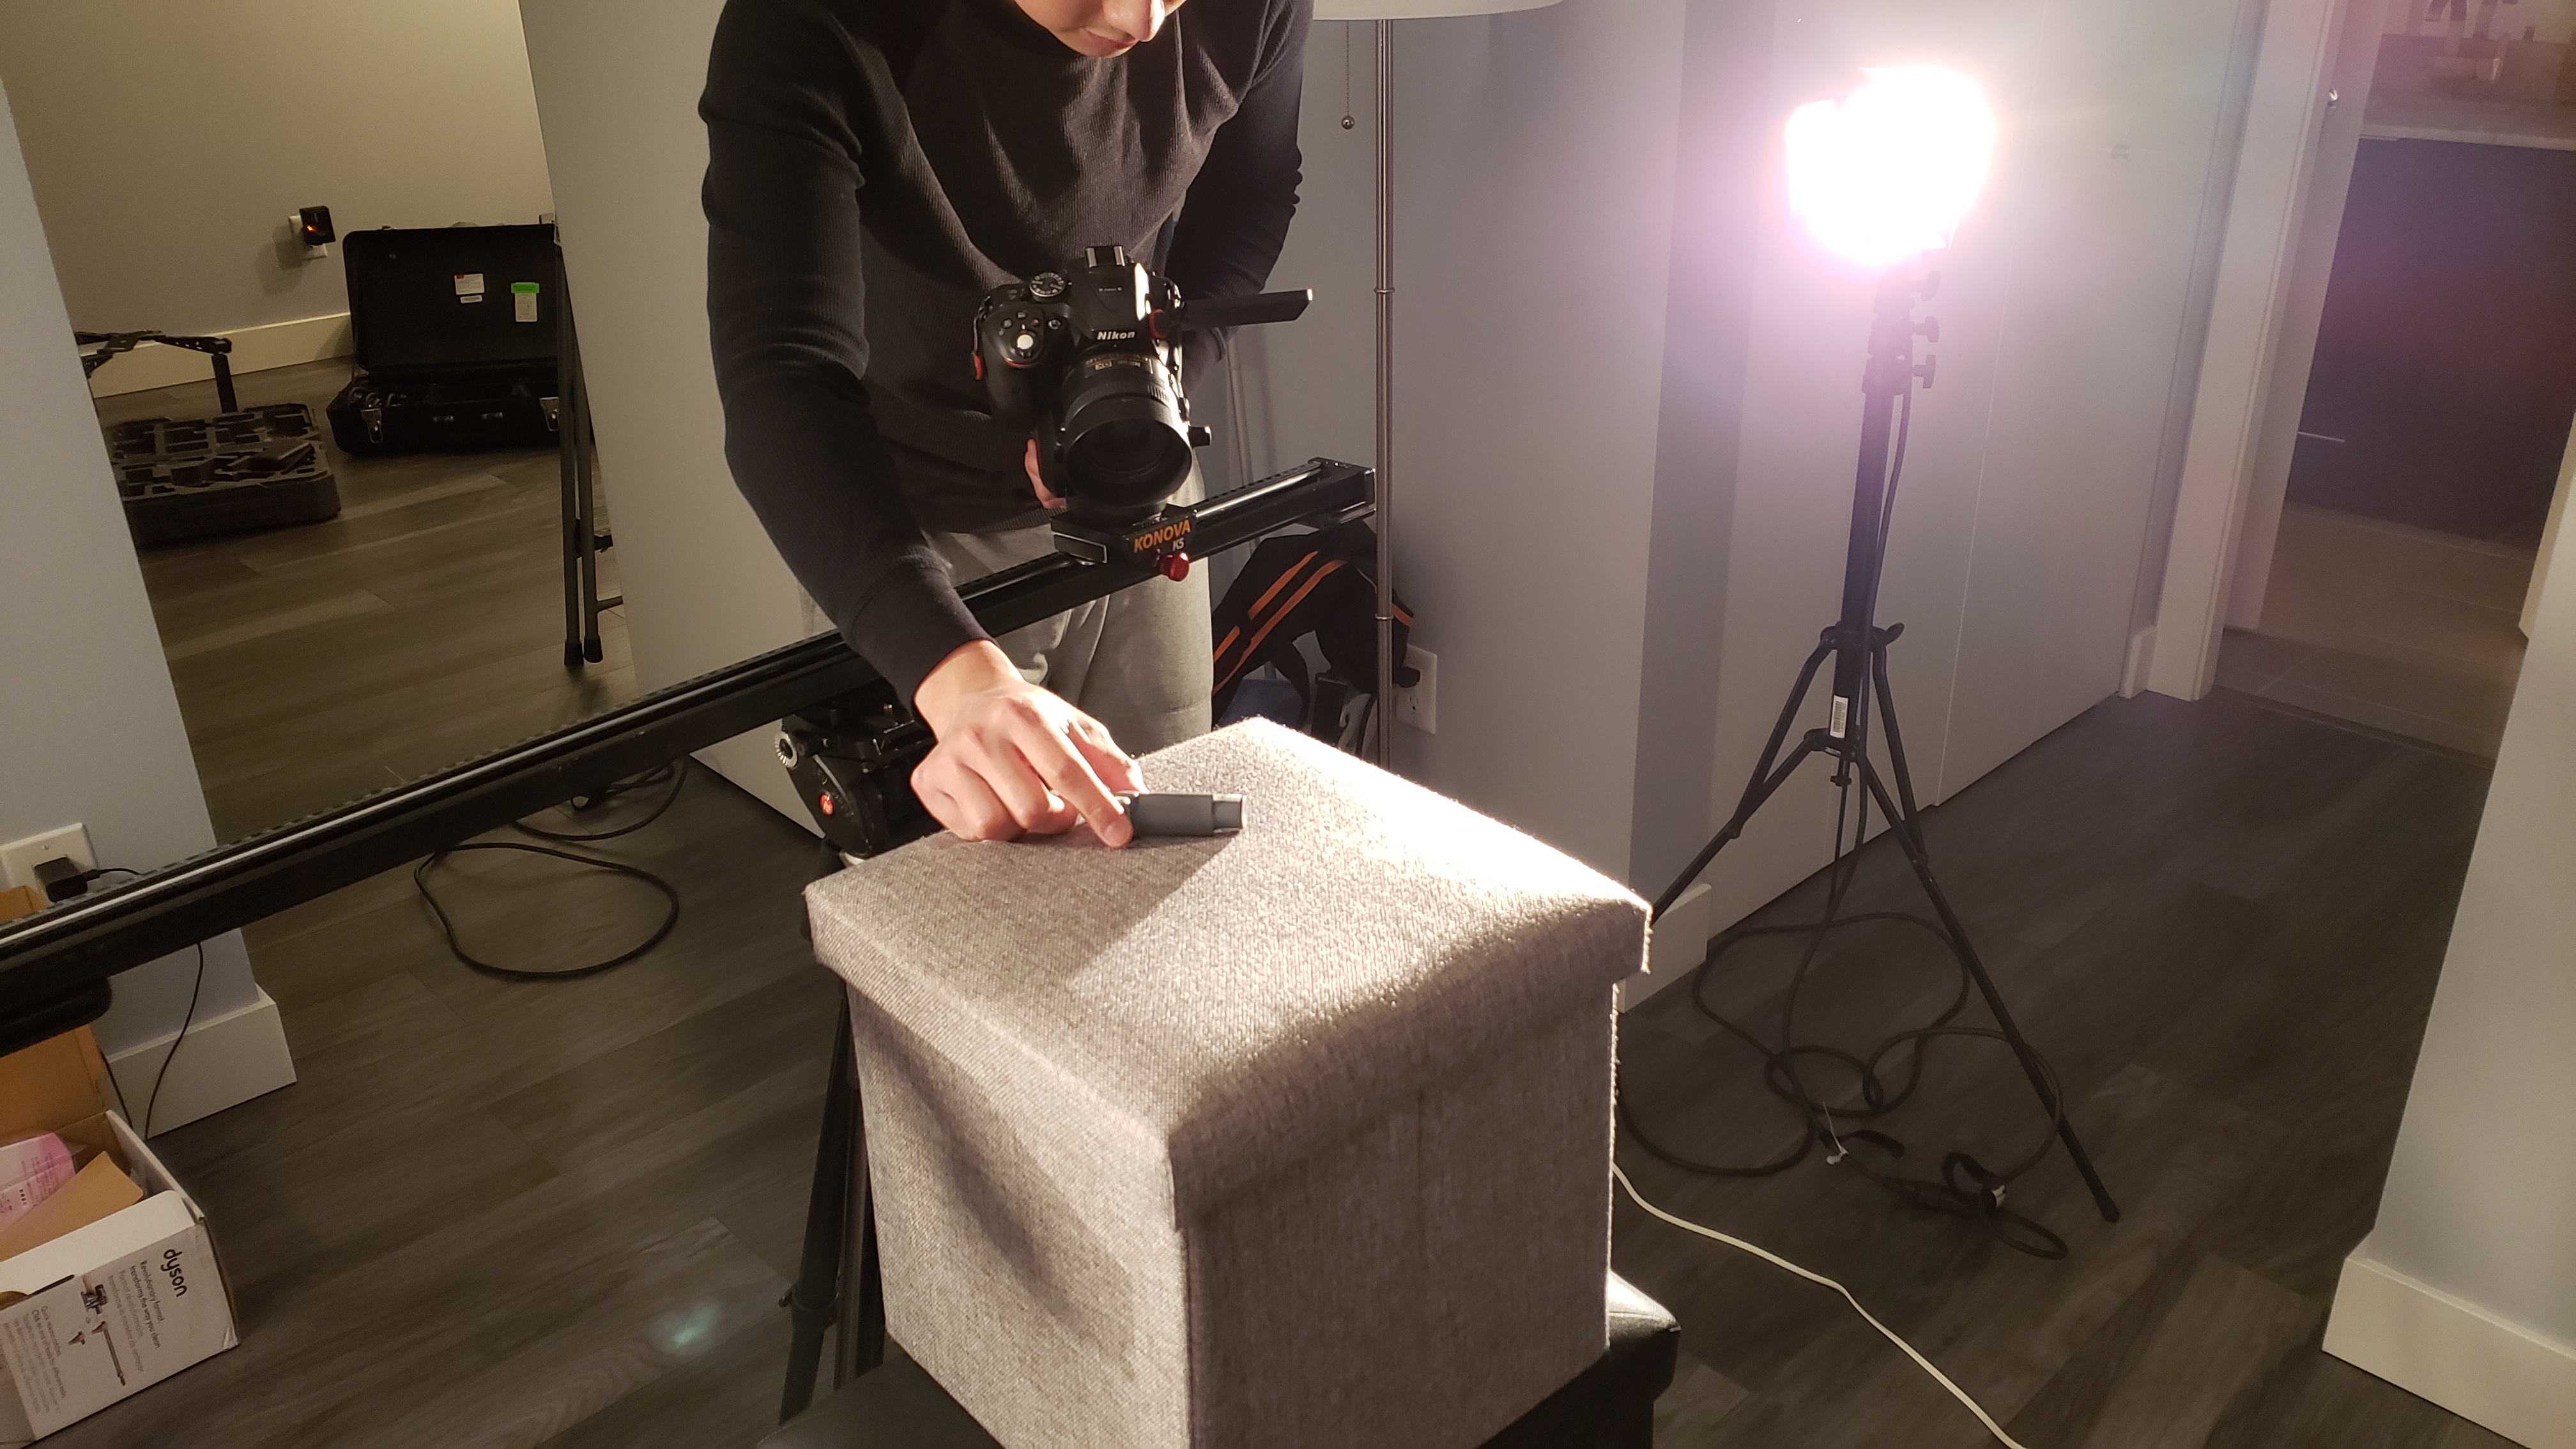
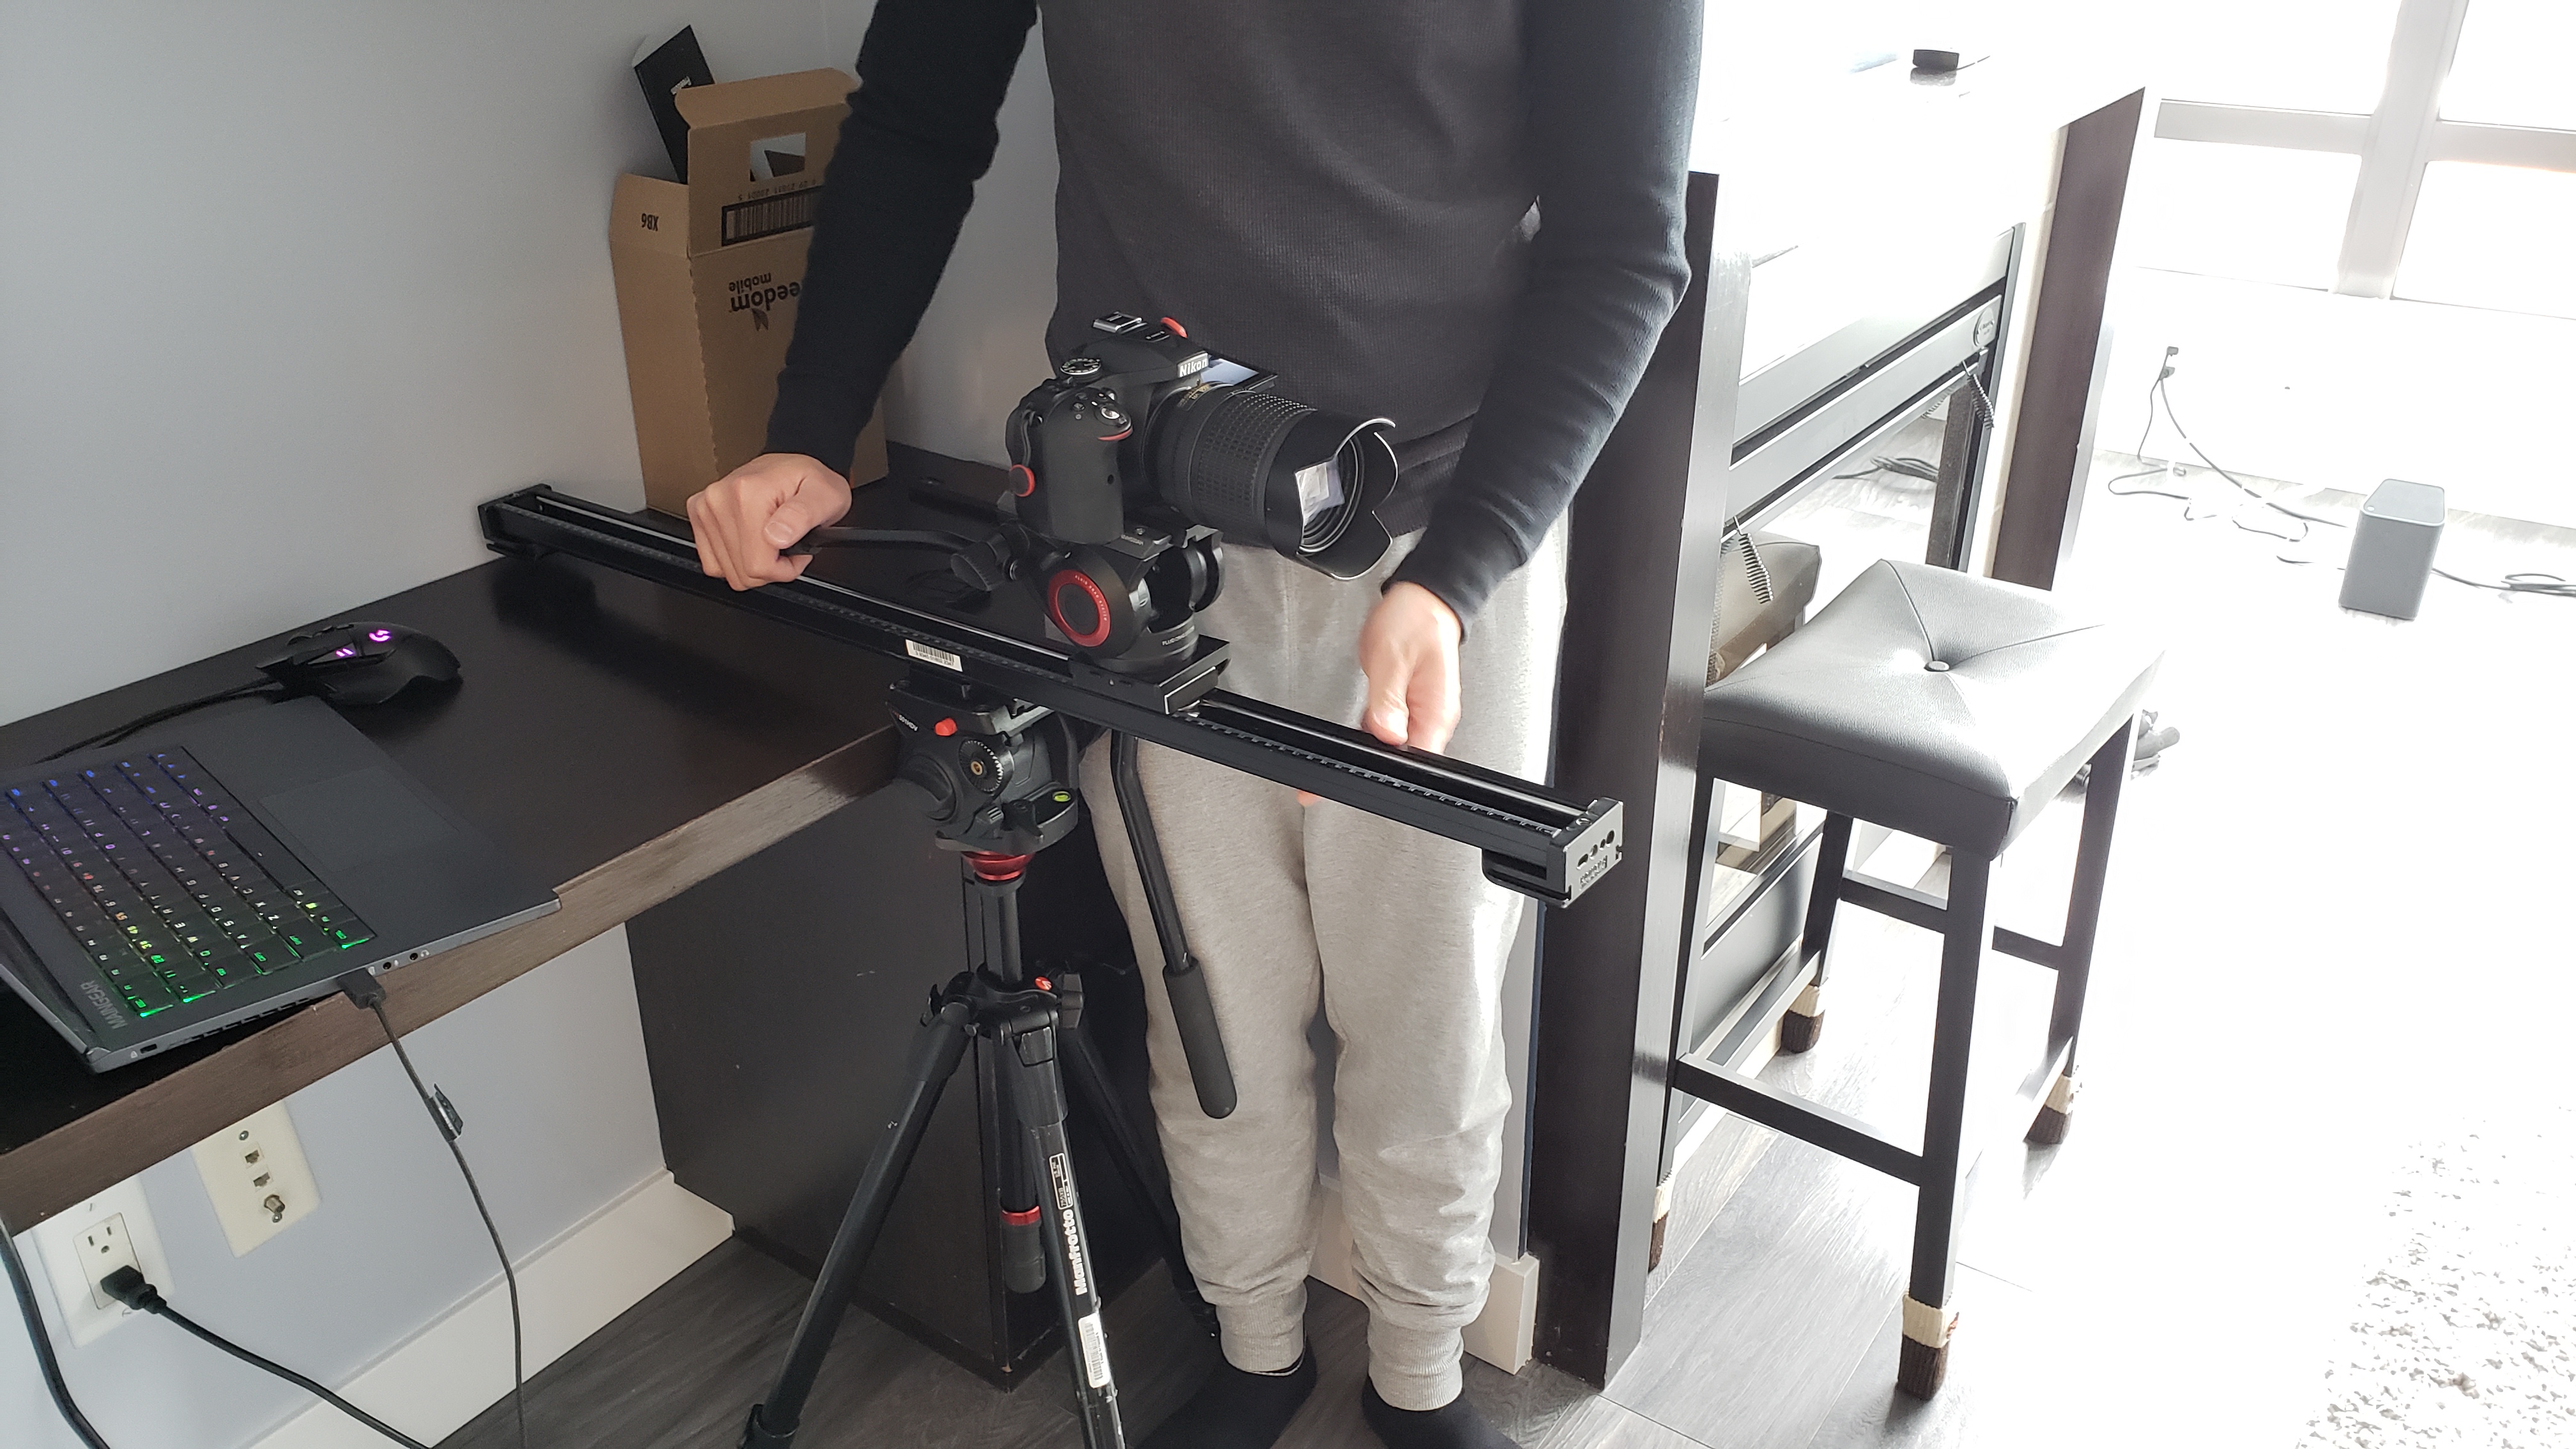
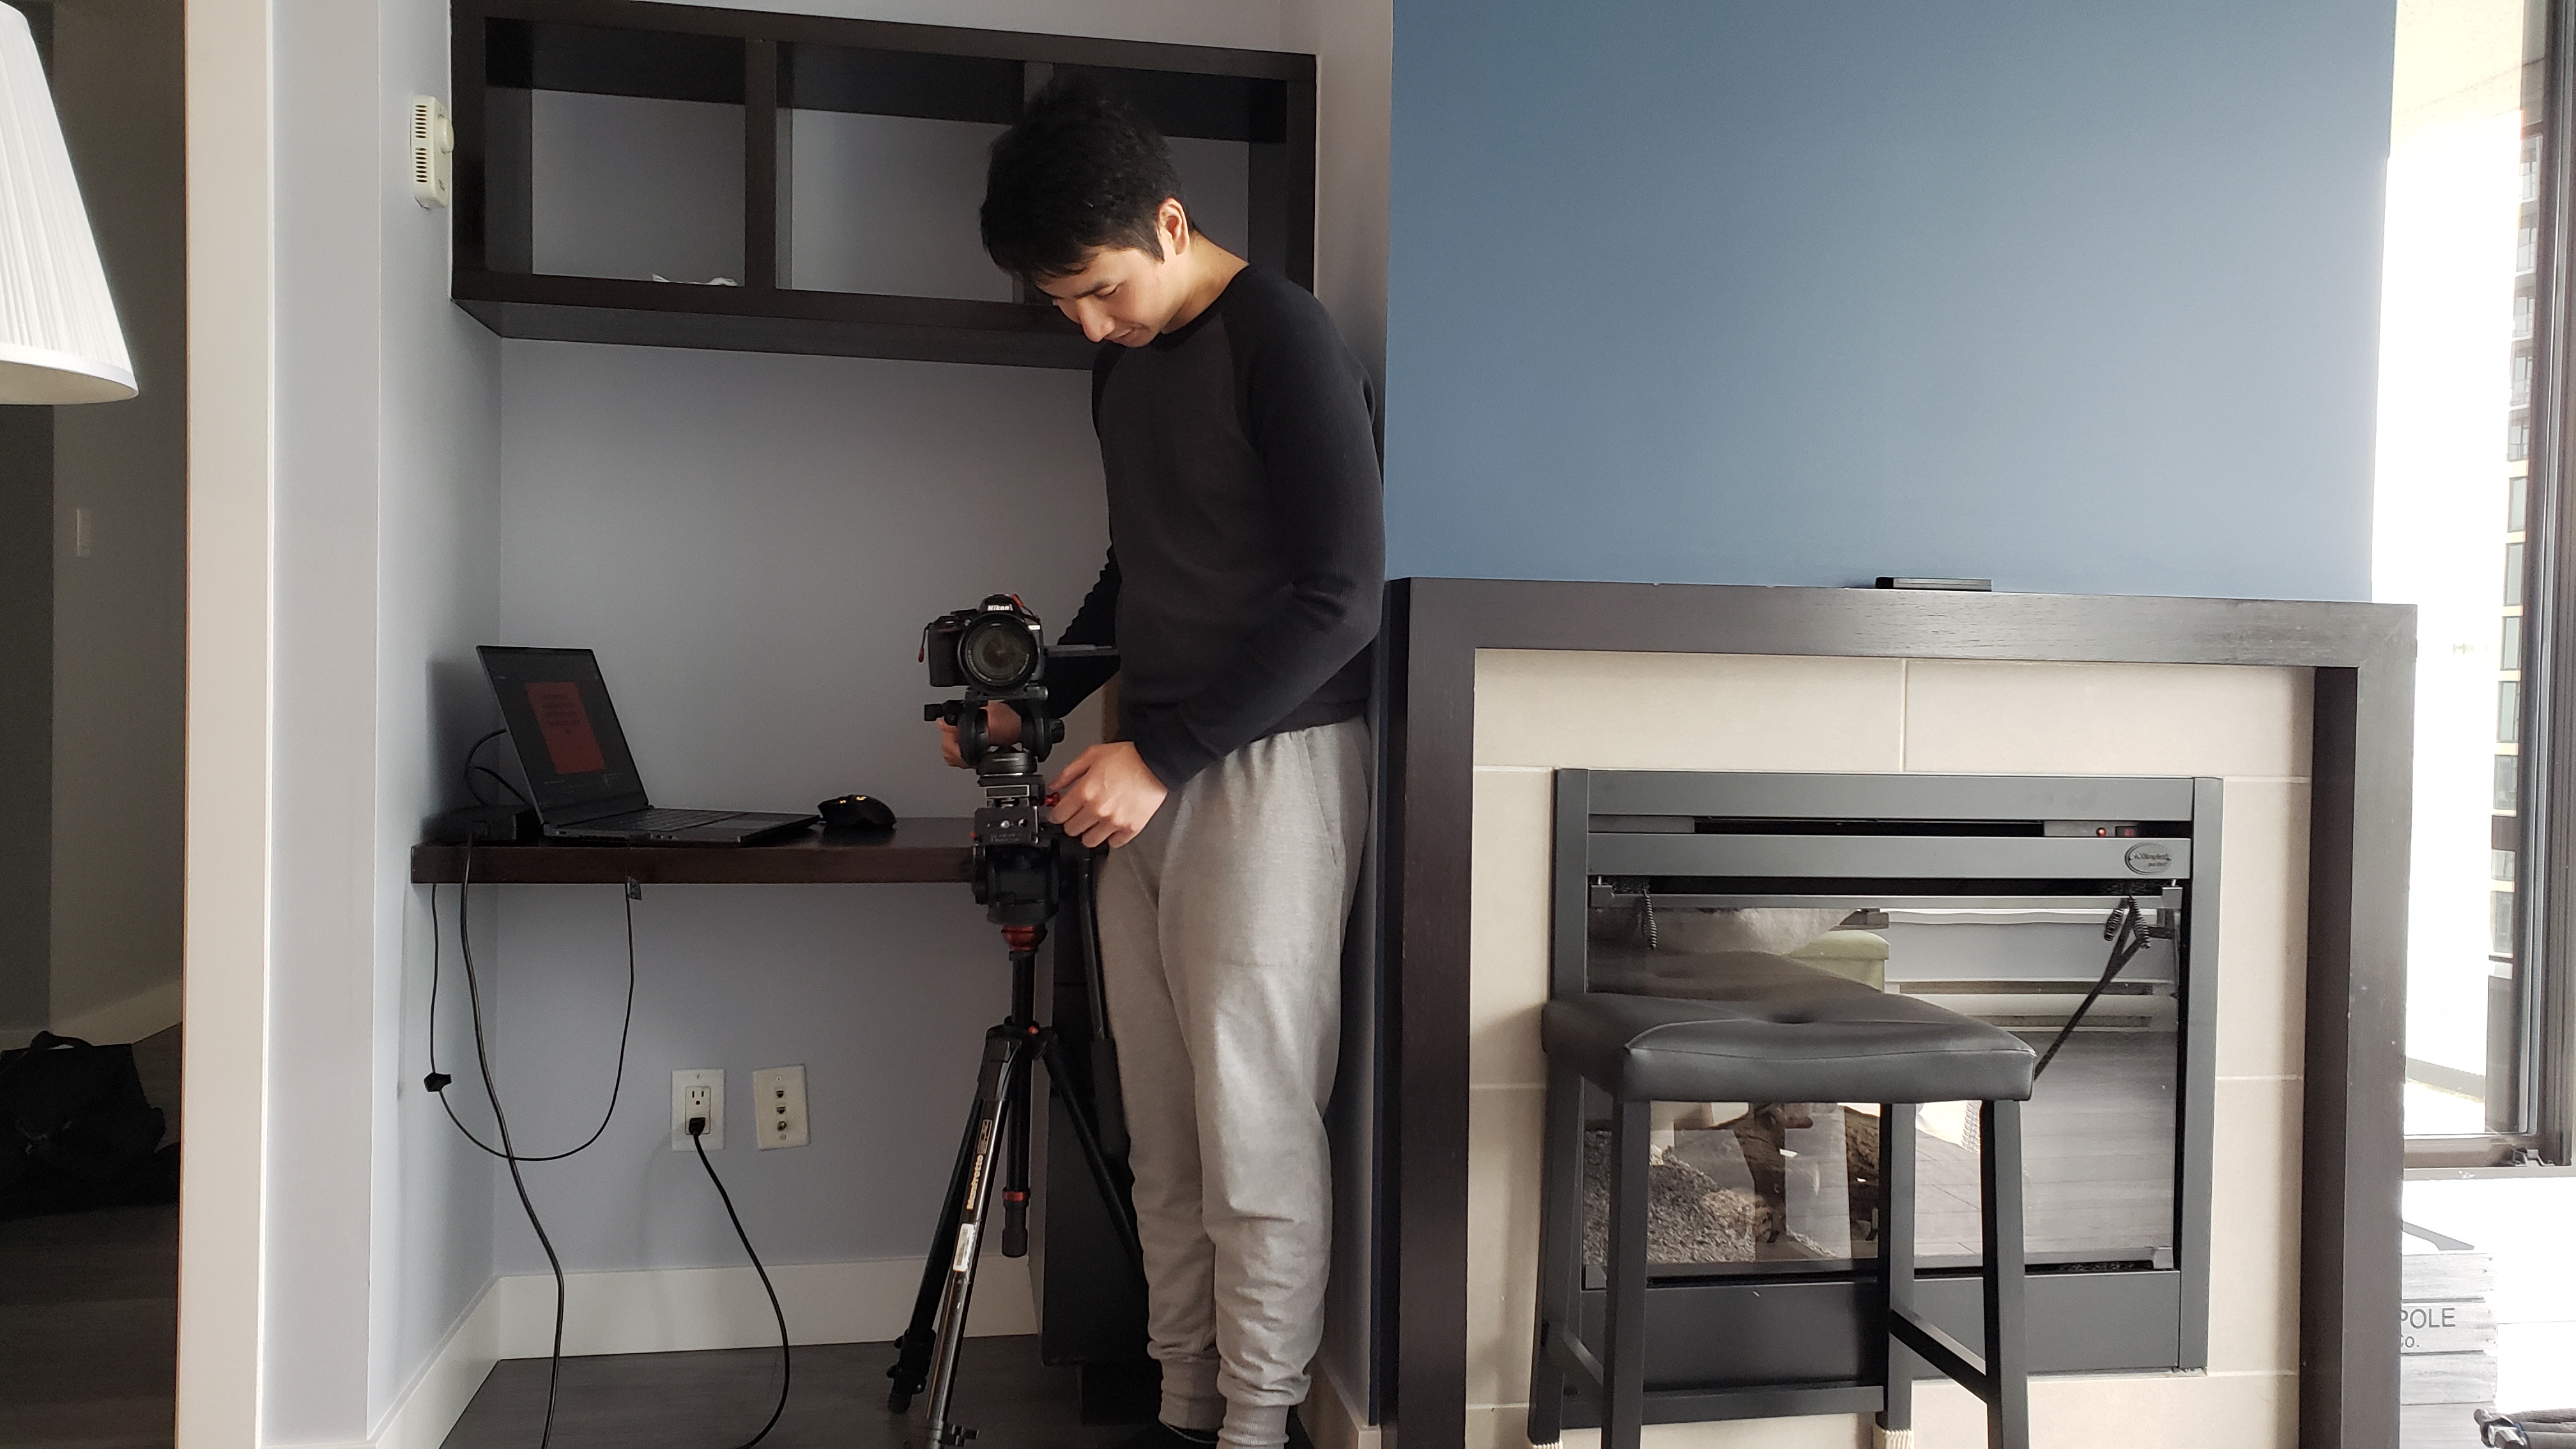
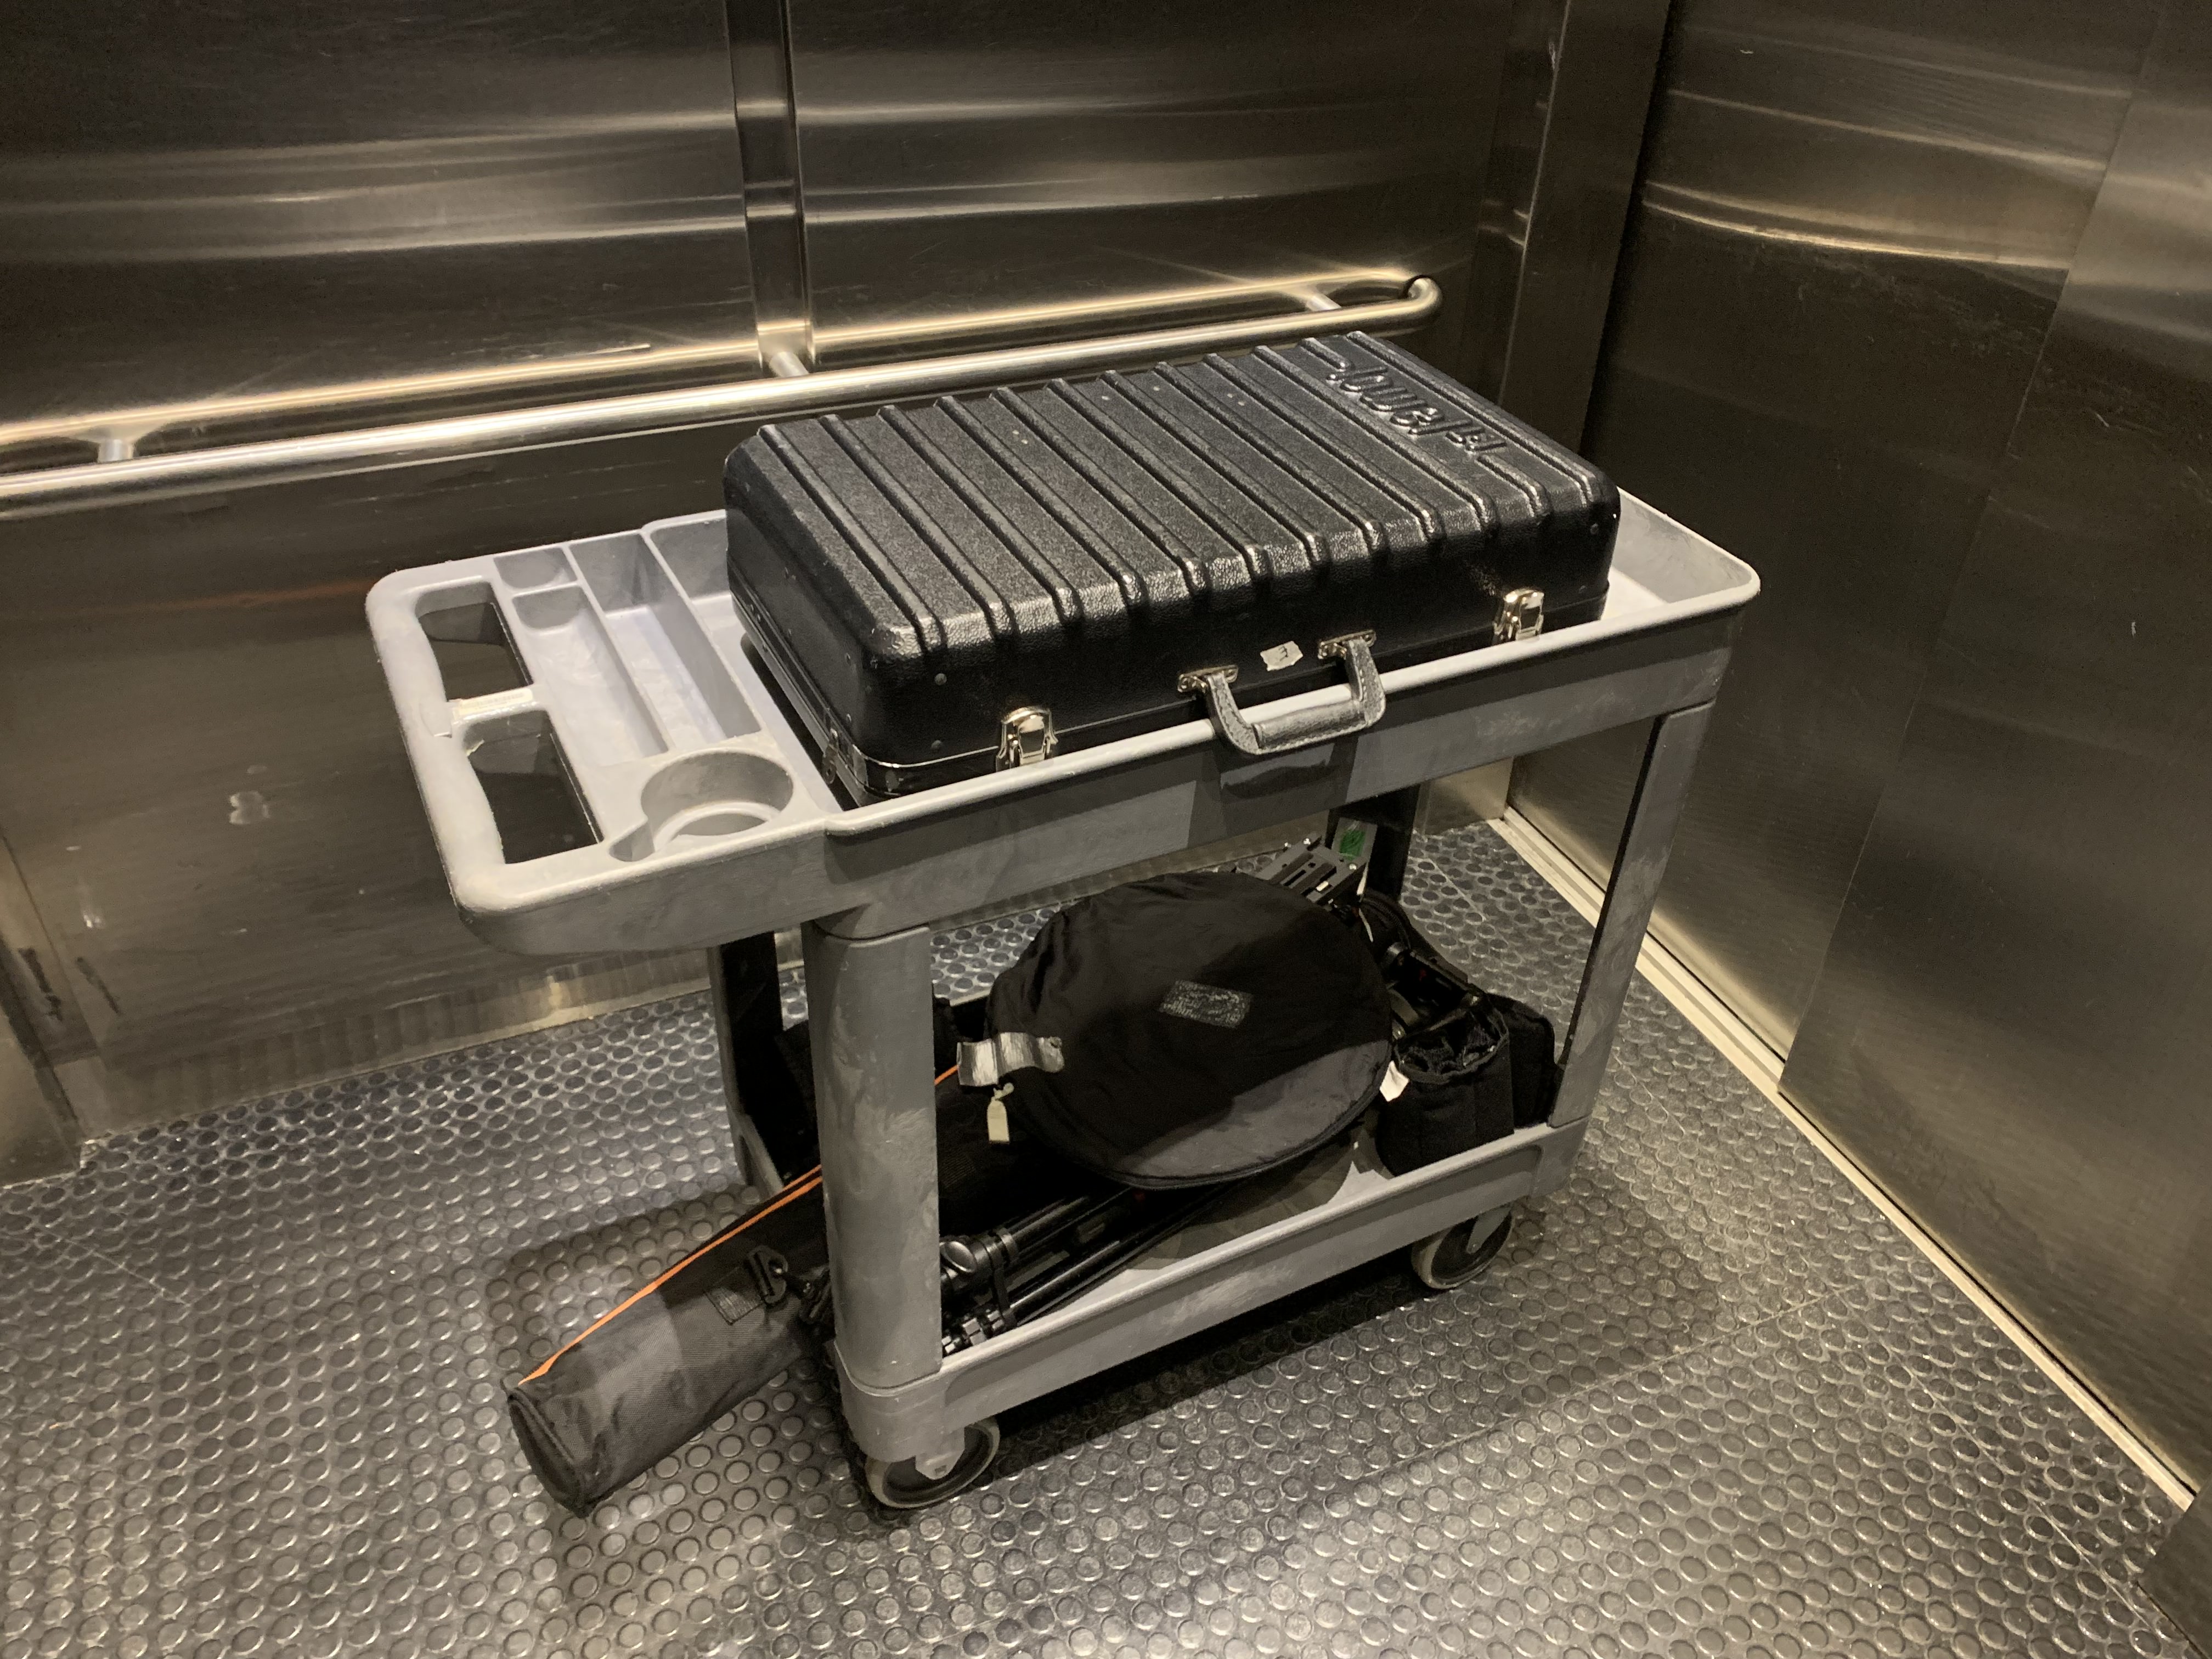
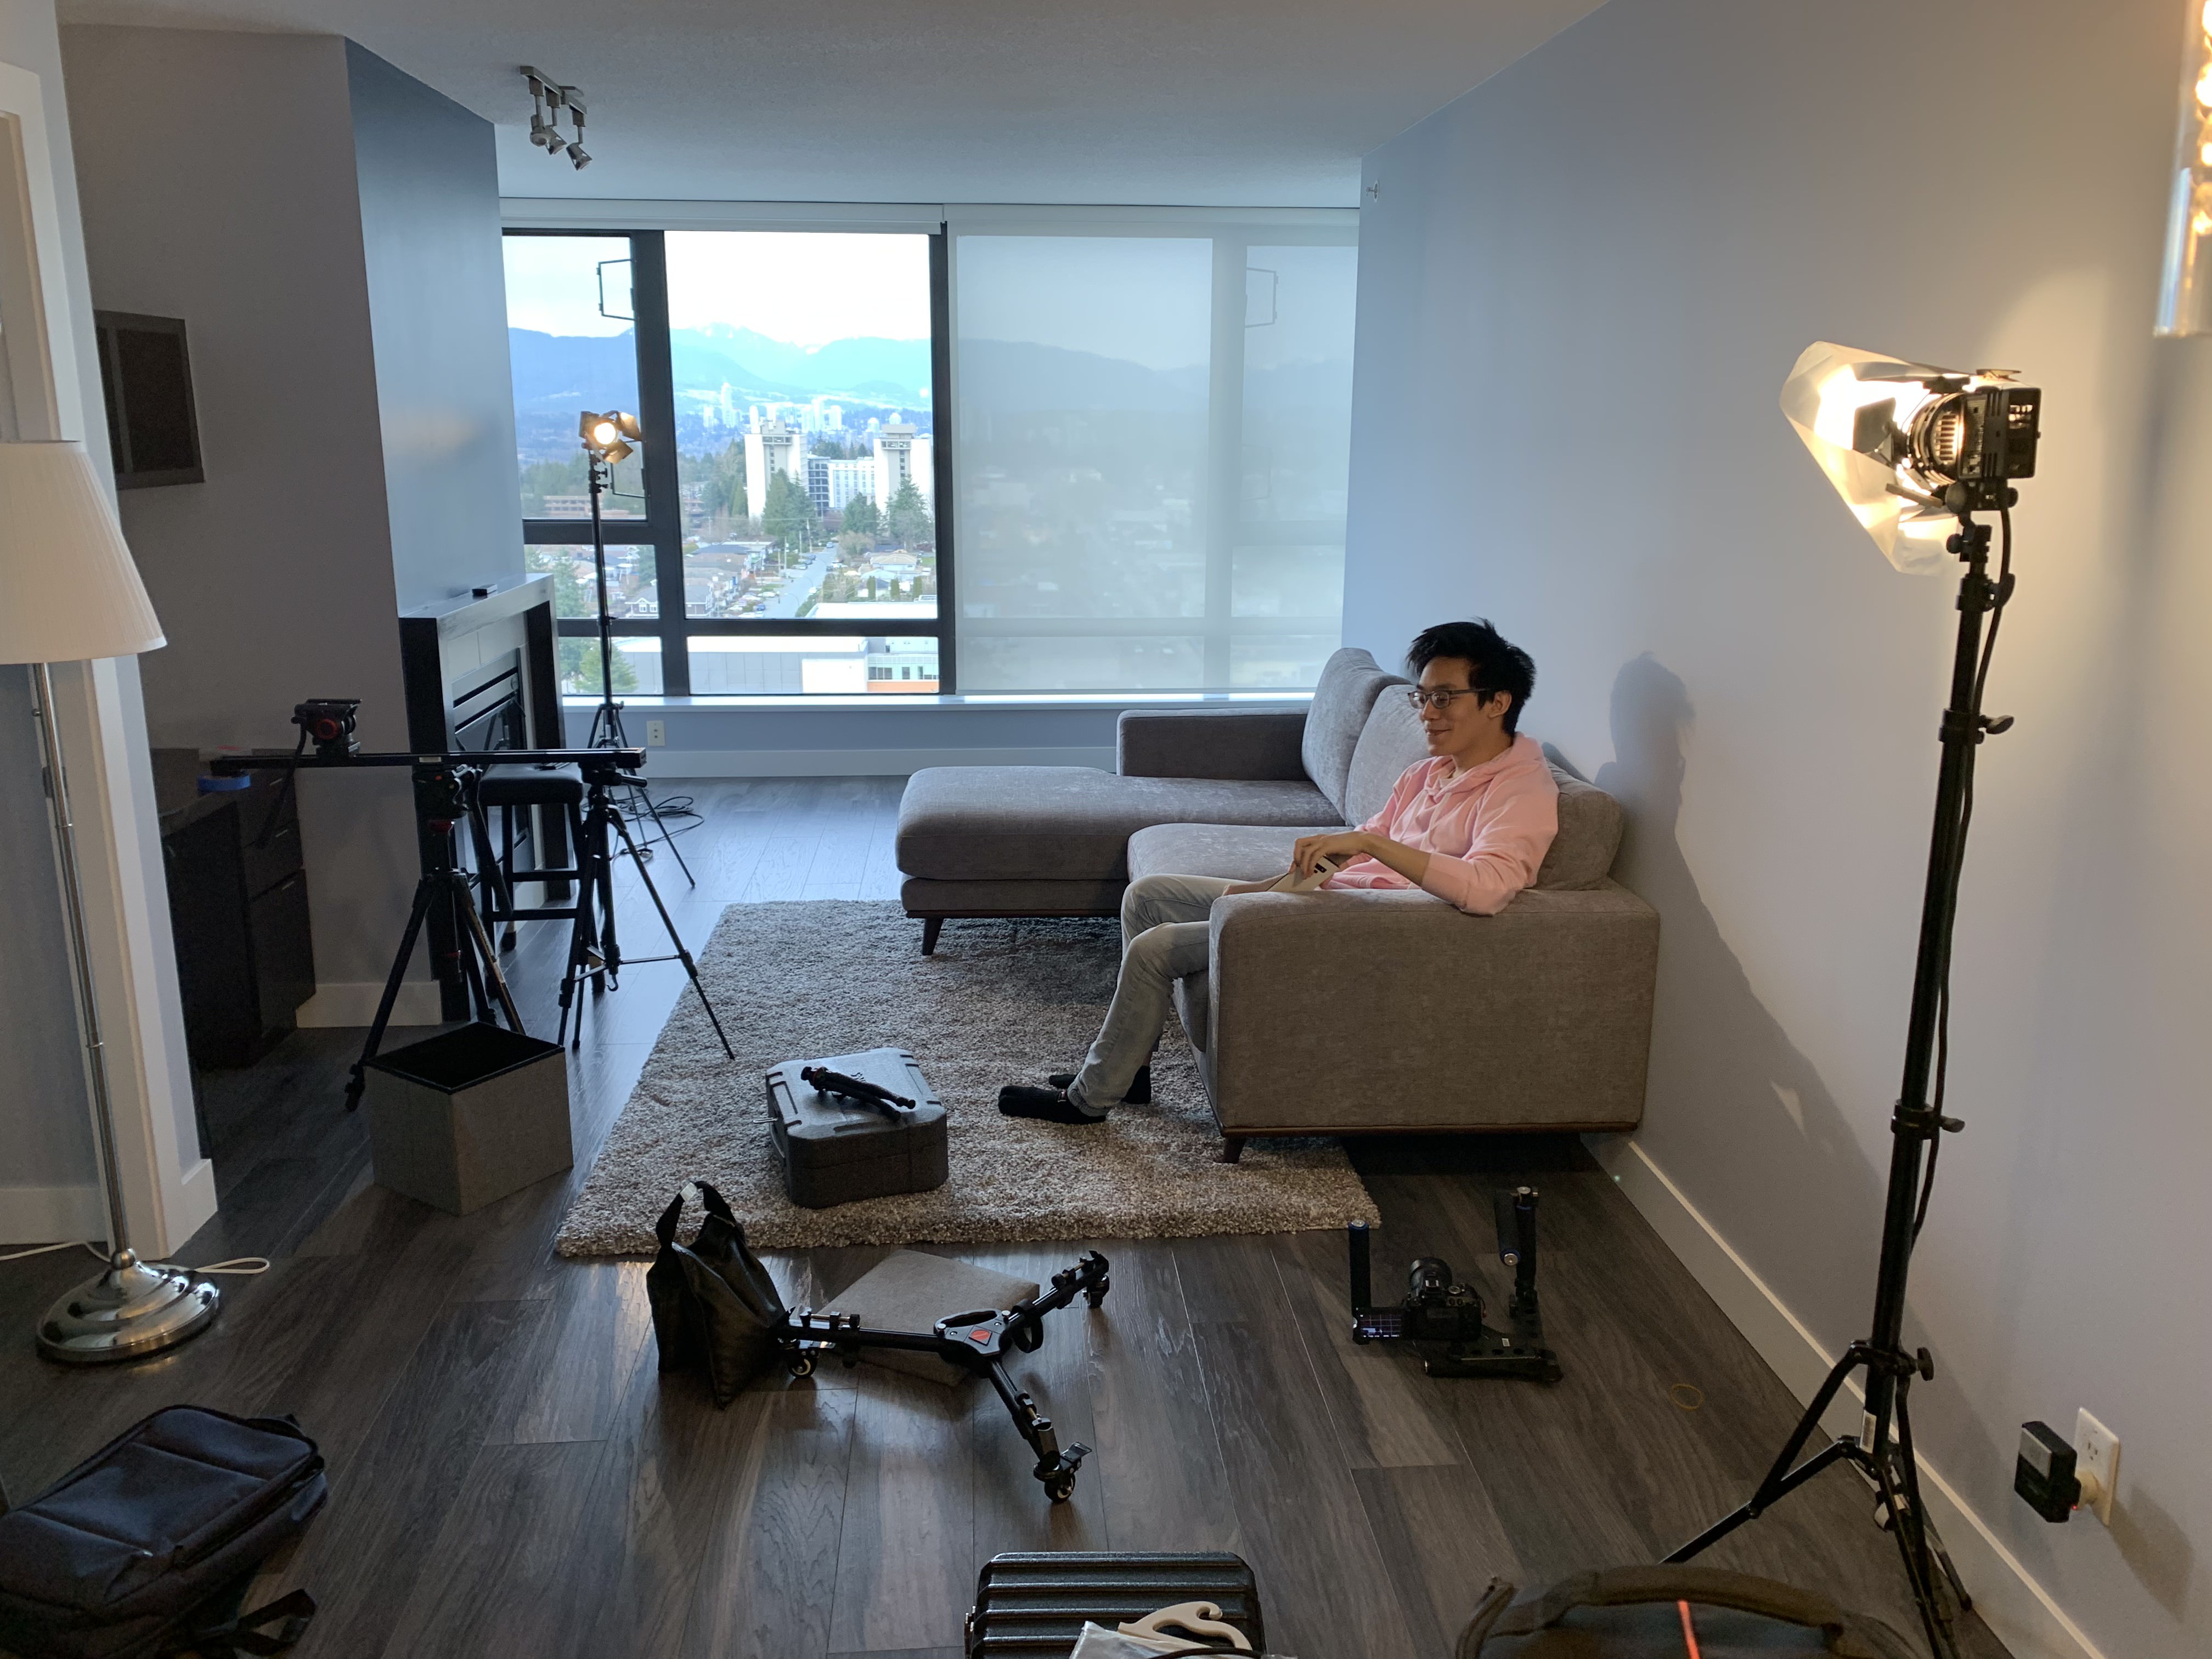
At this stage, we spent 4 days throughout the month shooting our film, which includes additional shots and reshoots as suggested from the feedback that we received during class. During the production, other than being the actor in our film, I have also directed how the camera, lighting, and environment should be set up. Since we filmed in a small condo unit, it was challenging to set up the camera and lighting in a confined living room, such that we had to find ways to work around it. Therefore, instead of shooting with a 35mm prime lens as we did for all other shots, I switched it to a wider 18mm to 85mm zoom lens and set it to 18mm for the living room frontal shot.
POST-PRODUCTION
Visual Effects/ Animation
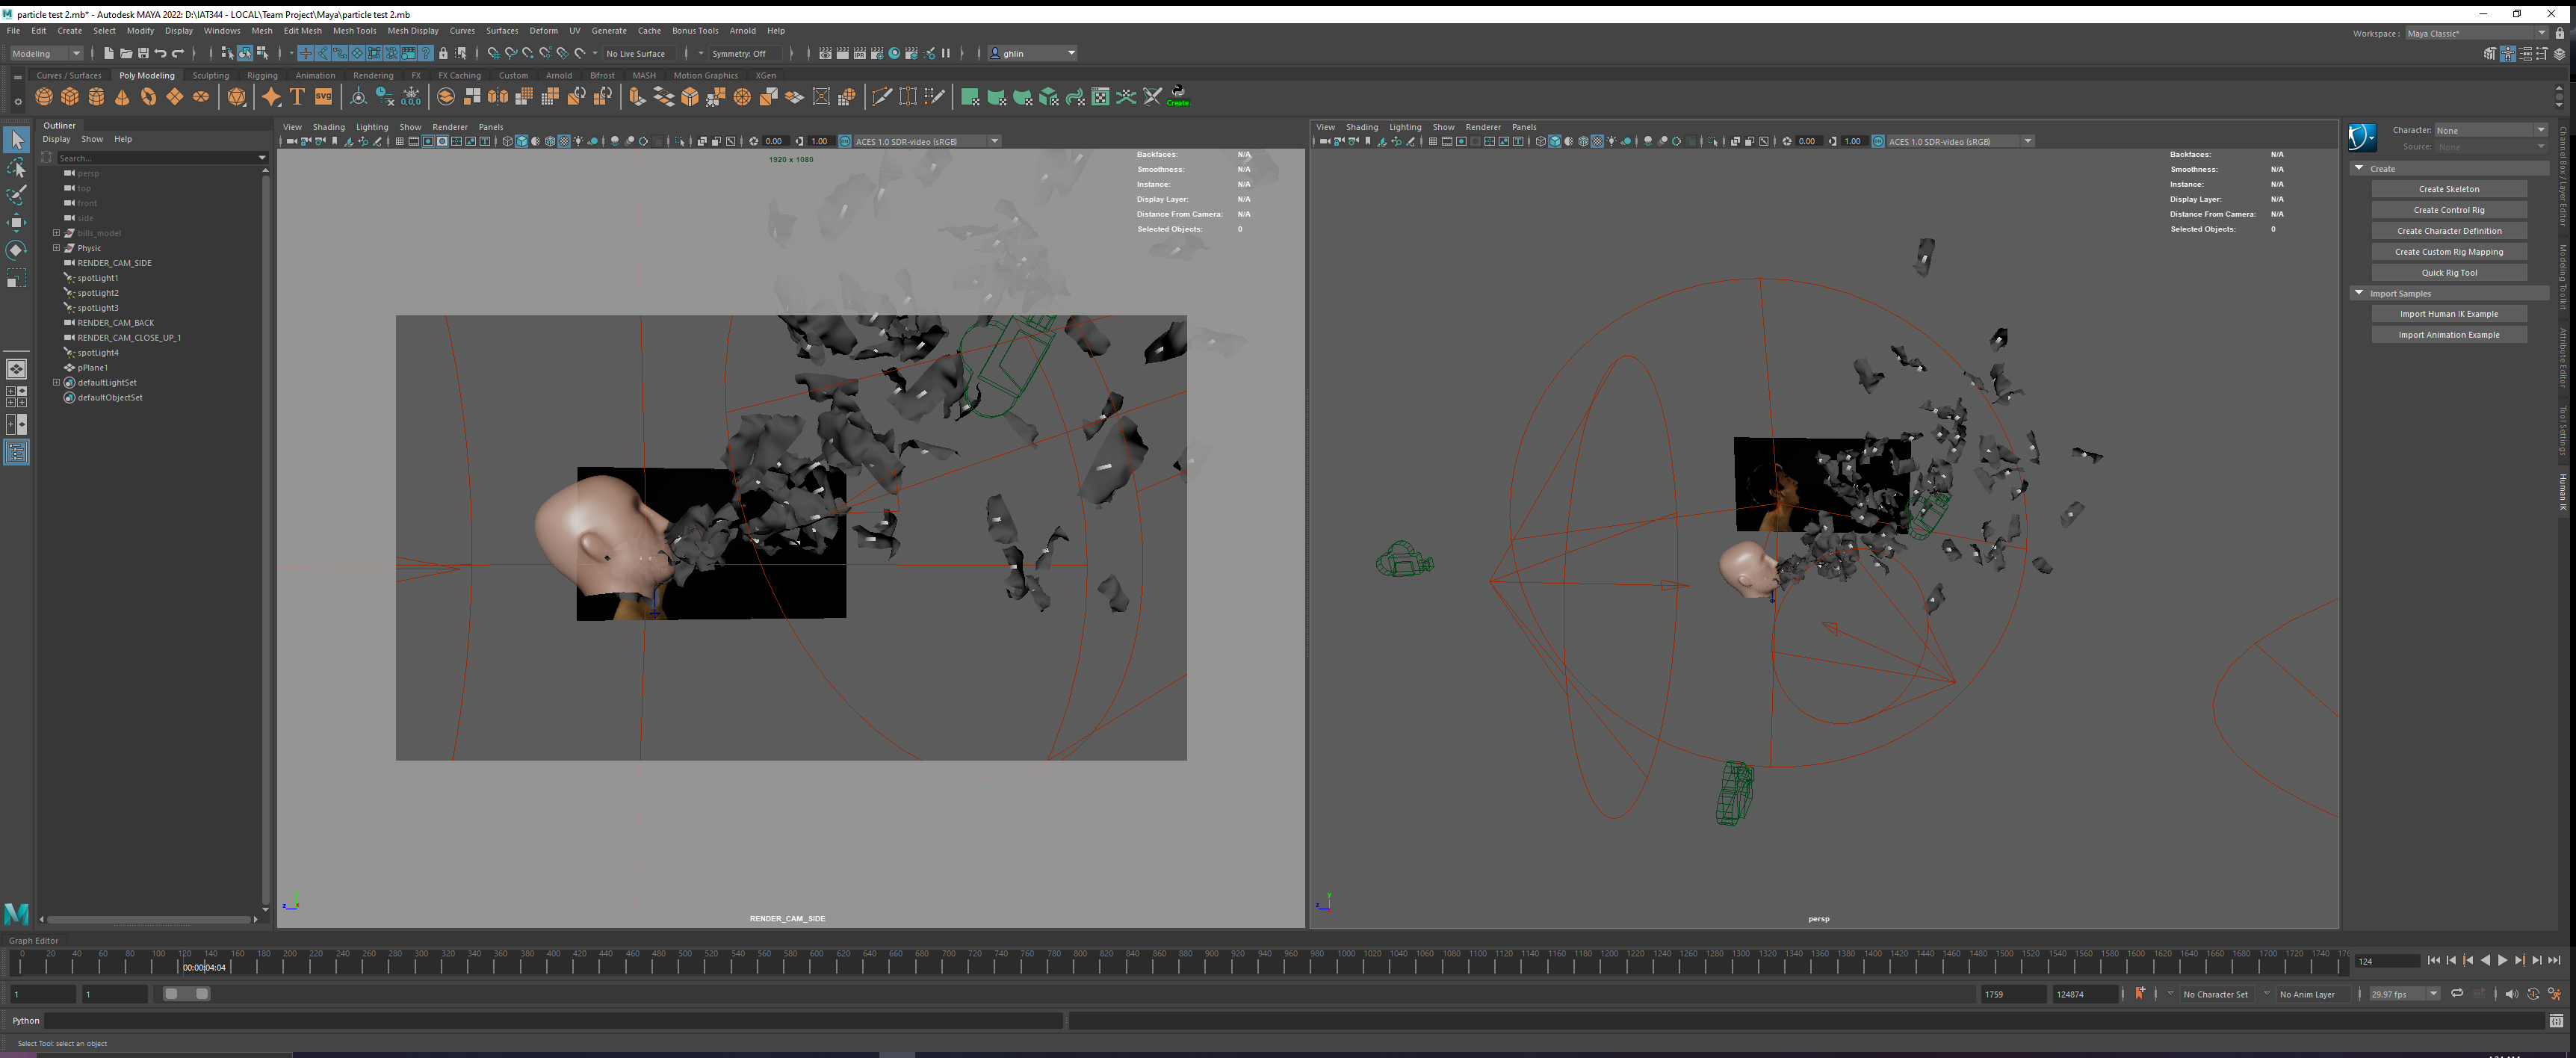
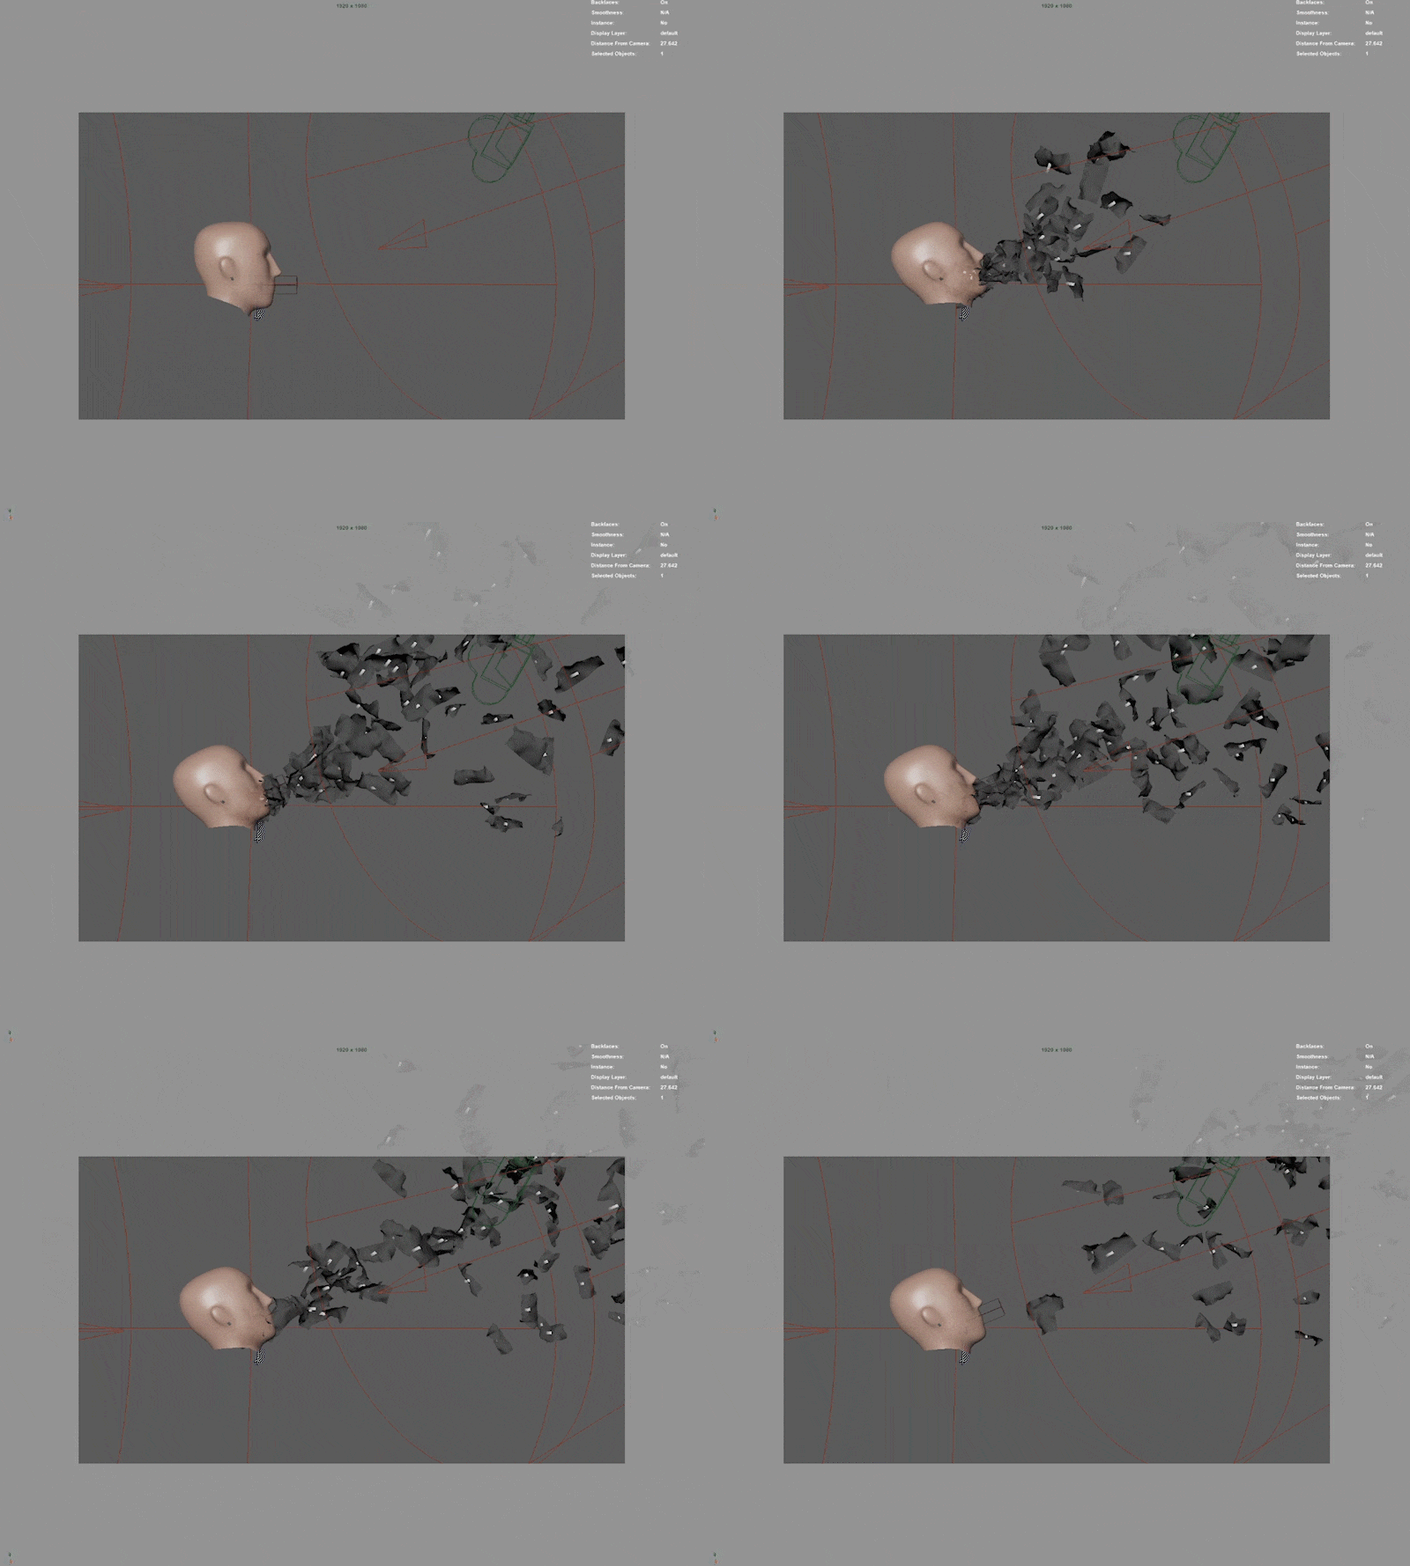
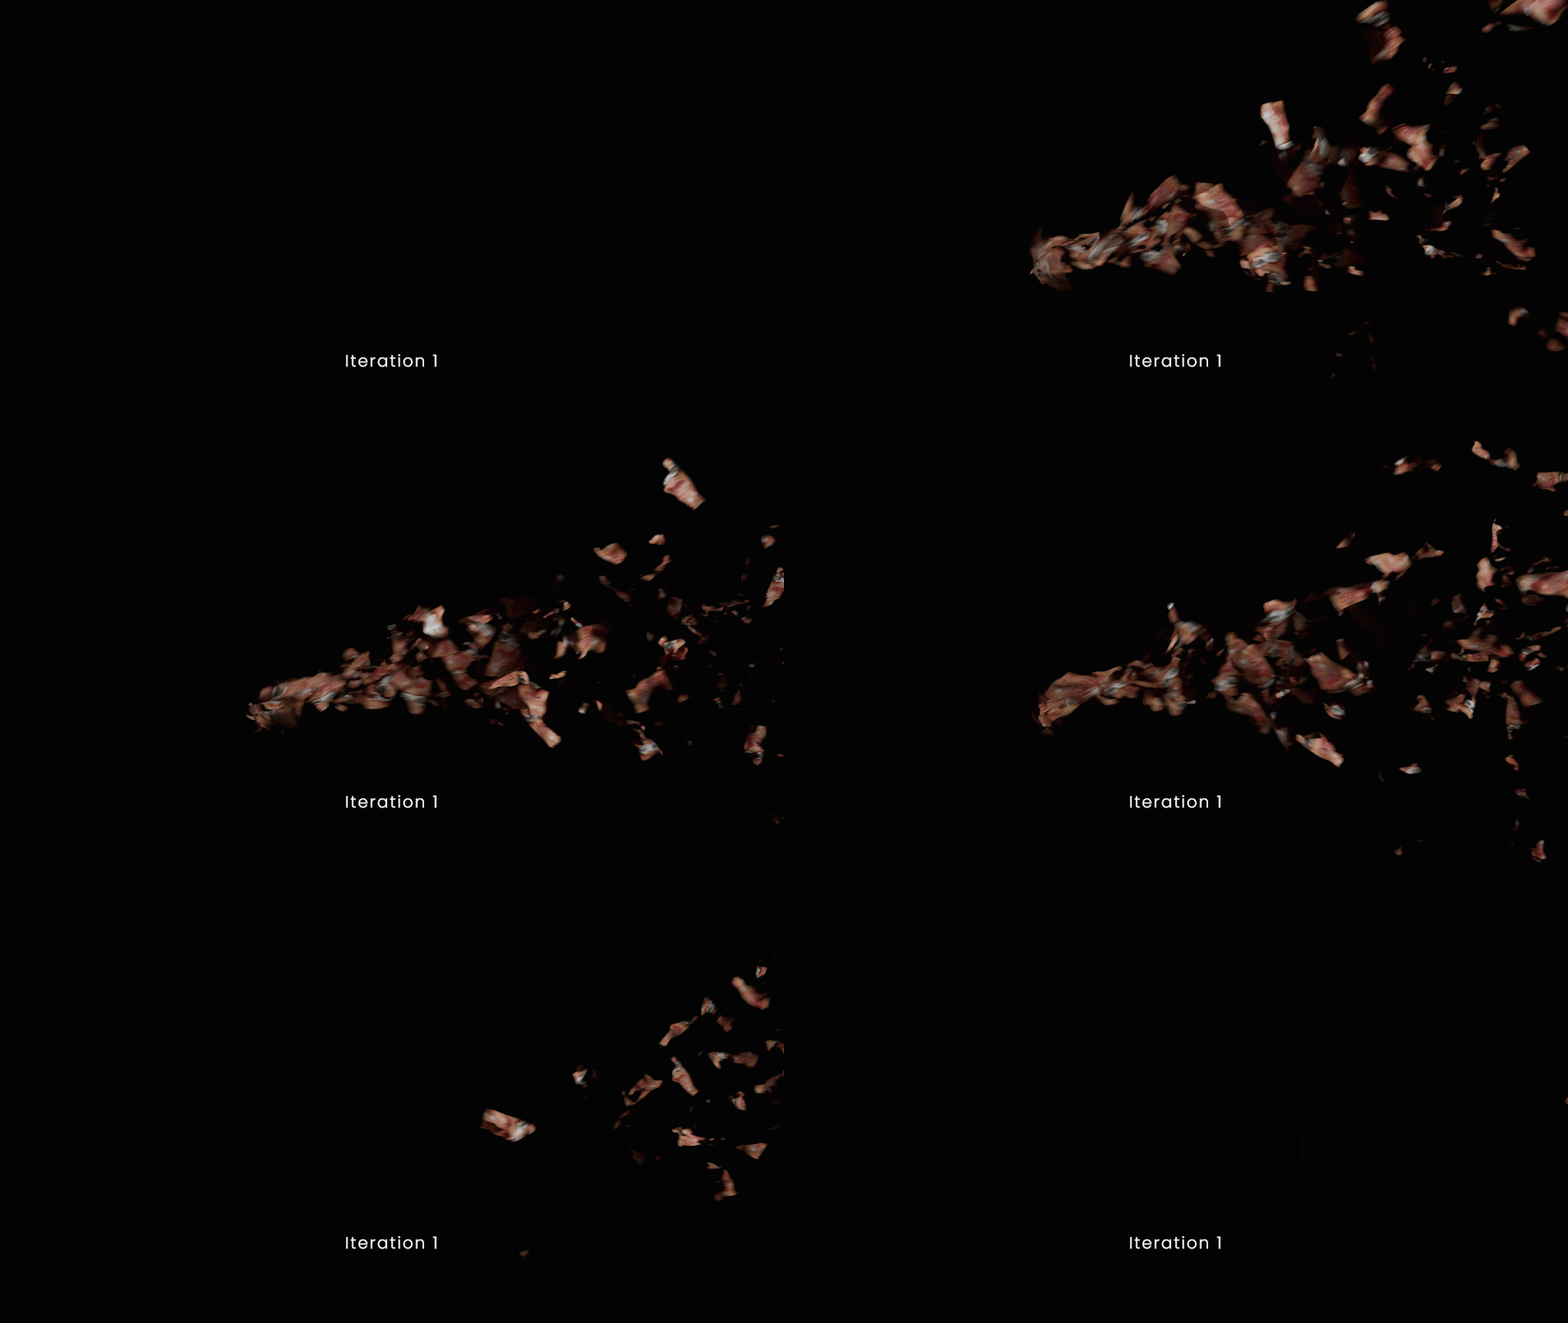
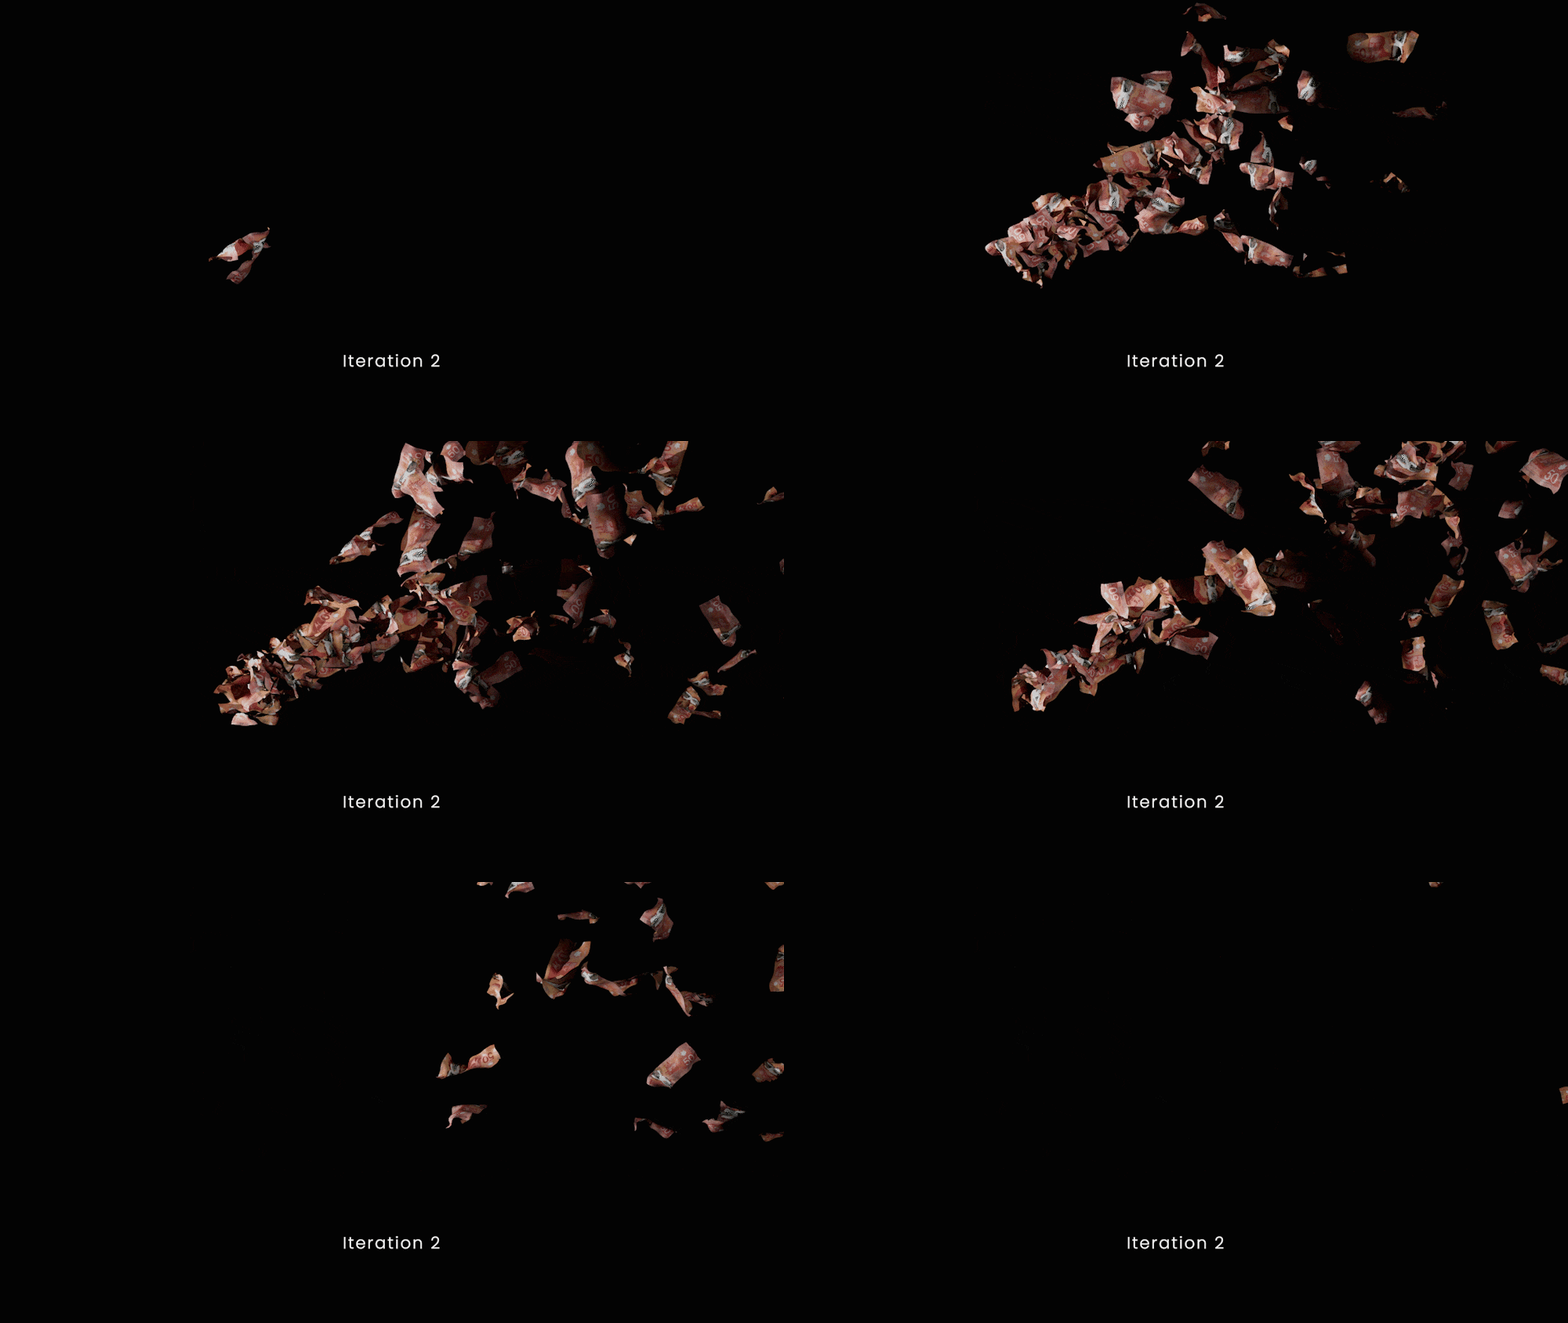
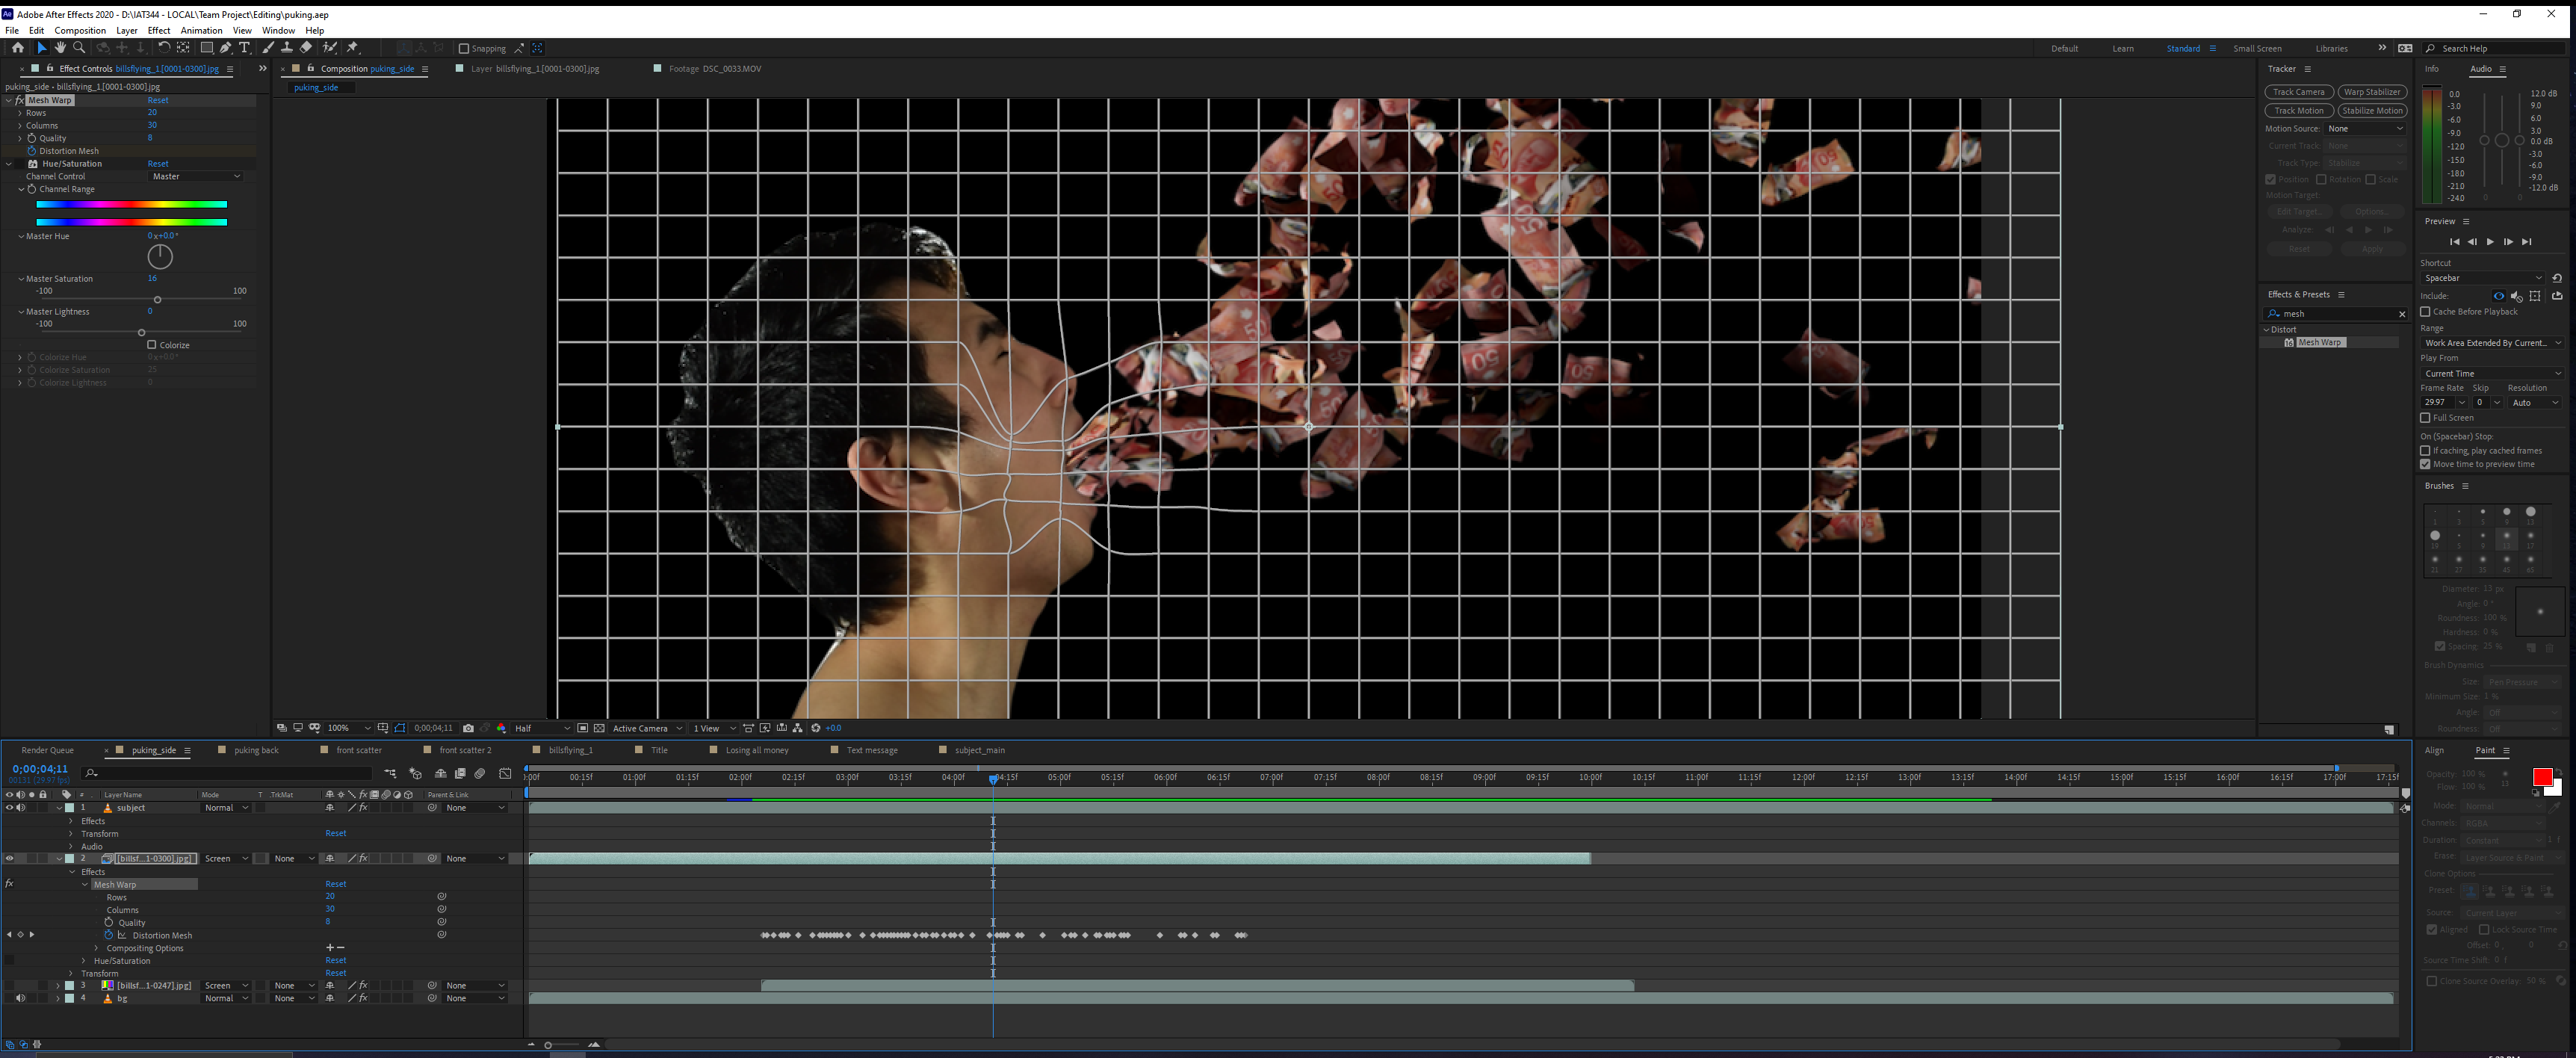
While my teammate focused on video editing, I was solely in charge of the visual effects. I modeled and textured the 50 Canadian dollar bills, and then simulated the wind and particle physics in Maya. To make this visual effect more realistic, I imported the corresponding video footage into Maya and used it as a reference for the lighting and the head movement, so that the bills will accurately spawn from the right location as where my mouth is in the footage. In the first iteration of this effect, I received feedback from my peers and teacher assistant that it was too difficult to see what exactly the objects were due to the motion blur and they also didn’t think they look like money bills flying in the air as they were sprawling out too quickly. Therefore, I decreased the motion blur to a very subtle degree, reduced the amount of the bills, and slowed down their motion in the second iteration.
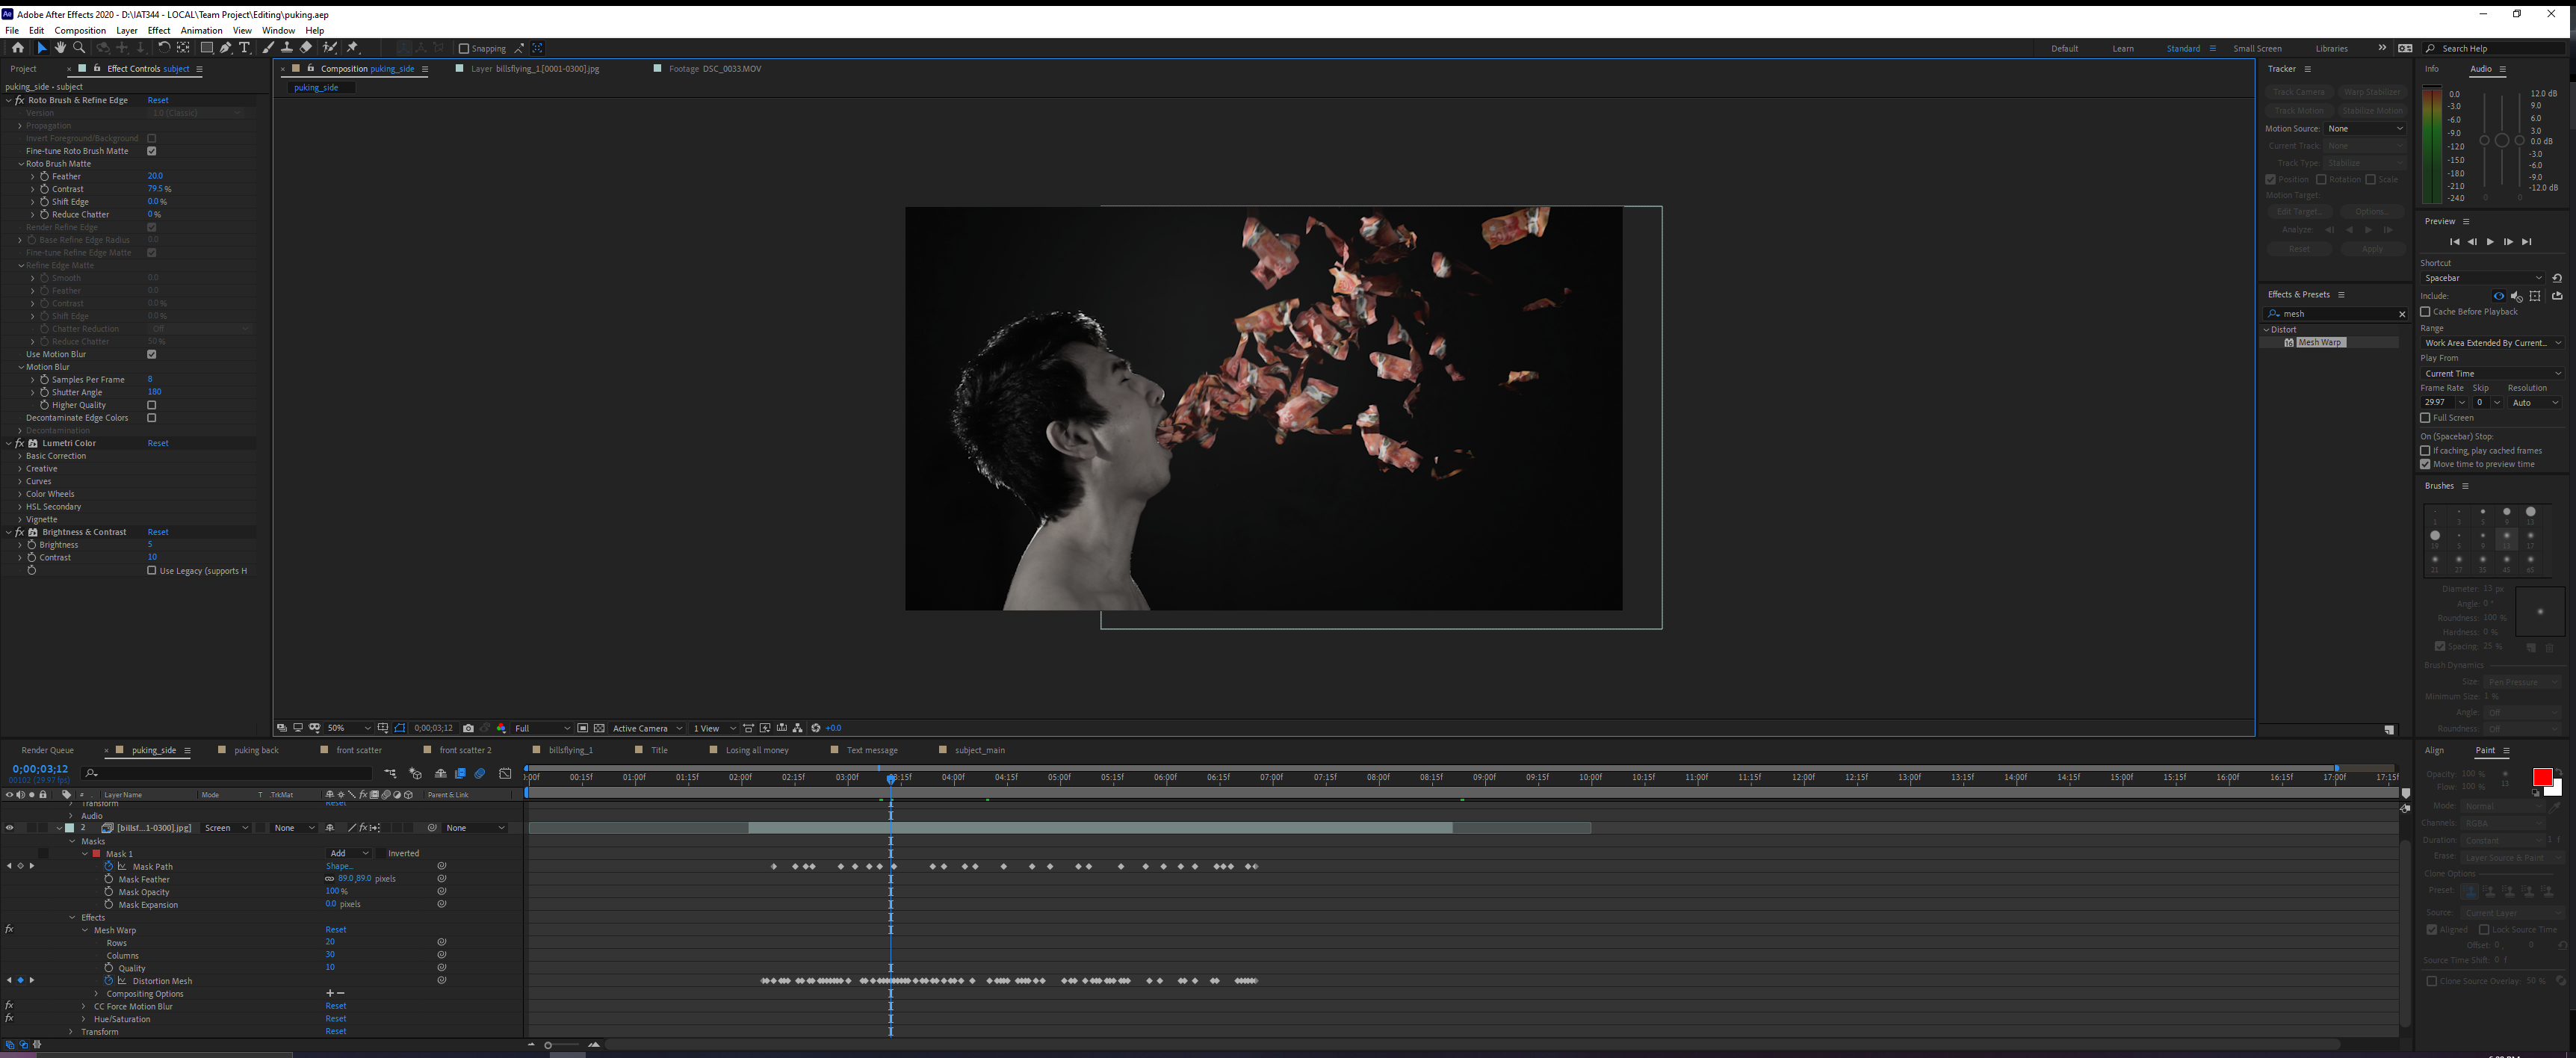
Then, I rendered the animation and imported it into After Effects to combine the animation with the real footage.
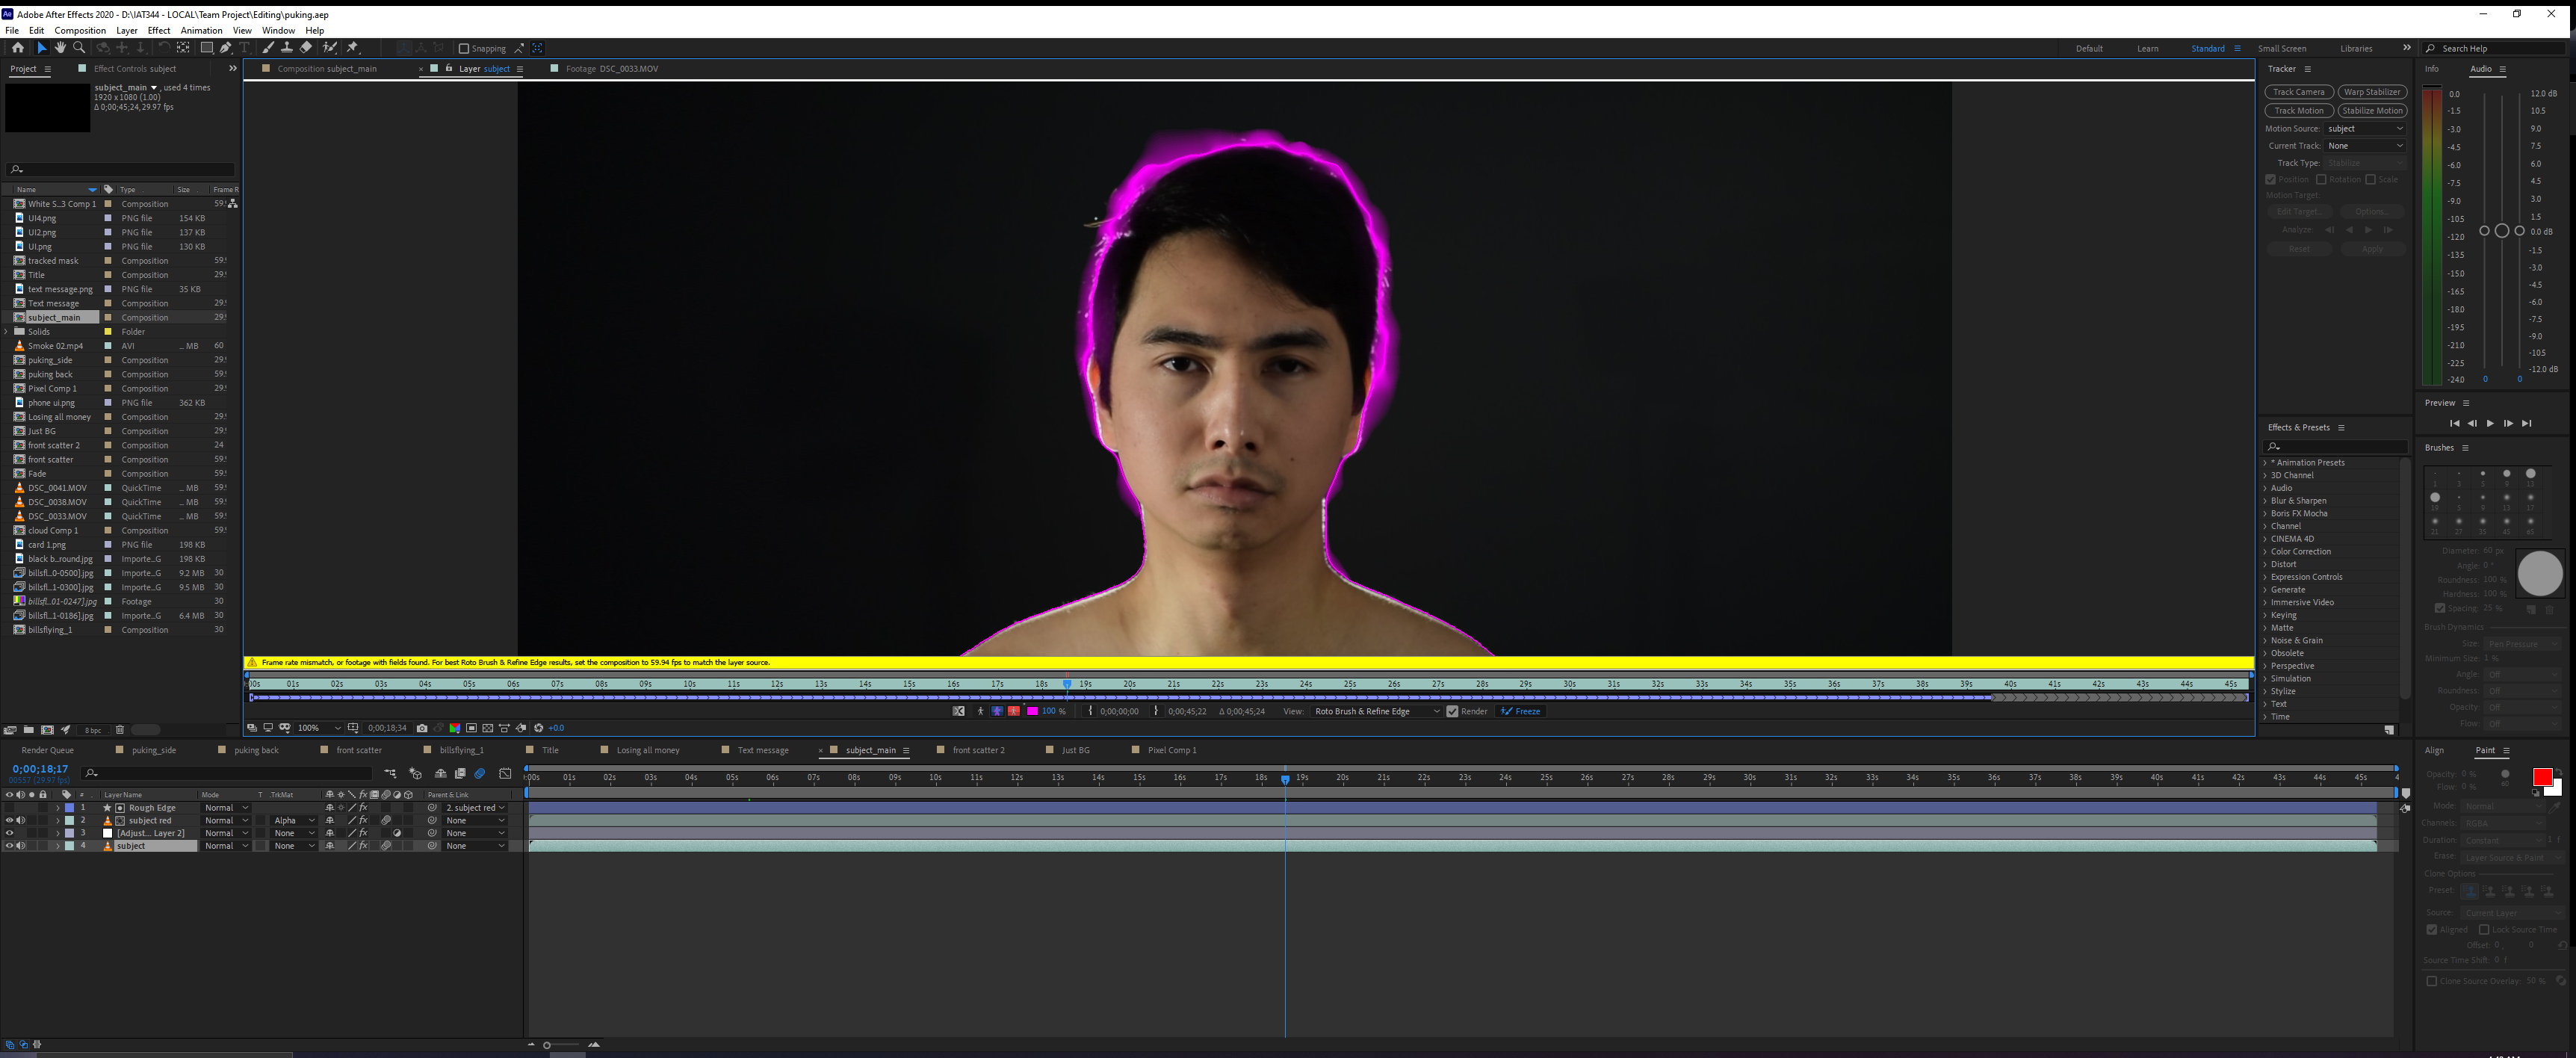
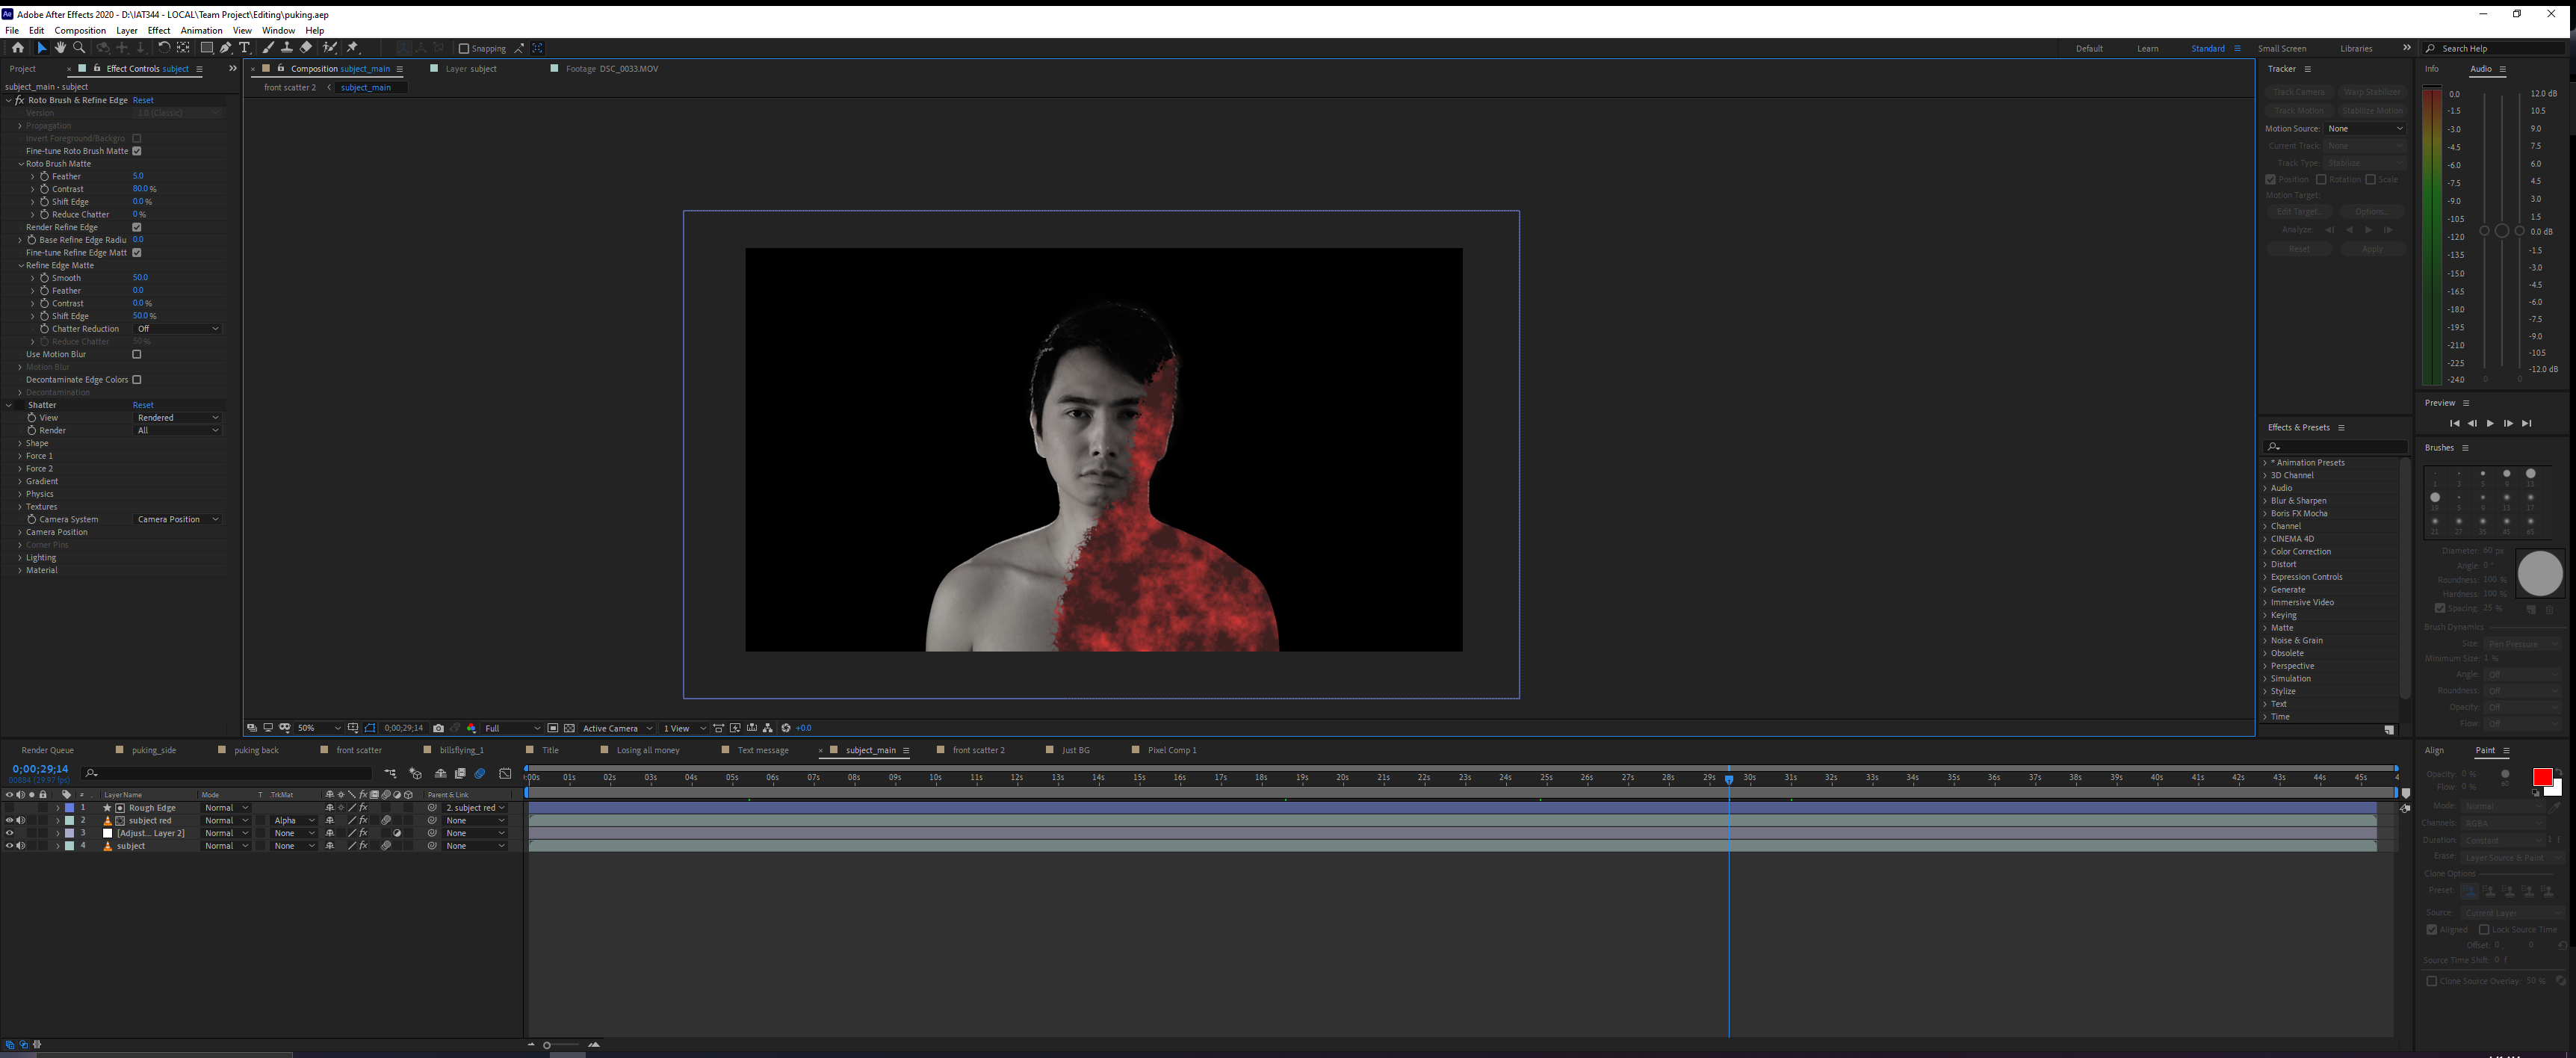
Another visual effect that I made was the shattering effect. I rotoscoped my body to separate myself from the background in After effects so that only my body disintegrates and not with the background. However, I realized that we didn’t take a photo of the background which will leave an empty hole behind the subject, so I used Photoshop to manually remove my body and painted the background using the stamp tool.
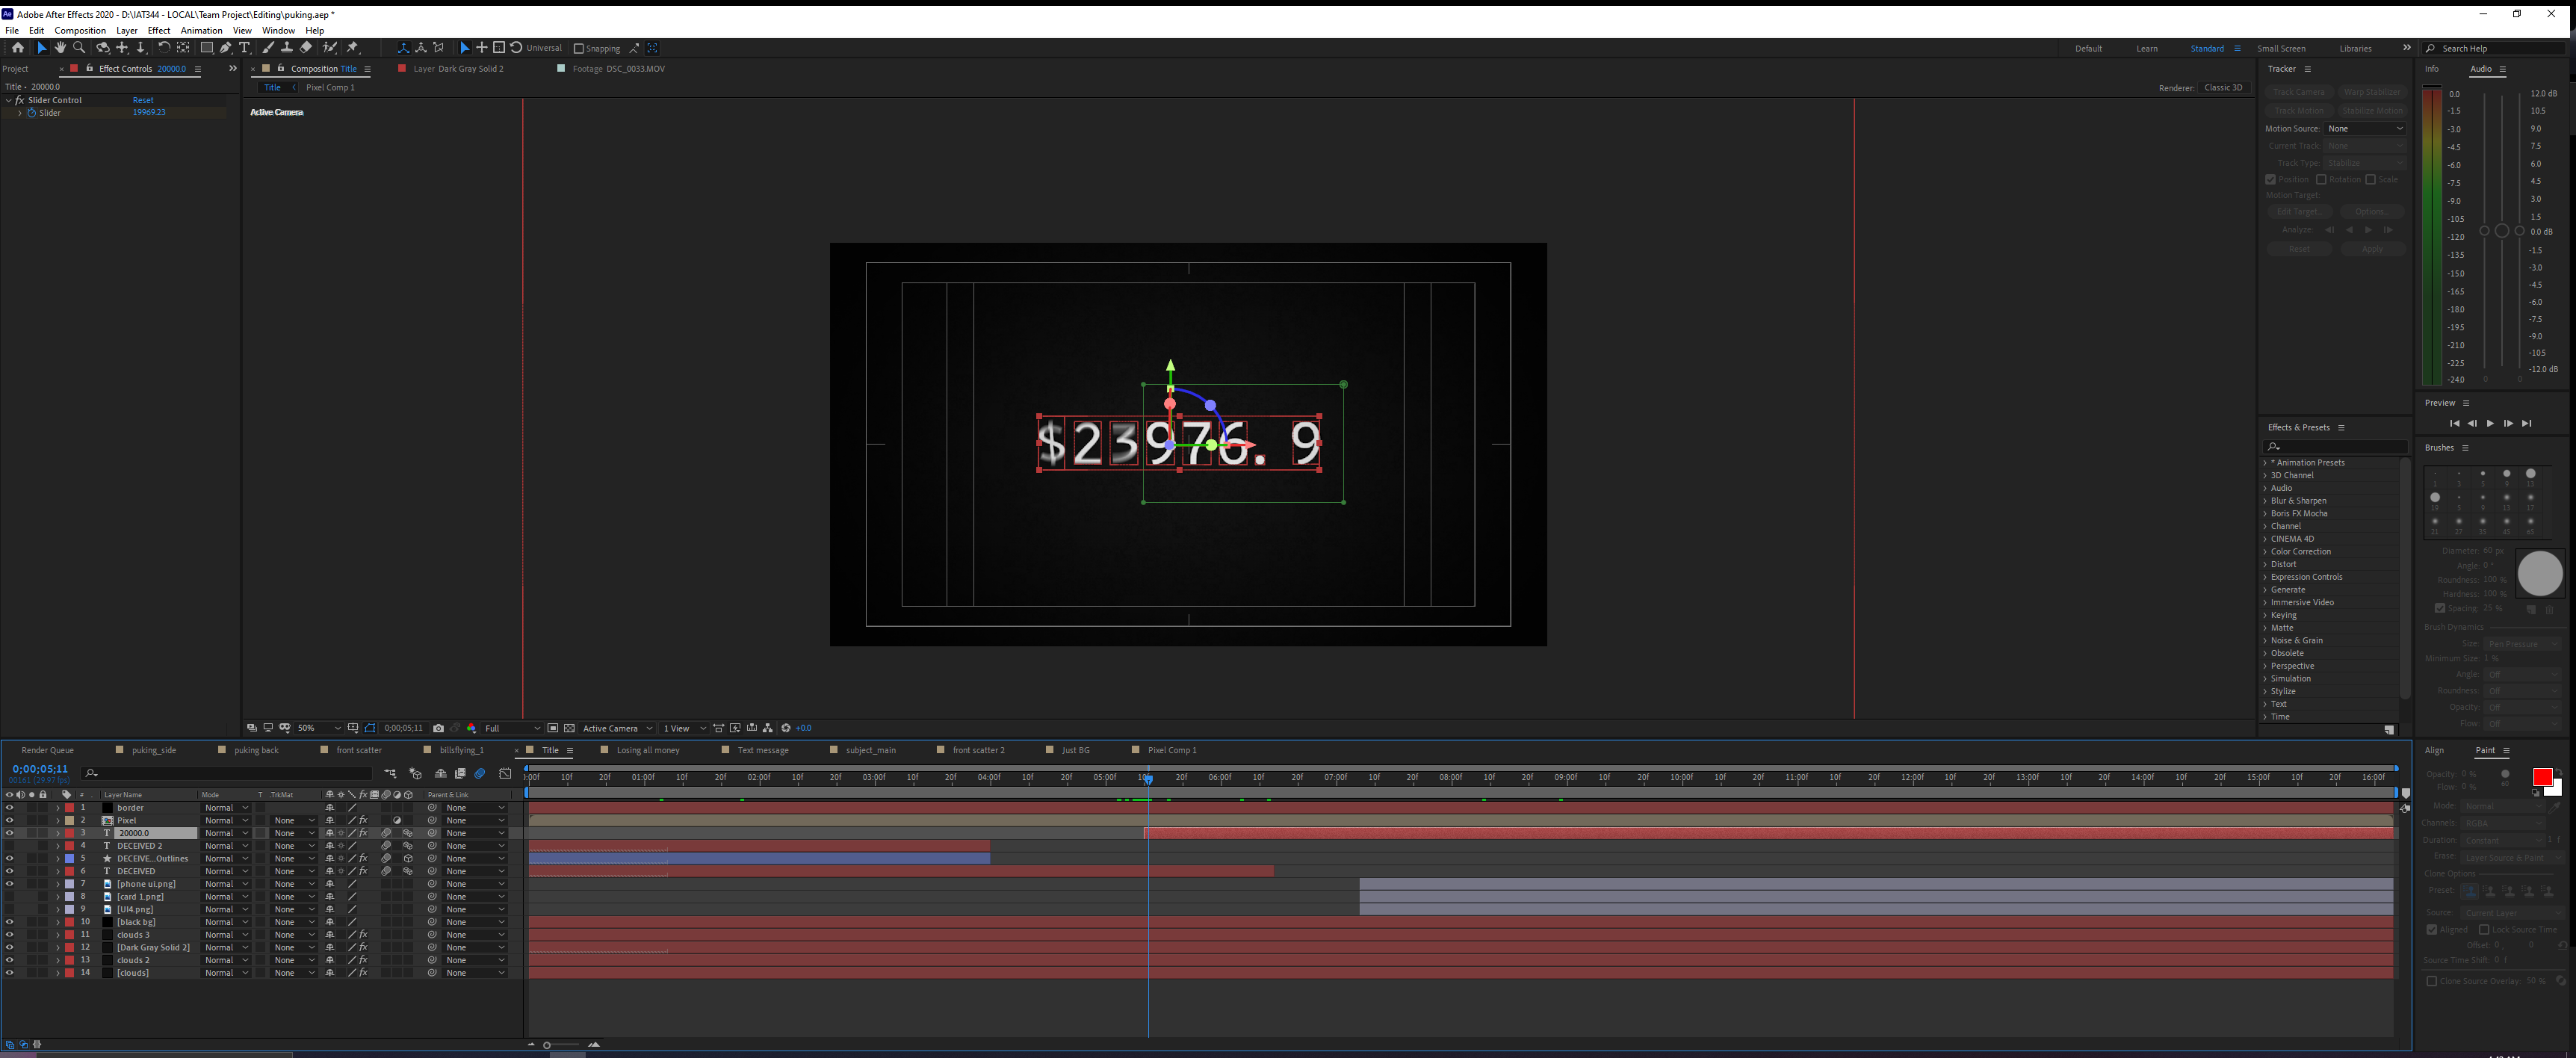
In addition to visual effects, I have also animated the title and other texts in After Effects. Then, I added effects to them that make them pixelated, to emulate them as being displayed on a monitor screen.
Sound Design
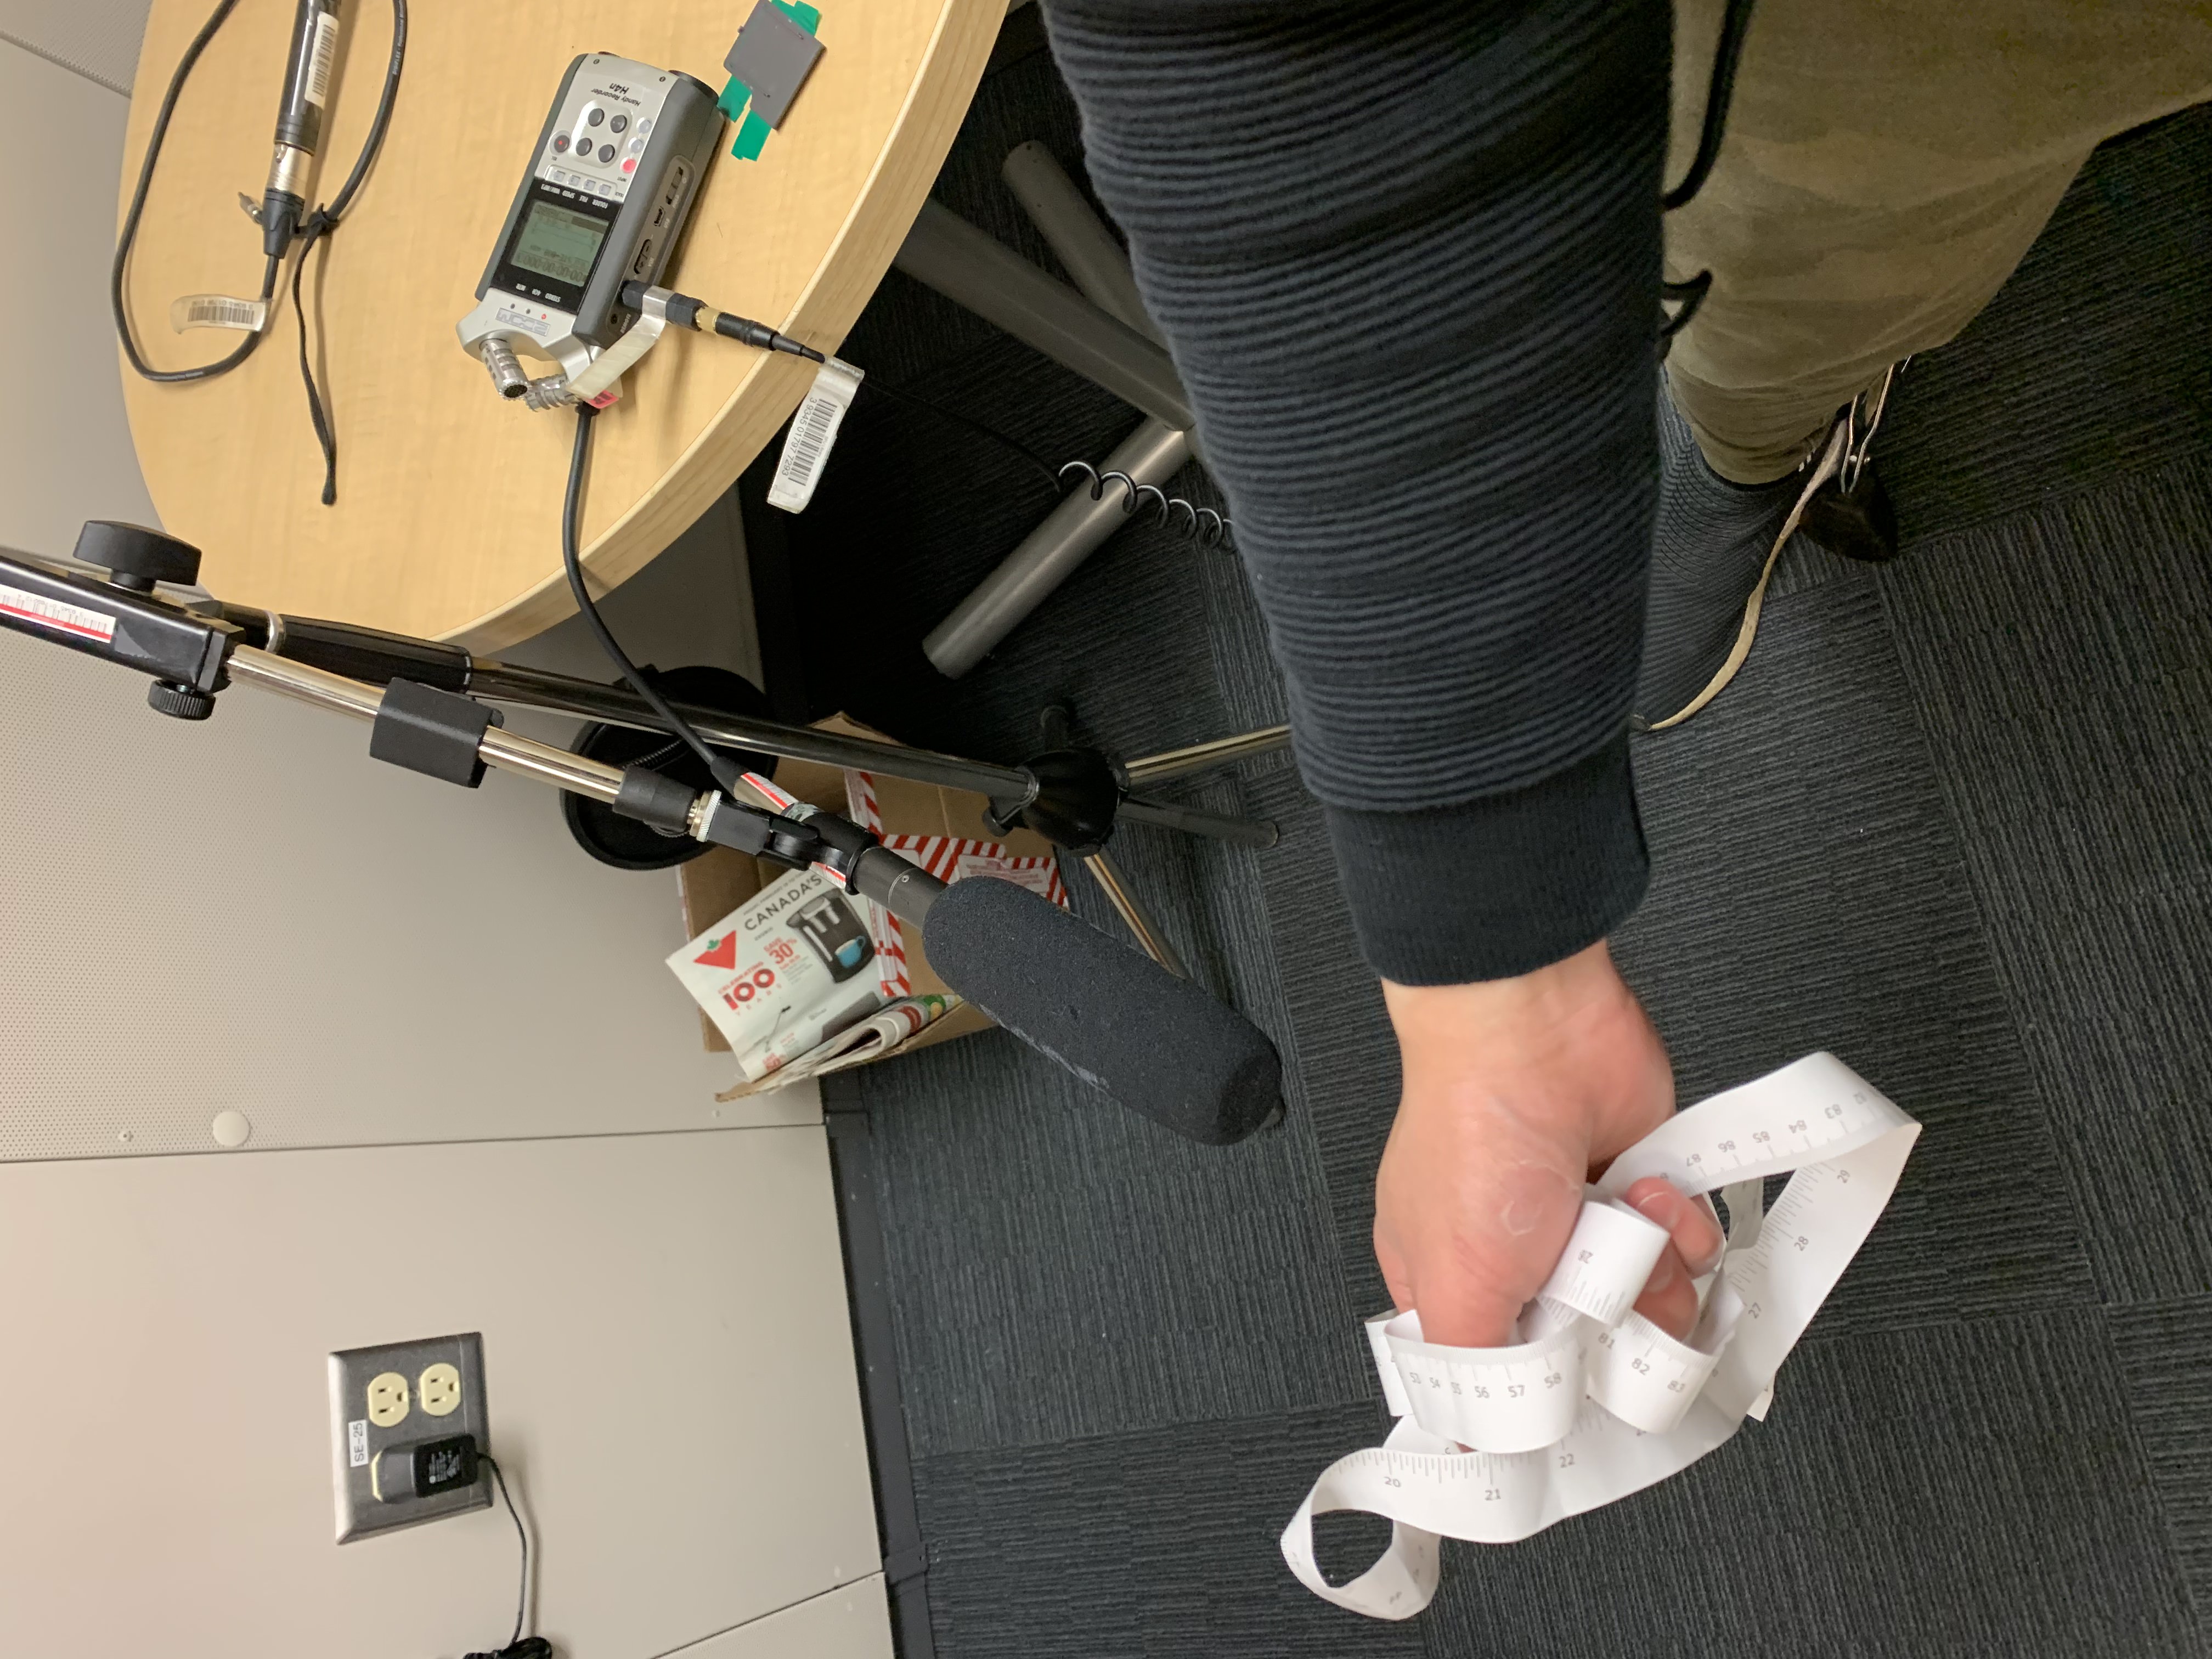
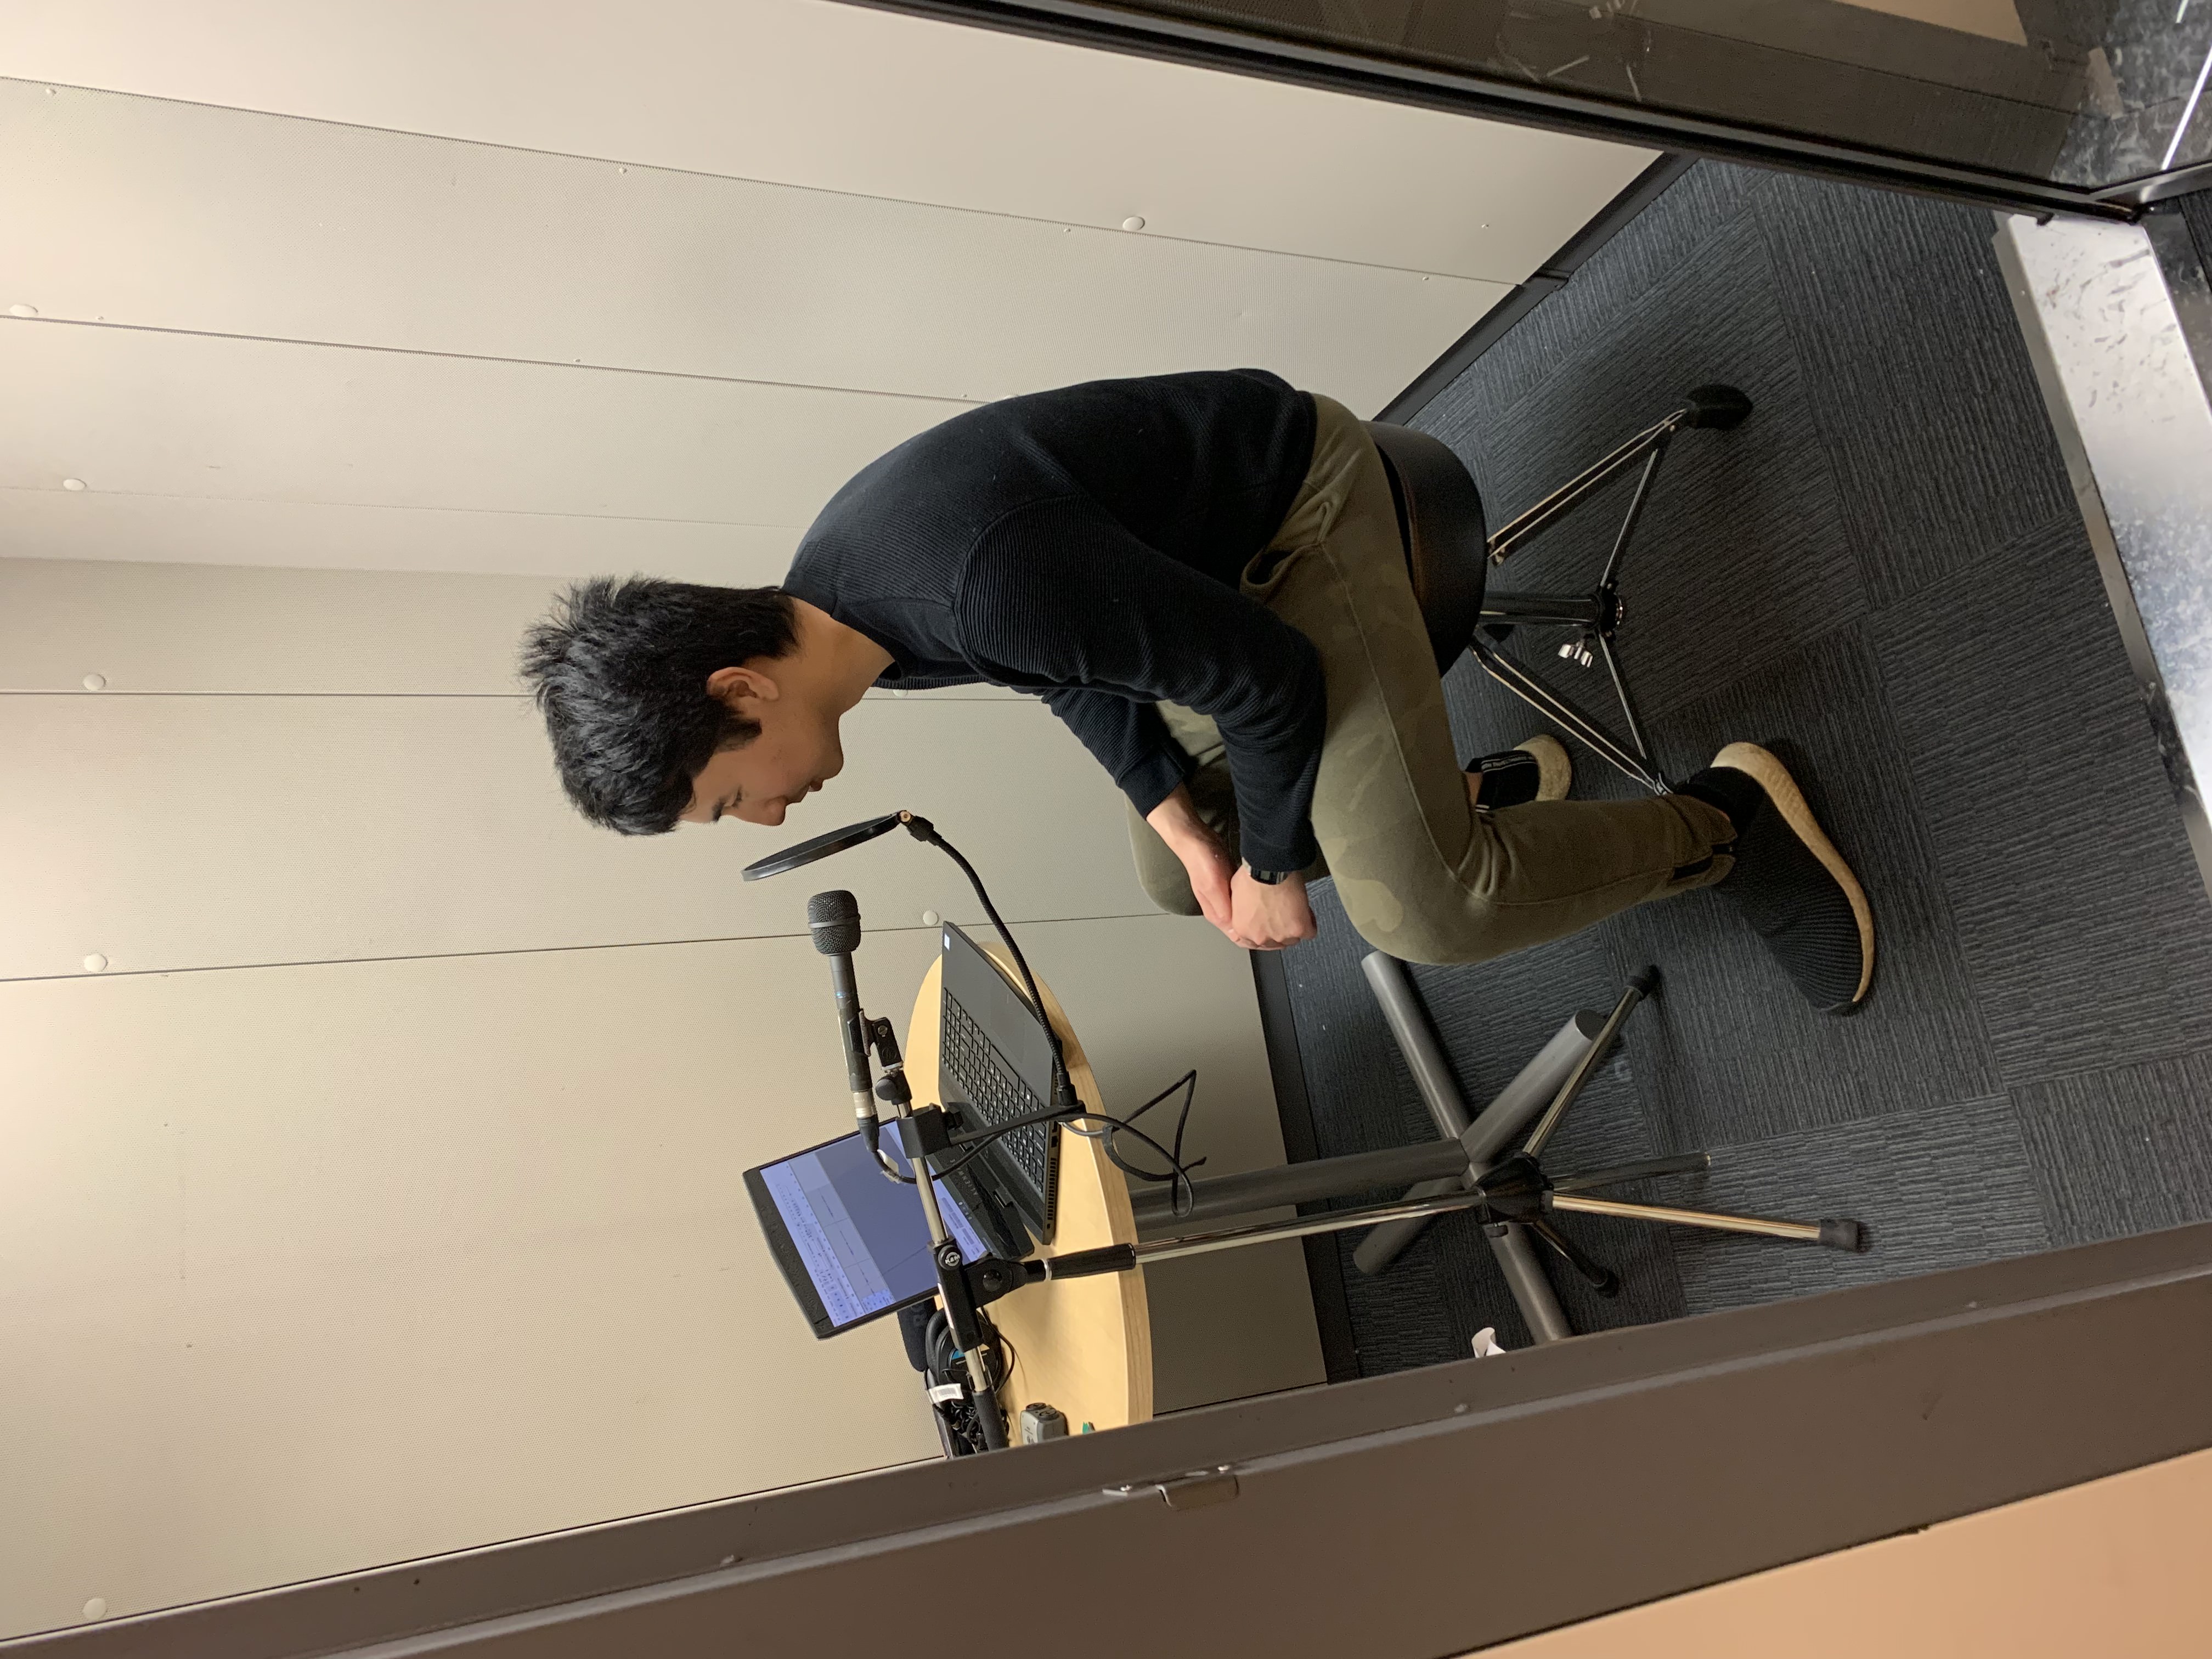
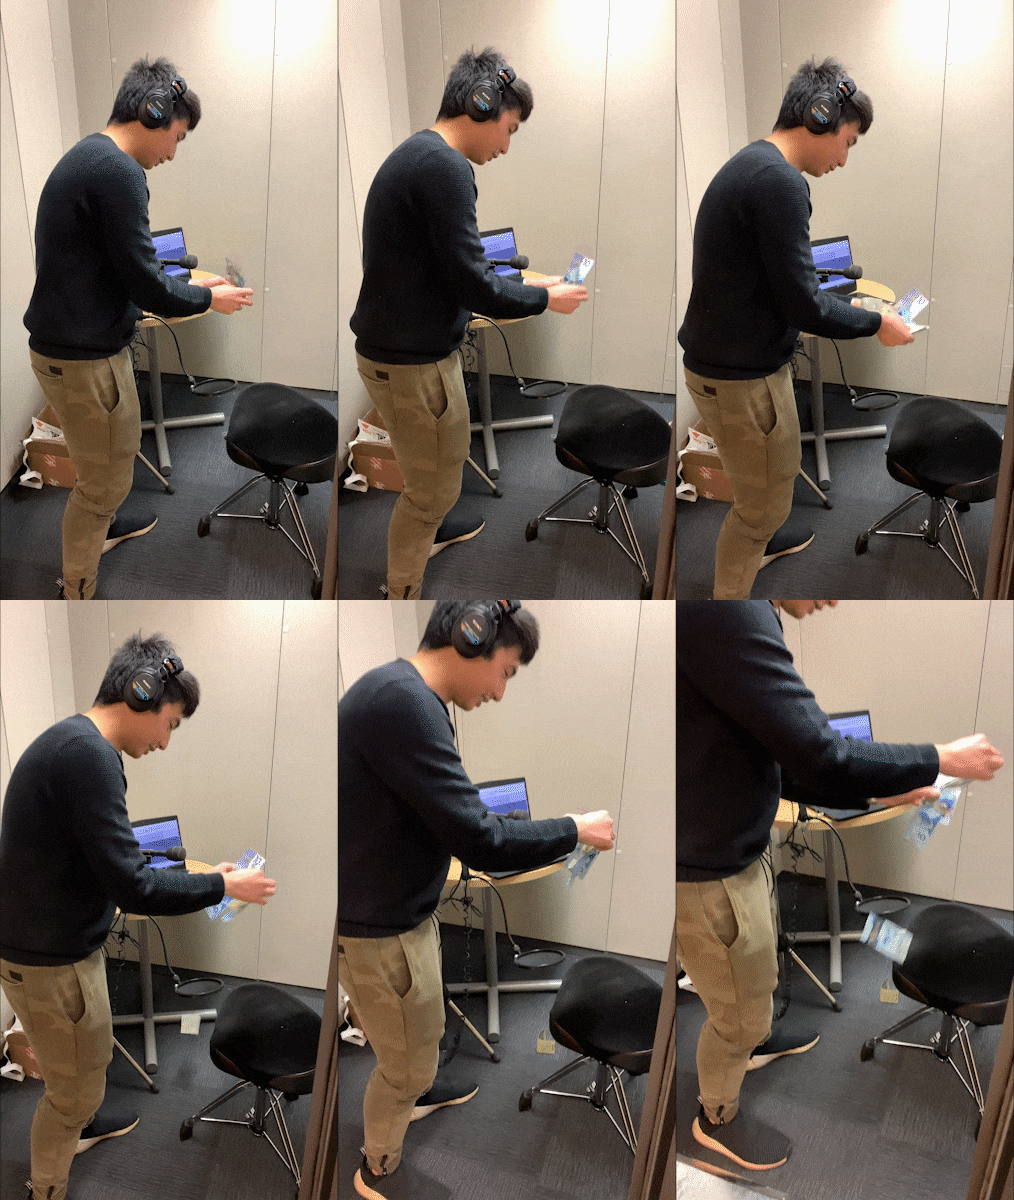
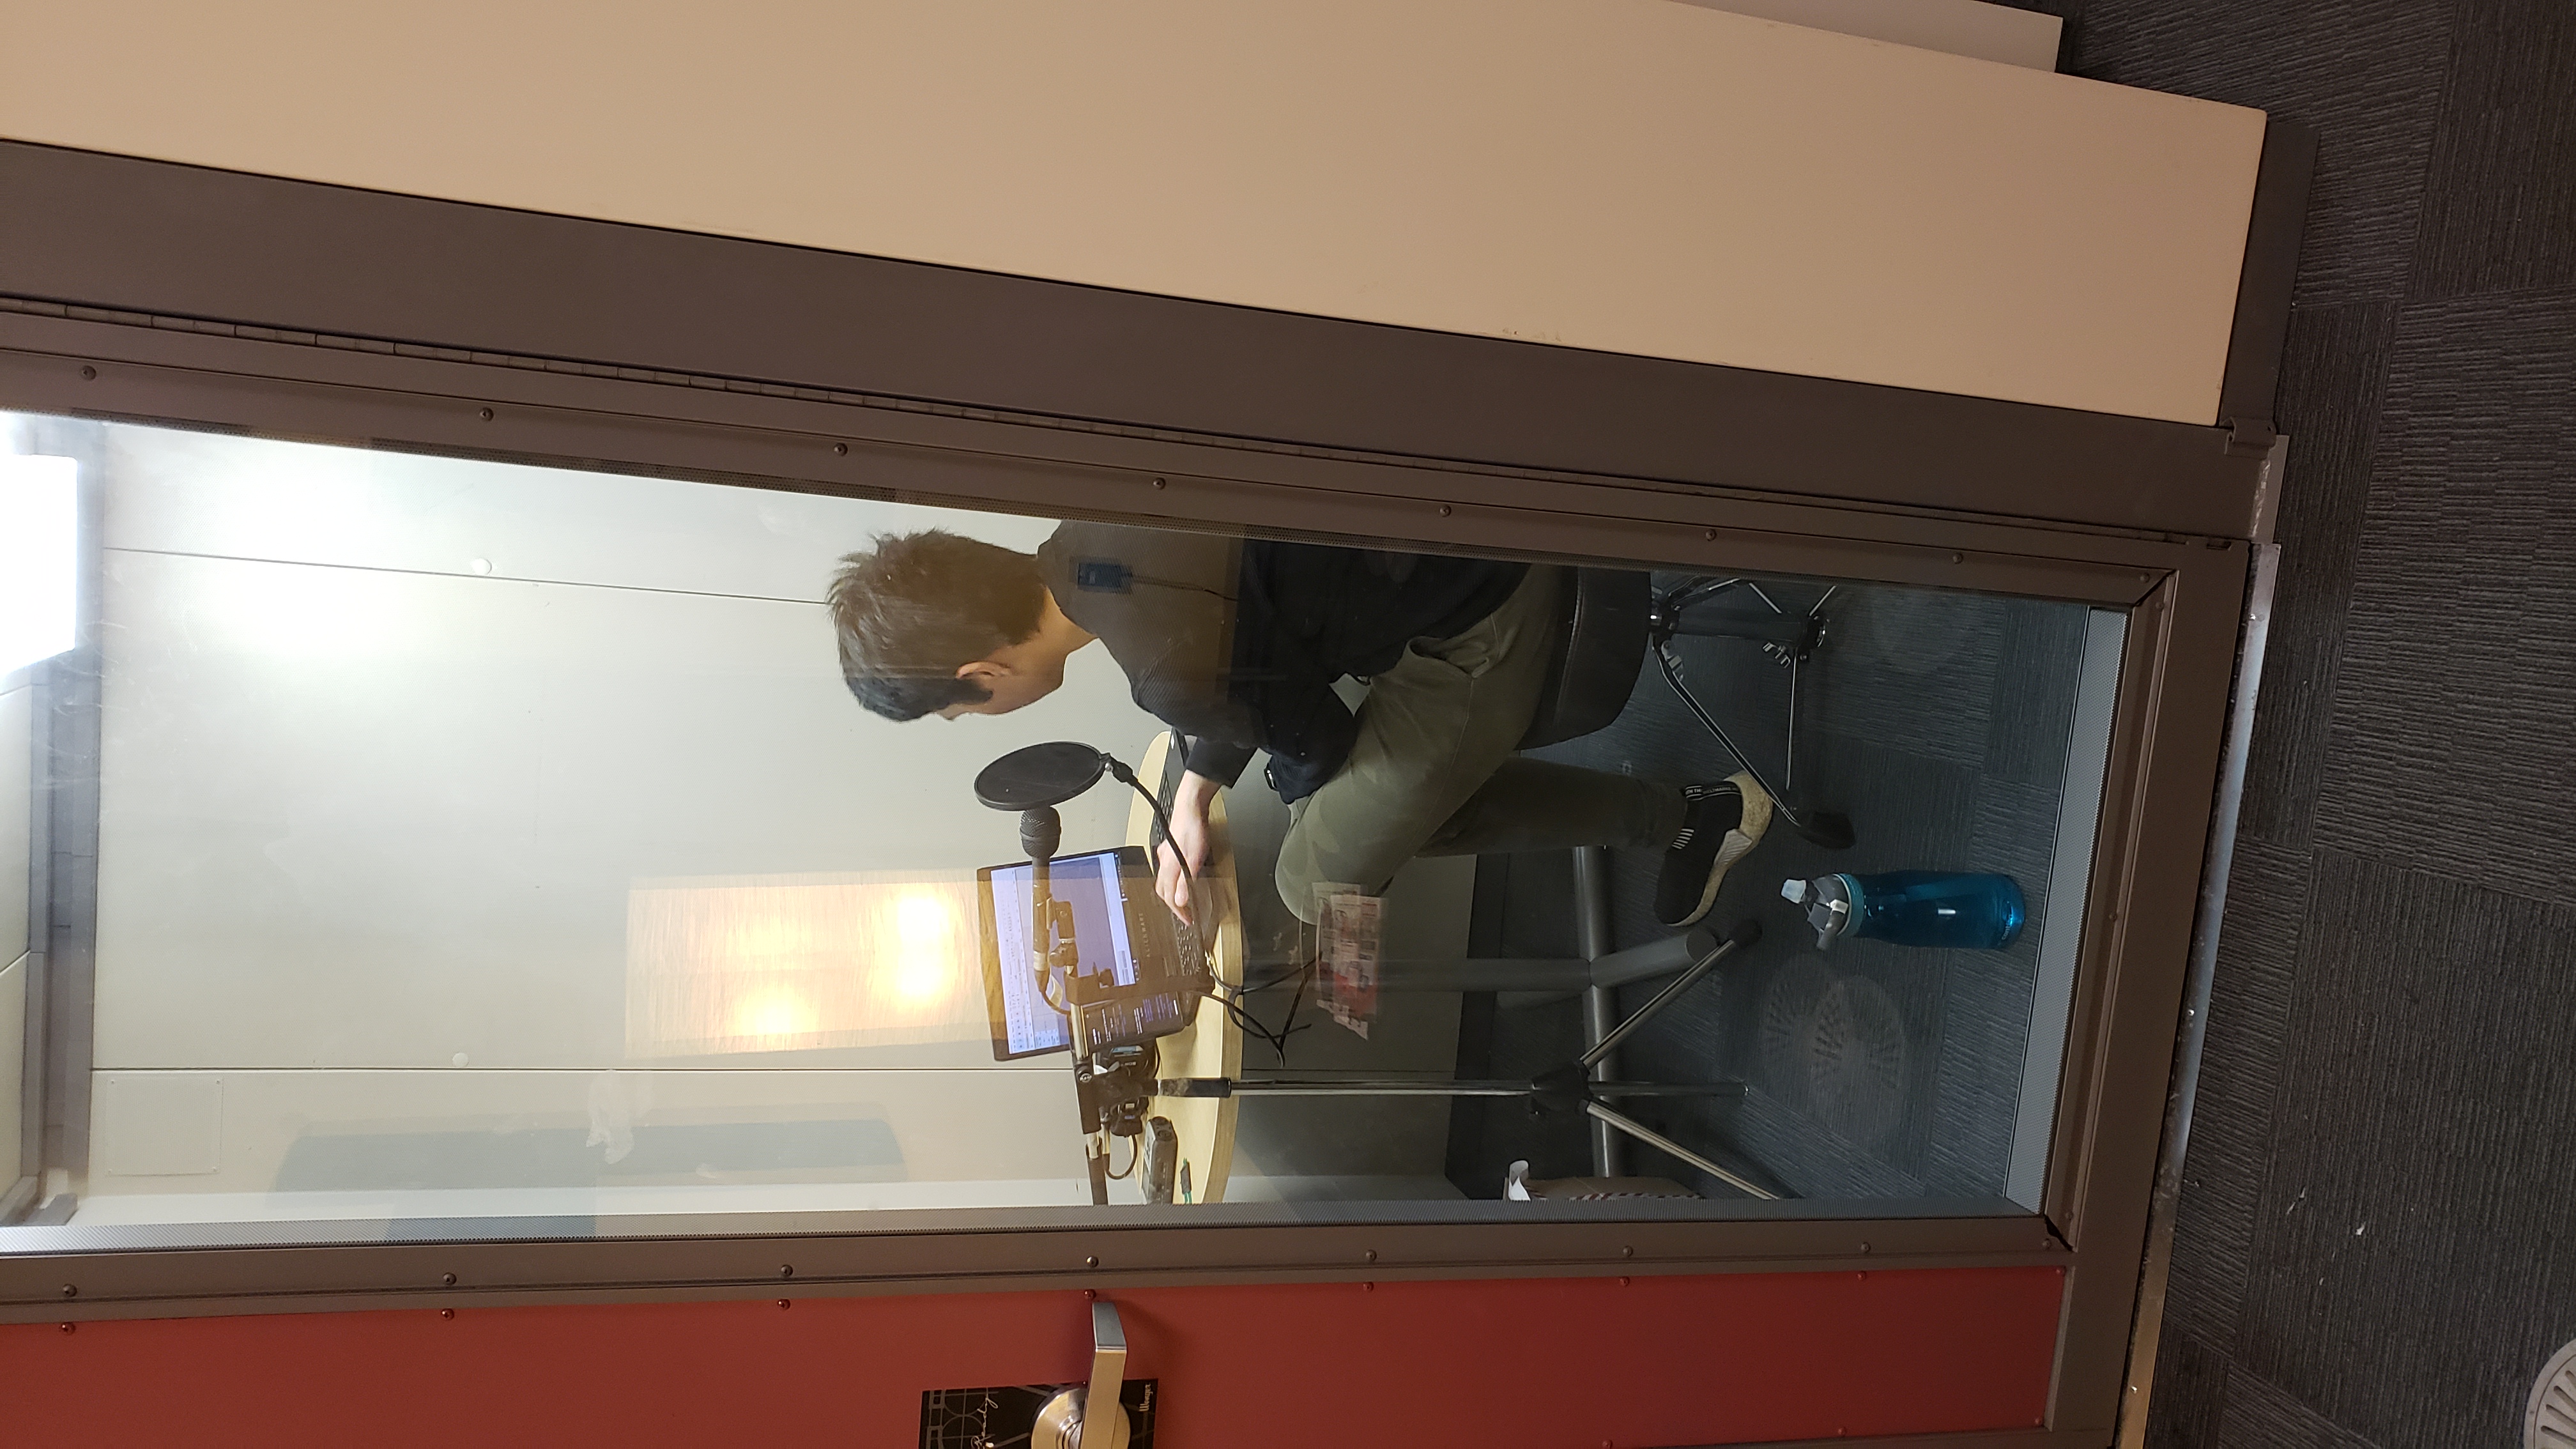
Furthermore, I’ve also recorded our own foley sound effects and voice-overs in our school’s sound studio. Initially, I recorded my voice-over at my home, but it caught a lot of noise in the background, so I decided to perform this task in a professional setting.
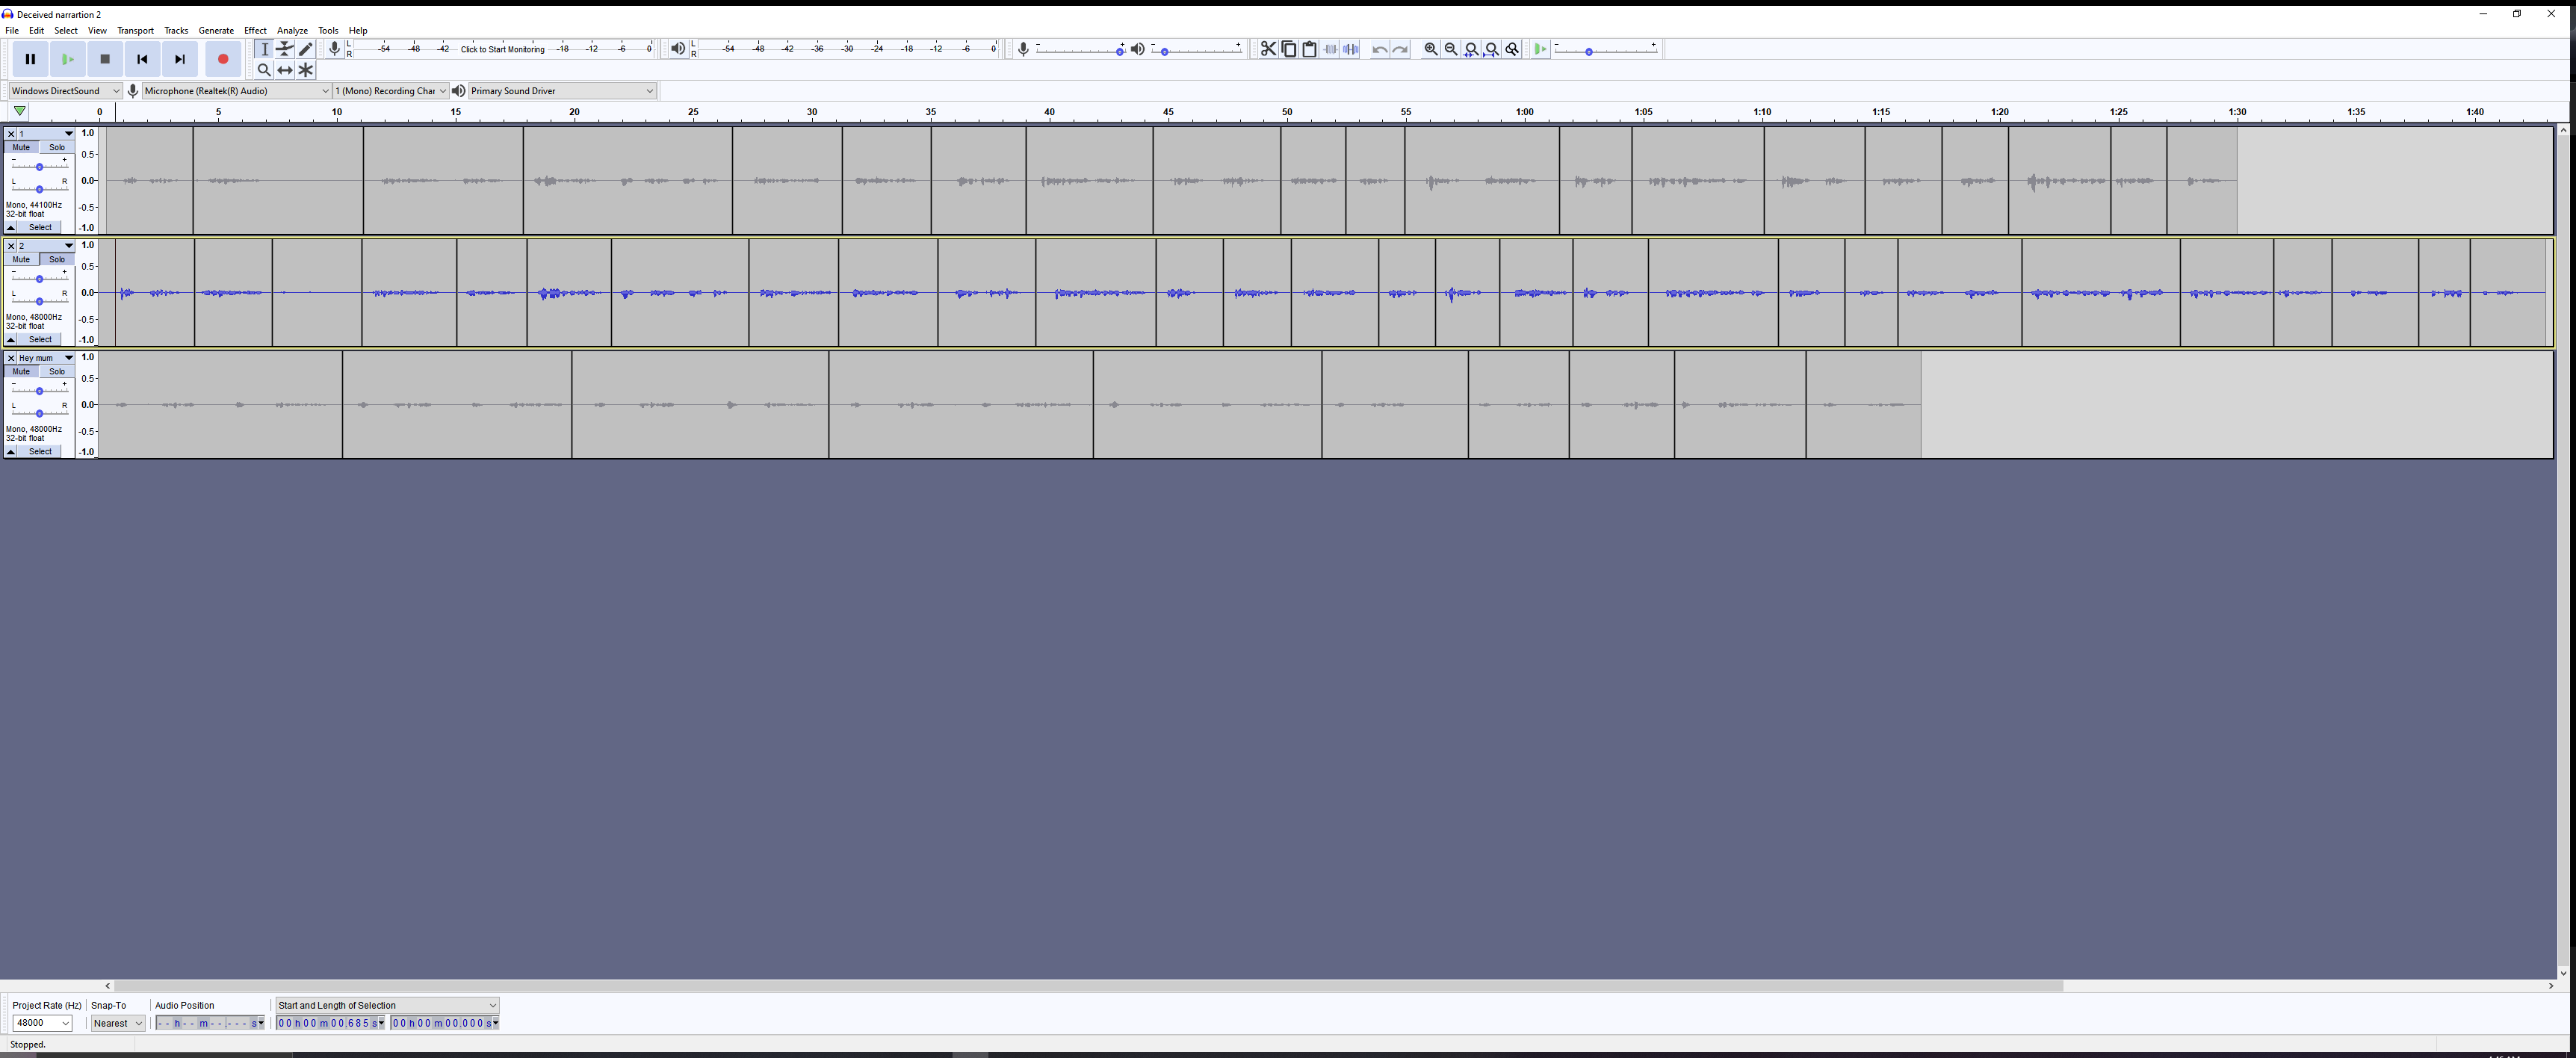
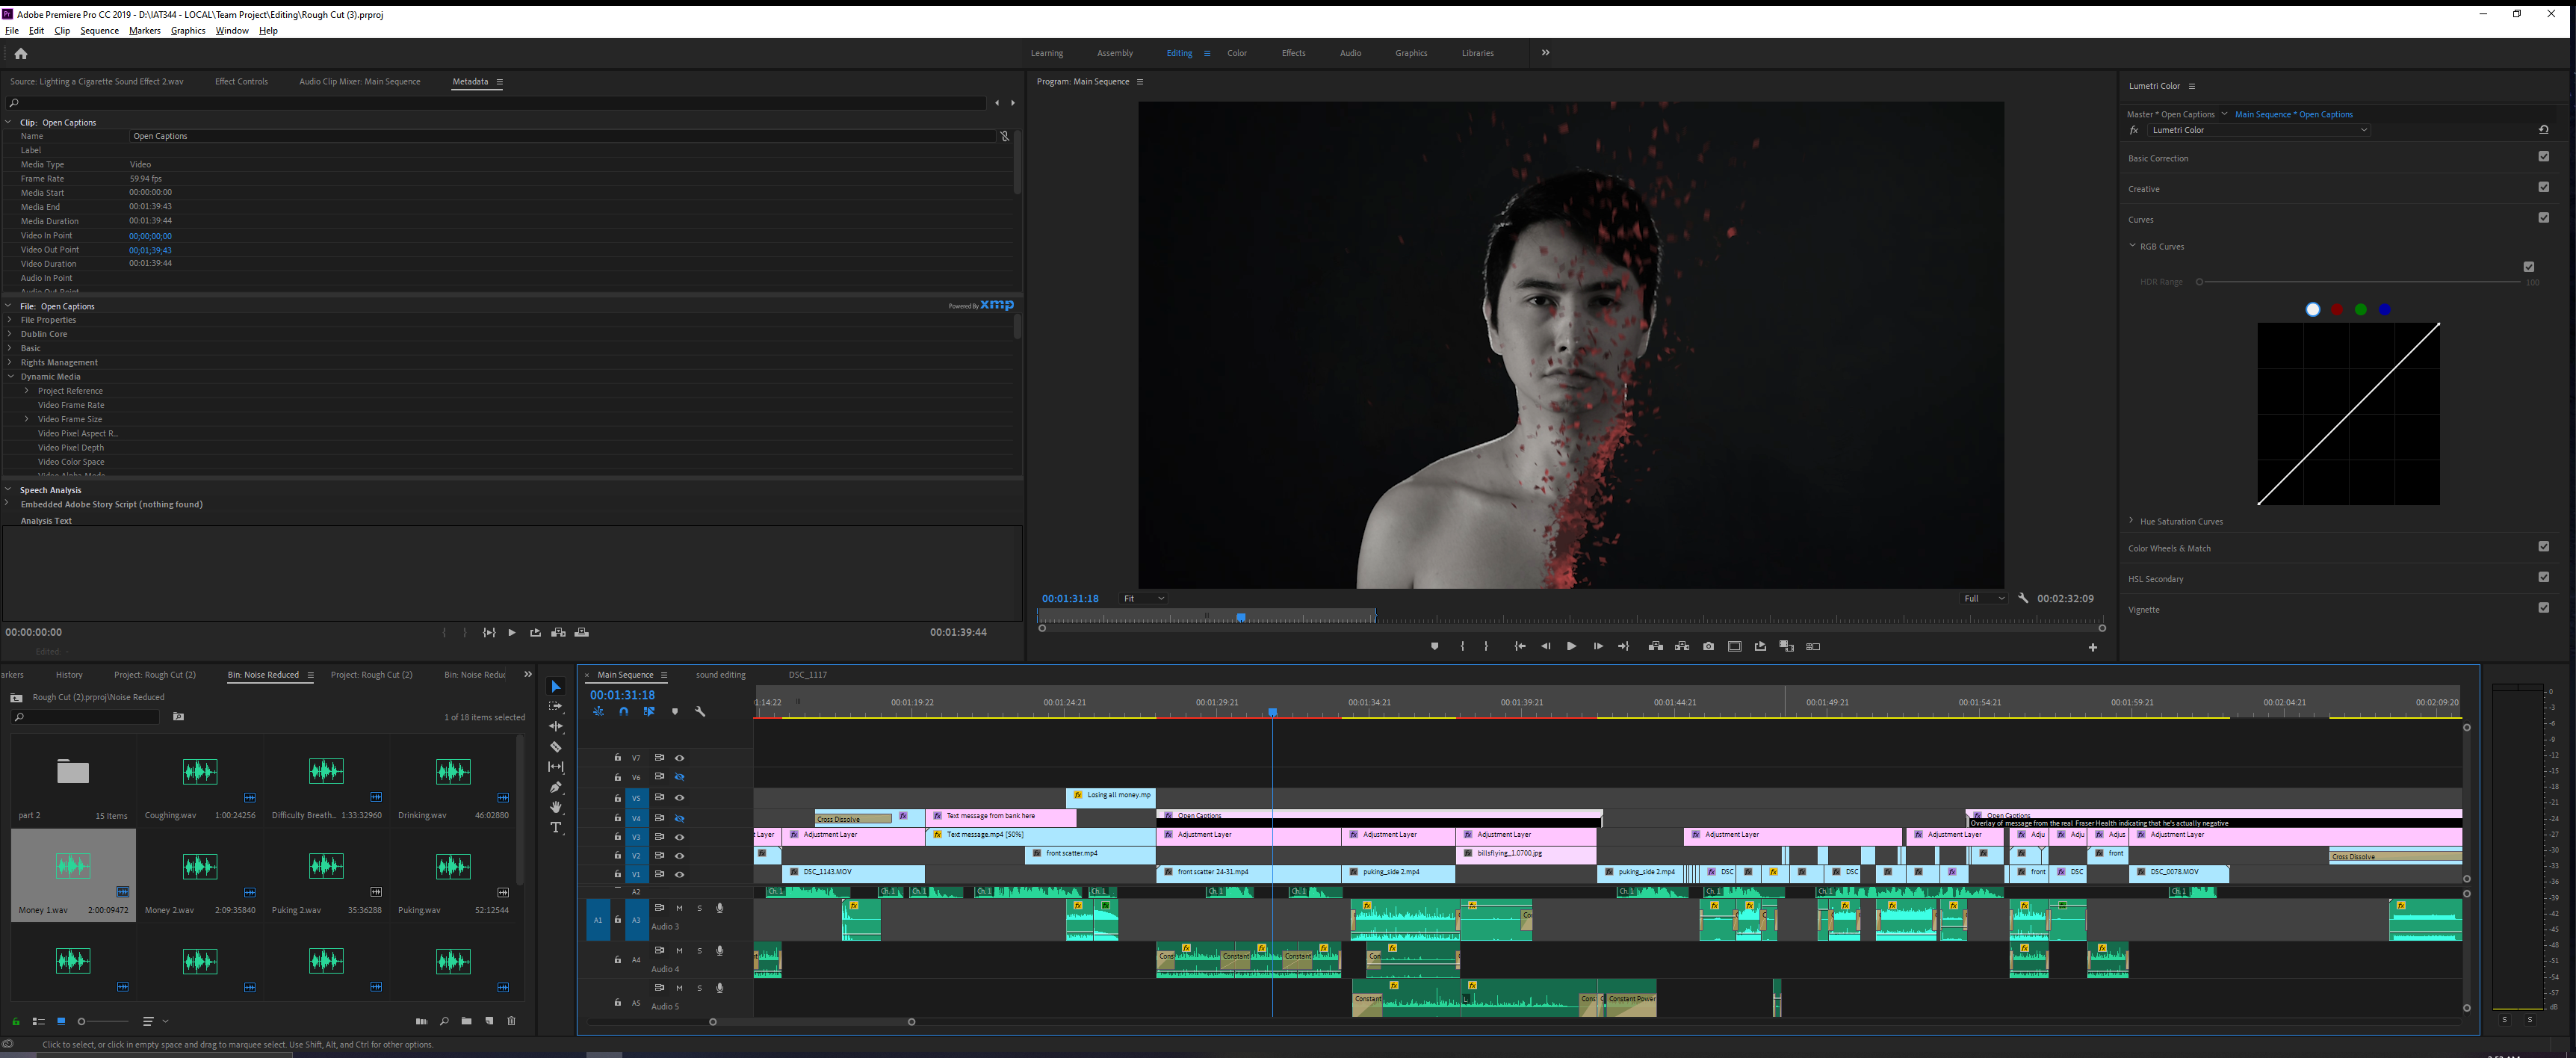
After I recorded the foley sounds and voice-overs, I edited them in Audacity. Although the sound studio was completely quiet, the microphones that we used were too sensitive enough to record noises that I couldn’t hear with my ears. Hence, I used the noise removal effect in Audacity to remove noises. Then, I imported the sound effects and voice-overs into Premiere Pro and edited the sounds there through trimming and volume adjustment.
Takeaways
From this project, I have learned that team working and communication are crucially important, especially when we only have 2 people in a team, and that was the most challenging aspect of the project. This is because we sometimes have different opinions on ideas. To avoid a dispute with each other, I actively listen to my teammate and communicate how things work or don't work with constructive reasoning.
Also, this project helped improve my technical skills in After Effects, Premiere Pro, Maya, and Audacity, as I spent a great amount of time creating visual effects and sound designing using them.
Lastly, we submitted our short film to the Museum of Vancouver for the #IsolatingTogether exhibition that documents stories regarding Covid-19, it is now being exhibited on-site in the museum and on their YouTube channel along with other films created by our peers, go check them out!

